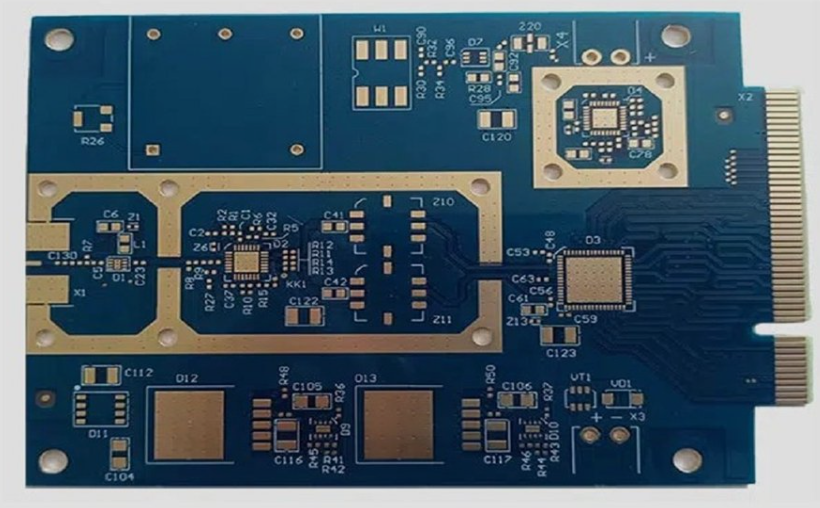
Panel Utilisation and Board Nesting
Why the Panel Matters
A board is not fabricated on its own. It is placed on a standard panel along with other boards or with several copies of itself, and the panel is what goes through the drilling, plating, imaging and etching steps. The number of boards that fit on a panel is therefore one of the strongest determinants of the price, because the panel’s cost is shared among them. A design that fits twelve boards on a panel and one that fits nine can be almost identical electrically and quite different in cost. Panel utilisation is a fabrication concept that the designer controls.
Panel Sizes and Standards
Fabricators work with a small number of standard panel sizes, and the choice is often driven by their equipment. A design should be laid out with those sizes in mind, which means knowing the panel dimensions the intended factory uses rather than assuming a generic size. The space between boards, the border around the panel and the tooling strips all consume area, and a design that ignores them will fit fewer boards than expected. The useful practice is to ask for the panel dimensions and the standard spacing before the outline is finalised, because a small change to the outline or the orientation can add a row of boards.
Spacing, Rails and Borders
The boards on a panel are separated by a routing or a V score, and the spacing between them has to be large enough for the tool. Panel rails along the edges provide handling and mounting for the assembly machine, and their width is set by the conveyor and the machine’s requirements rather than by the board. Tooling holes and fiducials are placed in the rails or in the border, and they have to remain after the boards are separated. Where the board is small, the rail is a significant share of the panel, so a small board is often panelised with several copies so that the rail is amortised.
Nesting and Orientation
Nesting is the arrangement of the boards on the panel, and the orientation is part of it. A rectangular board nests simply, while an irregular outline may leave gaps that can be filled with a small auxiliary piece. Rotating the board by ninety degrees sometimes improves the fit and sometimes improves the panel’s behaviour in the equipment. Where the board has a connector along one edge, the orientation affects how the panel is handled in assembly, which can matter more than the panel’s utilisation. The nesting should be designed for the whole process rather than only for the fabrication cost.
Panelisation for Assembly
At assembly, the panel is what the machine handles, so the panelisation has to suit the placement, the printing and the reflow. The spacing between boards has to accommodate the stencil’s web and the machine’s support pins, and the rails have to be compatible with the conveyor. Where the boards are separated by V scoring, the score line leaves a small amount of material and a stress point, which matters for a thin or a brittle board. Where they are routed, the router leaves a tab that has to be cut or snapped, and the tabs have to be placed where they will not damage a component or a trace. Depaneling is a process with its own defects, and the panelisation decides how they arise.
Cost and Yield Effects
The effect of the panel on cost is direct: more boards per panel means a lower cost per board, until the point where the spacing and the rails consume more than they add. The effect on yield is less obvious but real: a panel with very little material between the boards is harder to route without damage, and one with an awkward shape may be harder to support during assembly. Where the board is small and high volume, the panelisation should be designed with the fabricator and the assembler together, since a change that helps one may hurt the other. The best panelisation is the one that considers the whole route from laminate to finished product.
Design Rules for Panelisation
The rules are simple and worth writing down. Keep the outline simple enough to nest efficiently. Provide rails of the required width on at least two sides. Place the fiducials and tooling holes where they remain after separation. Allow enough space between boards for the routing or scoring and for the machine’s support. Avoid placing a tall component near a score line, because the depaneling stress is highest there. Where the board is unusual, discuss the panelisation with the fabricator before the design is frozen, because the outline is the one thing that cannot be adjusted later without a new tooling set.
Communicating the Panelisation
The panelisation should be documented, not left to the fabricator’s habit. The drawing should state the panel size, the number of boards per panel, the spacing, the rail width, the position of the fiducials and the tooling holes and the separation method. Where the fabricator proposes a different arrangement to improve the fit, the change should be reviewed for its effect on the assembly before it is accepted. A panelisation decision made without reference to the assembly equipment is a common cause of a support pin landing on a delicate area or a rail too narrow for the conveyor.
FAQ
Why does the panel size affect the price? Because the panel’s cost is shared among the boards that fit on it, so a better fit means a lower cost per board.
What is a panel rail for? Handling and mounting during assembly, and it holds the fiducials and tooling holes.
How does the spacing affect assembly? The gap has to accommodate the stencil web and the machine’s support pins, and too small a gap makes depaneling damaging.
Does the orientation matter? Yes, it affects the fit and the way the panel is handled through assembly.
Can panelisation be changed later? Only at the cost of new tooling, so it should be settled with the outline.
Conclusion
Panel utilisation is decided by the outline, the spacing and the rails, so design the board to nest and involve the fabricator before the outline is frozen. A good panel serves fabrication and assembly. Panelisation belongs to PCB manufacturing, the depaneling and handling sit in PCB assembly, and the outline and the fiducials are part of PCB design and layout. Panel planning for a new product is done during prototype PCB assembly in 2026.