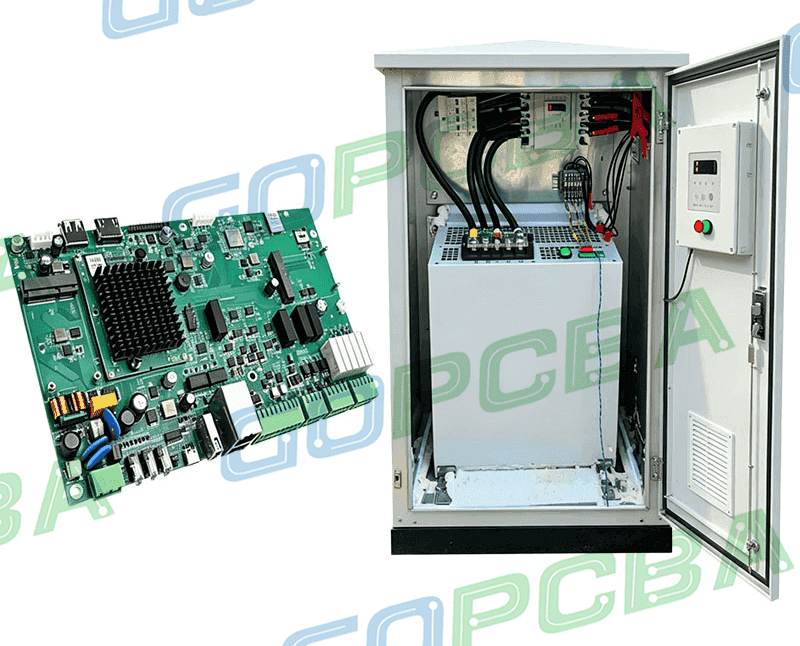
Mounting a Shielding Can on a Dense Mixed Signal PCB
A shielding can is a small metal box soldered or clipped over a sensitive circuit, and it looks simple until the details are examined. The lid, the walls, the fence, the attachment method and the holes above the components all interact with the layout underneath, and a can that is specified late in a project usually forces a redesign of the ground beneath it.
What a Shielding Can Actually Does
The can blocks radiated coupling between the circuit inside it and everything outside, and it does nothing at all about conducted noise that leaves through the same traces. That distinction decides whether a can is the right answer, because a filter placed on a connector often solves the problem far more cheaply than a metal box.
Inside the can the field is also contained, which cuts coupling between two neighbouring sections of the same radio or converter. The cost is that the energy has nowhere to go, so the ground reference under the can becomes the return path for everything enclosed, and its quality decides whether the shield helps or simply moves the problem.
Board Level Shielding Options
Board level shielding describes the whole family of on-board covers: one piece stamped cans, two piece cans with a removable lid, fence and lid assemblies, and conformal metal coatings sprayed onto a moulded cover. Each has a different height, a different tooling cost and a different degree of access for rework afterwards.
One piece cans are the cheapest to buy and the hardest to work with, because anything inside has to be reworked through the top or the can has to be removed and replaced. Two piece designs cost more but allow the lid to be lifted, which is often the deciding factor on a product that will be repaired in the field.

Ground Stitching and the Return Path
A can is only as good as the ground it is connected to. Ground stitching places vias along the fence line so that the wall of the can is bonded to a solid plane directly beneath it, and the spacing between those vias controls how well the shield works at the highest frequency of interest.
The rule of thumb is that via spacing should be a small fraction of the wavelength at the highest frequency the shield must contain, commonly a twentieth. Spacing that is too wide turns the fence into a slot antenna, which is worse than no can at all because the resonance is now inside the enclosure with the circuit.
Solder Attach Versus Clips and Spring Fingers
Solder attach gives the lowest impedance and the most permanent joint, and it is the usual choice where the shield must work up to several gigahertz. It also means the can goes through the reflow oven, so its plating, its thermal mass and its flatness all have to suit the process rather than being chosen on cost alone.
Clips and a spring finger design allow the can to be fitted after assembly and removed for service. The joint is less good electrically and degrades with handling, and the contact force has to be maintained by the clip geometry over the life of the product. Our ferrite bead notes describe the filtering that often accompanies the shield.

Openings, Venting and Aperture Size
Components generate heat, and a sealed box traps it. That is why cans carry vent holes or a deliberate gap along one edge, and why aperture size has to be chosen with the frequency of interest in mind. A hole much smaller than a wavelength leaks very little, while one that approaches a quarter wave radiates efficiently.
Holes over connectors and test points are the usual compromise. They should be placed away from the noisy corner of the circuit and kept to the smallest size that still allows soldering, inspection and the insertion of a probe. Each opening is a small antenna, and several of them in a row behave like a slot rather than as separate holes.
Cavity Resonance and Absorbers
Enclosing a circuit creates a resonant cavity, and cavity resonance occurs when the dimensions of the box approach a half wavelength at a frequency the circuit produces. At that frequency the field inside builds up, coupling to the walls and to anything mounted on them, and the shield that was helping suddenly makes the emission worse. That is why a can is often made smaller than the resonant dimension or subdivided with an internal wall. Where the size cannot change, a thin absorber sheet bonded inside the lid damps the mode and moves the problem out of the band of interest without adding much cost.
Thermal Cost of Enclosing Components
A metal cover changes the thermal path of everything beneath it. Components that relied on radiation and convection to the open air now heat a closed volume, and the temperature rise can be tens of degrees higher than the same circuit on an open board. That shift is enough to change the lifetime of an electrolytic capacitor.
The practical fixes are a thermal pad from the hot component to the lid, a deliberate vent path that does not compromise the shield, or a change of component. Our thermal management notes describe how the copper underneath can be used to spread the heat before it reaches the can.
Assembly Order and Rework Access
Where a can sits in the process flow decides a great deal. A solder attached can is fitted before reflow, so every component inside must survive the same profile, and no further work can be done on those parts after the oven without removing the can first.
A clipped lid allows the board to be tested and reworked before the shield is closed. Where the shield must be fitted late, the fence is often soldered during the main reflow and the lid is added after test, which keeps the expensive components accessible while still delivering a properly bonded wall.
Verifying Shielding Performance
Shielding effectiveness is measured on a finished assembly in a test set up that compares the field with and without the cover, or by near field scanning across the surface of the board. Both approaches show where the leakage is, which is usually at an opening, a seam or an unfiltered cable rather than through the metal itself.
Continuity and visual checks belong in production. The can should be bonded to ground on every wall, the fence should be continuous around the perimeter, and the solder fillet should be visible all the way round. Our AOI and EMI immunity notes describe the inspection and the design side of the same requirement.
FAQ
Does a shield can improve immunity as well as emission? Yes. The same wall that keeps energy in also keeps external fields out, so a well grounded can improves both directions. A poorly grounded one may improve neither.
How much does a can cost in tooling? A one piece stamped can needs a dedicated tool, and a two piece design needs two. Where the volume is low, a fence and lid built on a common profile keeps the tooling cost down.
How does gopcb support shielded designs? We keep the fence pads, the stitching vias and the ground plane coherent through fabrication, check the can footprint against the solder paste stencil, and flag any opening that sits over a critical trace.