
Moire Fringe Alignment: 5 Checks for Inner Layer Registration
Moire fringe alignment is the technique that turns layer registration from a guess into a measurement. Two concentric or offset circular patterns are printed on the artwork and on the panel, and where they overlap they produce a fringe pattern whose direction and density show how far apart the layers sit. The method is fast, needs no special equipment beyond a microscope, and it works on every panel rather than on a sample.
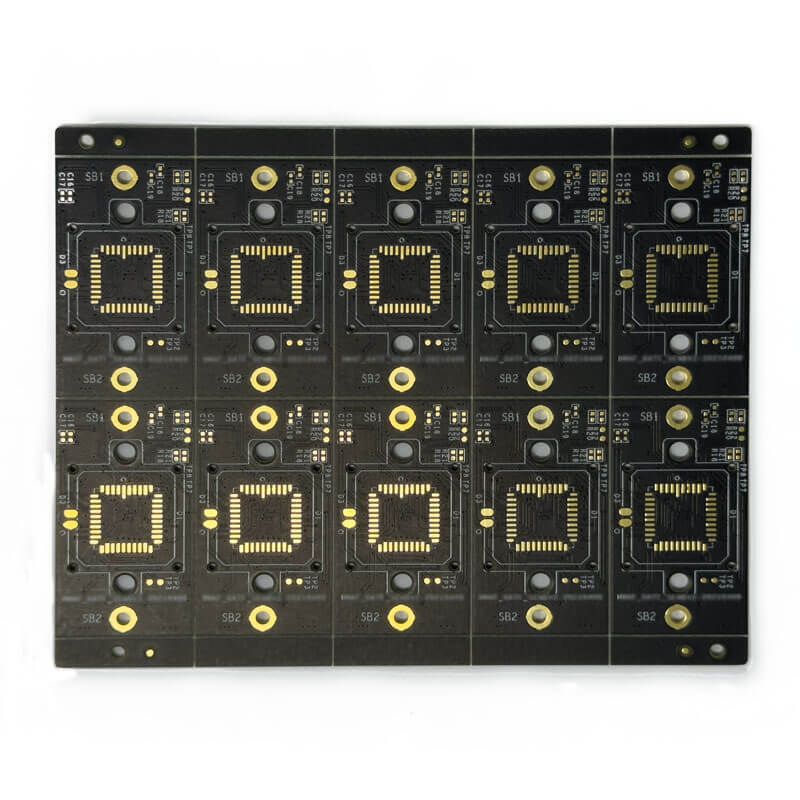
Why Moire Fringe Alignment Replaces Manual Targeting
Older registration practice relied on reading a cross or a target pad under a scope and judging whether the exposure looked centered. The judgment varies between operators and shifts, and small offsets are invisible until they combine with drill tolerance and cause a breakout. A fringe pattern converts the same information into a visible, repeatable signal.
The fringes appear because the two patterns differ slightly in pitch. Where the lines align, the area looks light; where they fall out of step, it looks dark. Opposing fringe directions indicate an offset in opposite directions, so the operator can see not only how much offset exists but also which way to correct.
How the Alignment Target Is Built Into the Artwork
The imaging alignment target is designed into the artwork at a fixed location, usually in the border or in a coupon area outside the finished board outline. It has to sit on copper that survives etching, because the target must be readable after the inner layer is etched and inspected.
Each layer carries its own target, sized and scaled so the designer knows the exact expected fringe count for a perfect exposure. Produce the targets with the same imaging equipment and the same film generation process used for production, because a target printed by a different route measures a different system.
Reading Fringe Patterns: What Operators Actually See
Under a microscope, a well-registered target shows wide, low-contrast fringes or none at all. As offset grows, fringes become narrower and more numerous, and their spacing gets tighter. The direction of the fringes relative to the target axis tells the operator whether the layer is shifted in x, in y or in both.
Operators need training and a reference card. Print a target with a known offset of 25, 50 and 100 microns, image them, and keep the results at the station as a comparison set. That card removes most of the subjective judgment and shortens the learning curve for new staff considerably.
Inner Layer Registration and Scaling Compensation
Inner layer registration has two components: an offset, which is a uniform shift, and a scale error, which grows with distance from the center of the panel. Scaling compensation handles the second component, and fringe targets placed at different corners of the panel separate the two effects from each other.
If all four corner targets show the same fringe count, the panel is offset and the exposure position can simply be adjusted. If one side shows more fringes than the other, the film needs a scale correction, and that correction belongs in the artwork data rather than in the operator’s hands.
Target Placement on the Panel and Coupon Area
Place targets where they see the same thermal and mechanical history as the product. Corners and the panel center are the classic positions. Targets placed only along one edge hide scale errors and give a false sense of control, especially on large panels where shrinkage is not uniform.
Keep the target area clear of copper pours that could distort the local etch rate, and mark the location on the fabrication drawing so the targets are not trimmed off before inspection. A target that disappears during routing cannot protect the next lot.
Exposure Unit Setup: Lamp, Collimation and Vacuum
Fringe quality depends on image sharpness, so lamp intensity, collimation and vacuum contact all matter. Weak vacuum leaves the film slightly separated from the copper, which blurs the target lines and makes fringes hard to read even when registration is good. Replace worn vacuum gaskets before adjusting anything else.
Lamp aging reduces intensity gradually, and a lamp that is past its useful life produces soft edges that mask real offset. Track lamp hours, and verify with a step tablet rather than judging by eye. Consistent exposure keeps the response of the target comparable from week to week.
Etch and Oxide Effects on Target Visibility
Etching changes the appearance of the target because it removes copper around the lines and increases contrast. Over-etch narrows lines on both patterns at the same rate, so the fringe count stays valid, but heavy over-etch can make thin lines disappear and take the measurement with them.
Oxide treatment darkens the surface and can bury a low-contrast target. Read targets before oxide where possible, or specify a target design with enough line width to survive both etch and oxide. Once the panel is laminated, the measurement opportunity is gone.
Measuring Layer to Layer Offset in Production
Record layer to layer offset for every lot, not only when a defect appears. A simple chart with the lot number on one axis and fringe count on the other shows drift long before acceptance limits are reached, and it turns registration into a trend instead of an event. Drill errors appear in the same data, so a rising offset is cross-checked against drill bit runout before the artwork is changed.
Set action limits tighter than the customer requirement. When a lot crosses the internal limit, stop and investigate: check vacuum, check film scale, and confirm that the drill and lamination steps have not shifted. Correcting at the trend stage costs far less than reworking panels after drill.
Panel Scaling Compensation and Material Variables
Scale compensation must account for the material, because laminate shrinks differently with weave style, resin content and copper distribution. A panel with heavy copper on one side expands differently during lamination than a balanced one, and that difference is visible in the corner targets.
Keep a compensation table per material and per stack-up, and update it when the supplier or the construction changes. Verify after the first lot with a fresh fringe reading. Textbooks give starting values, but the panel in your press is the only authority that matters. Material moisture, covered in our note on laminate moisture content control, shifts that shrink value whenever storage conditions change.
Reactive Versus Predictive Correction
Reactive correction adjusts the next lot after a bad reading. Predictive correction adjusts the artwork based on measured shrink from a previous build of the same construction. The second approach costs more engineering time but steadily reduces scrap on repeating products.
Whatever the approach, keep the correction history with the part number. When a customer returns for a repeat order a year later, the record shows which scale factor and which offset produced good panels. Guidance on process control from IPC supports this kind of documented, measurement-based practice.

FAQ
How many fringes mean a panel is out of specification? It depends on the target pitch, so define the limit with a known-offset reference card rather than a rule of thumb. Convert fringe count to microns once, document the conversion, and set action limits below the customer requirement.
Can moire fringe alignment be used on outer layers? Yes, and it is useful there as well, but outer layers are usually checked with drill and pattern registration coupons. Fringe targets remain valuable because they show direction of offset, not only magnitude.
What causes fringes to appear suddenly on a stable process? Check vacuum first, then lamp intensity and film scale. A new film lot, a changed laminate supplier or a press temperature change can also move registration, which is why drill stack clamping and lamination records belong in the same investigation.