Flying Wires and Manual Placement in PCB Layout
Autorouters have improved enormously, yet almost every professional layout still contains material that was placed and routed by hand. Part of that is judgement — a tool cannot know which return path matters — and part of it is the humble flying wire, the unrouted connection shown as a straight line between two pins. Used deliberately, both are tools; used carelessly, they are how boards end up with defects that survive review.
What a Flying Wire Is
In layout software, a flying wire is a drawn connection between pins that have not been routed yet. It is not copper. It exists to show a required connection, and it disappears as soon as the net is routed. That makes it a communication device: it tells you what work remains and what shape that work should take.
Because it imposes no length, width or clearance constraints, the flying wire is also a design aid. Move a component and the wire redraws, showing immediately whether the connection got shorter or whether it now crosses something it should not. Dragging parts around while watching the flying wires is a fast way to evaluate a placement, and on congested boards it is often the fastest way to find the arrangement that removes a routing conflict.
Why Hand Work Still Matters
Automatic routing is excellent at volume and poor at intent. It has no notion of which nets carry fast edges, which analogue nodes must stay clear of switching nodes, or which ground return is shared with a sensitive front end. Hand placement lets all of that be decided first.
Manual placement also absorbs constraints that are simply not electrical: a connector that must line up with a housing cutout, a tall capacitor that must not sit under a shield, a sensor that must be thermally isolated from a regulator. These are the constraints that make a board buildable, and they are handled by moving parts, not by routing cleverly around them.
Using Flying Wires as a Placement Tool
Start by defining what the board must achieve: function, signal integrity, EMC constraints, and the fabrication limits of the shop that will build it. That list decides how much freedom the placement really has.
Then work the critical nets first. Clocks and high-speed interfaces get the shortest sensible paths, because they have the least tolerance for stubs and detours. Pulling their flying wires taut early exposes conflicts while there is still space to resolve them.
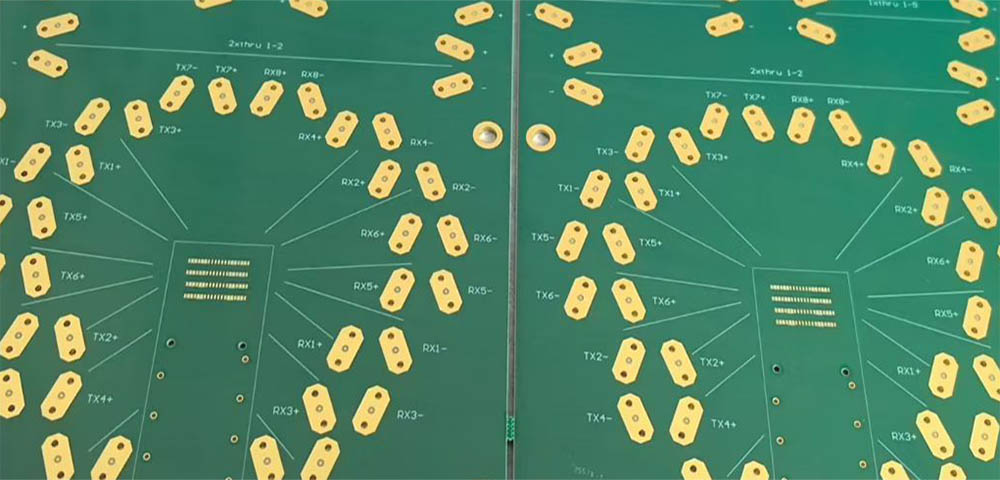
Group the flying wires by function or by interface. Rings of crossing wires in one region and empty space in another means the placement is unbalanced, and the fix is to move parts rather than to force traces later. Colour-coding and grouping make this visible at a glance, which matters when the board has hundreds of nets.
When a conflict refuses to resolve, adjust the route through the flying wires rather than accepting a detour that creates crosstalk or an unwanted coupling path. The change is nearly free at this stage.
Where Hand Work Beats Automation
Three situations recur.
The first is a high density PCB, where the space between pads is smaller than the router’s escape strategy allows and a hand-routed escape from a fine-pitch device is the only way through. Fanout is where manual work pays for itself, because the pattern chosen at the device pins determines the difficulty of everything beyond it.
The second is a mixed signal board, where analogue and digital return paths must be kept apart. No autorouter will partition a ground system correctly, and the decision is made during placement by deciding where the boundary between the two regions runs.
The third is radio frequency work, where impedance matching and controlled geometry mean that a trace is a component rather than a connection. Matching networks, transmission line sections and shielding are hand-created and hand-verified.
Fine details of the technique sit alongside other layout craft; the broader sequence is set out in this outline of a PCB layout workflow, and the techniques that speed up repetitive work are gathered in these notes on layout shortcuts and automation.
Keeping Hand Work Manufacturable
Hand routing is still routing, and it must obey the same process rules as everything else. Trace width, spacing and via size must satisfy the manufacturer’s capability, and copper-to-edge clearance must hold at the board outline. A manually drawn trace that is a hair too close to the edge is a yield problem, not an artistic choice.
Three checks catch most problems. Verify connectivity, so that no flying wire was left unresolved and no connection was made by accident — a short between two adjacent pads is the classic failure of manual work under time pressure. Verify spacing on the hand-routed region specifically, because that is where design rules are most often overridden to get a route through. And verify that the manual region still respects the return path, since a hand-routed signal that crosses a plane split is exactly the problem the manual work was supposed to avoid.
Cautions
The main risk is overuse. A board covered in hand routing is hard to read, hard to review and slow to revise, and each hand-added path is an opportunity for an error that a design rule check cannot see.
Using flying wires as documentation has a trap too: an unresolved flying wire looks identical to a deliberately drawn one until you zoom in. On a finished board every net should be copper, and the remaining straight lines should be accounted for individually rather than assumed to be intentional.
Manual placement and hand routing also interact with revision control. When a board is edited by hand, the change is not reproducible from a script, so the reasoning behind it has to be recorded somewhere — a note in the design file is enough, as long as it exists.
The Division of Labour
The productive split is not manual versus automatic. It is critical versus bulk. Fast interfaces, analogue nodes, RF sections, power stages and high-current paths get human attention because their constraints are real and specific. Bulk decoupling, low-speed status signals and repetitive interfaces are handed to the router, which will place and connect them in minutes with acceptable quality, provided the constraints were defined properly first.
The role of flying wires in that split is to make the work visible: they show the designer, and anyone reviewing the design, exactly what has been decided and what has been deferred. A board that reaches final review with no flying wires left and a placement that was verified by moving parts rather than by moving traces is a board that behaves the way the schematic says it should. For designs that push density further, the same discipline applies in miniature, as described in these notes on HDI layout shrinkage and microvia rules.
FAQ
Are flying wires physically added to the board? No. They are display-only connections inside the layout tool. Physical rework wire, sometimes called by the same name, is a different thing entirely and should never be designed in as a matter of course.
Is hand routing slower than using an autorouter? For bulk nets it is. For the handful of nets that carry the design’s risk, hand routing is usually faster overall, because it avoids the rework that a badly routed critical net demands later.
Can a manually routed design still pass a design rule check? Yes, and it should be checked against the real fabrication rules rather than a default set. Hand work is where rules are most often locally overridden, so it is where the check earns its keep.