
Component Placement: Using the Ratsnest as a Guide
Component placement is often treated as the stage before the real work, and then the real work turns out to be impossible. Designers recognise the experience: a few connections remain, no path exists for them, and the only way forward is to delete a large part of the routing and reconsider the placement. The ratsnest, the mesh of straight lines that shows unconnected nets, is the cheapest guide to whether a placement will work, and it deserves to be read before routing begins.
Why Placement Decides Routability
The number of traces that must fit between two points depends on the space between the components, and the space between components depends on where they were placed. As routing density rises, the margin for a poor floorplan disappears. A placement that looks tidy but forces several dense buses through one narrow region will fail, while a less tidy placement that spreads the same connections over available channels routes without difficulty.
The standard measure of a placement is total net length, that is, the total length of the ratsnest. A shorter total implies shorter routing, less board area consumed by traces and a higher completion rate. It is not an absolute criterion, because a placement can have short connections and still be unroutable if they all overlap in the same region, but it is a fast and useful indicator.
Reading the Ratsnest
Every package pad belongs to one or more nets, so moving a package shortens some connections and lengthens others. There is no closed-form optimum, and experience plus the on-screen length display is the practical method. What the ratsnest provides is immediate feedback: move a package, watch the mesh, read the total length.
The density of the mesh is as informative as its length. A region where many lines converge is a region that will need many routing layers, or a different mechanical arrangement. Identifying that congestion early is the whole point of the exercise.
The way the mesh responds to movement tells the designer how tightly each package is constrained.
Using Movement to Find Constraints
If a package can be moved anywhere on the board without materially changing its connections, its pins connect to few nodes and the connections are nearly one to one. Such a package has a high placement priority, because only a few positions are good, and the length display helps locate one of them. If moving the package changes the pattern a great deal, its nets have many nodes and the package is less constrained, so other criteria such as thermal grouping or mechanical alignment can decide its position.
Two packages whose connection pattern does not change, however they are moved, are strongly coupled and should be placed close together. A package whose connections always find a nearby node is weakly coupled to the rest and can be positioned last, with more freedom. These observations turn placement from guesswork into a sequence of decisions with a clear order.
Priority Order for Placement
Strongly constrained packages go first: connectors, because the mechanical design fixes their position; power components, because their loops must stay short; and the devices at the centre of a dense net, because their position affects the most connections. Weakly constrained parts, such as indicators and single-purpose glue logic, are placed last, when the remaining space is known.
Placement and pad geometry interact, so the order of placement and pad positioning should be considered together, because a fanout arrangement that works for one placement may not work for another.
Interaction With the Stackup
Placement also determines whether the stackup can do its job. If a dense bus must cross a region where two devices sit back to back, the space available for escape routing shrinks and the fanout has to be spread over more layers. Planning the escape routing and fanout for the large packages before the placement is frozen avoids discovering that the layer count is insufficient.
Ground and power distribution follow the placement as well, because the return path for each signal depends on where the planes are and how the components are grouped. Sketching the ground and power routing plan while the placement is still fluid often reveals a better grouping than the one on screen.
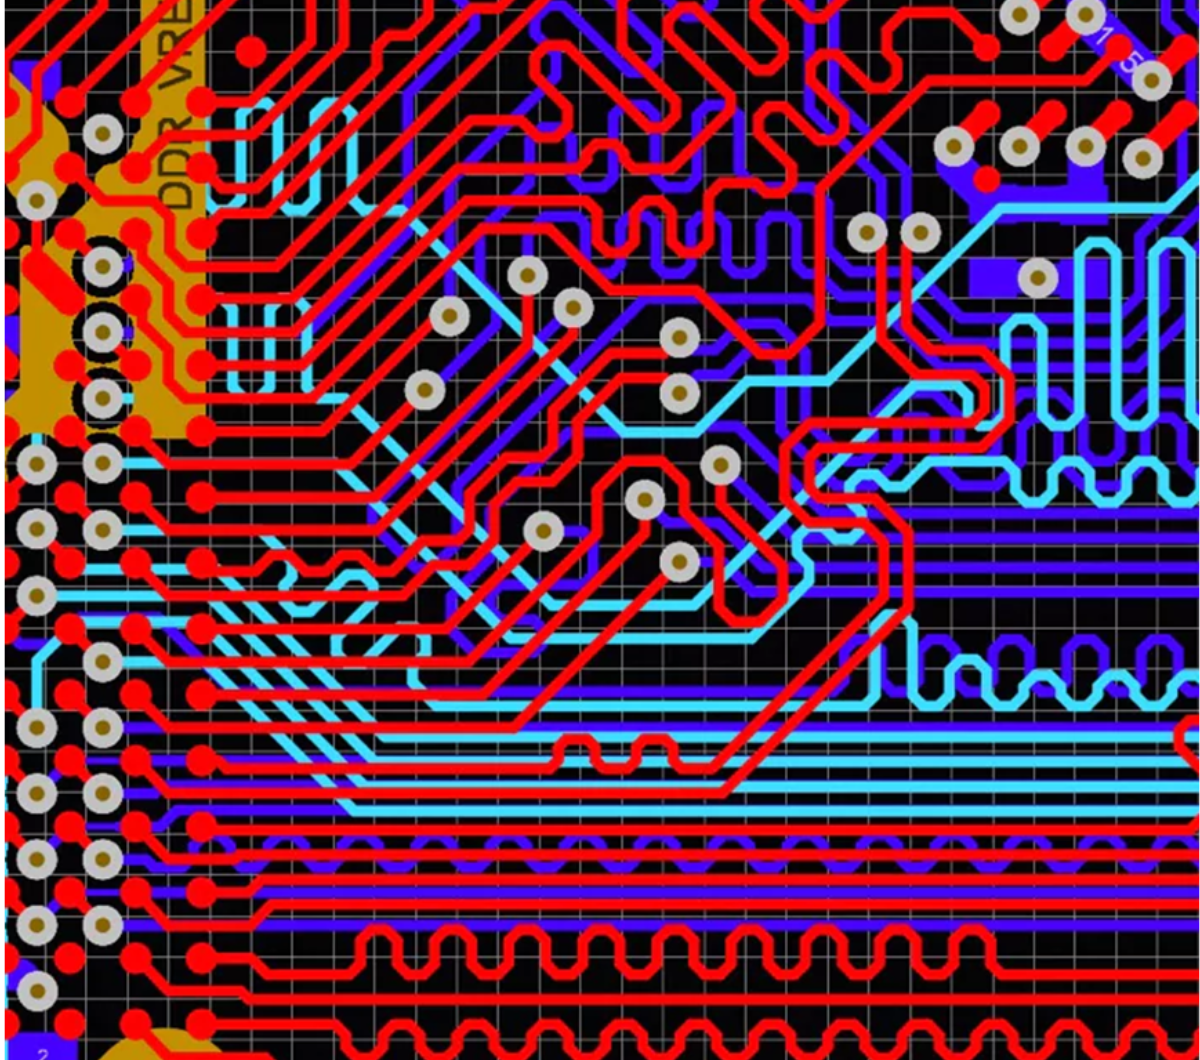
Once the placement is stable, the routing that follows is usually a matter of execution rather than of problem solving.
Automatic Versus Manual Placement
Automatic placement tools optimise a cost function that includes net length, congestion and sometimes thermal criteria. They are useful for exploring a starting arrangement, particularly on boards with many similar components. Manual placement remains necessary for the parts whose position is fixed by mechanics and for the parts where the designer knows something the tool does not.
The practical approach is to let the tool propose and the designer decide, using the ratsnest to evaluate the result. A tool can move a hundred packages in seconds, but it cannot tell whether the placement satisfies the enclosure or the thermal design.
Balancing Congestion and Other Constraints
The ratsnest is a routing guide, not the only constraint. Thermal design, mechanical clearance, connector access, test point reach and assembly sequence all limit where a package may be placed. A placement that minimises net length but blocks the airflow path over a hot component is not a good placement. The practical approach is to treat the ratsnest as the primary indicator during exploration and then check the other constraints before freezing the design.
Assembly enters the picture as well. Tall components should not sit where they obstruct the placement nozzle or disturb the reflow airflow, and connectors that are inserted by hand need room around them. None of these constraints appear in the ratsnest, which is why the final review has to consider the fabricated board rather than only the connection graph.
Finishing the Placement Before Routing
The most reliable rule is not to start routing until the placement is settled. Routing commits the designer to a geometry, and once a large part of the board is routed, changing the placement means deleting work. Reading the ratsnest, checking the congestion and confirming that the critical nets have a plausible path takes a fraction of the time that re-routing costs.
It also helps to review the placement with someone who will not be doing the routing. A second pair of eyes notices the package that is too close to the board edge, the connector that cannot be reached by a tool, and the thermal path that has been blocked by a tall component.
FAQ
Is the shortest total net length always the best placement? No. It is a good indicator for routability, but a placement with a slightly longer total can route more easily if it spreads the connections across the available area instead of concentrating them.
How do I know which package to place first? Use the ratsnest: the package whose connections change least when it moves is the most constrained and should be placed first. Connectors and power components are usually in that group for other reasons.
Can placement be changed after routing starts? It can, but at a cost. Any change invalidates the routing around the moved part, so it is cheaper to settle the placement before the first net is routed.