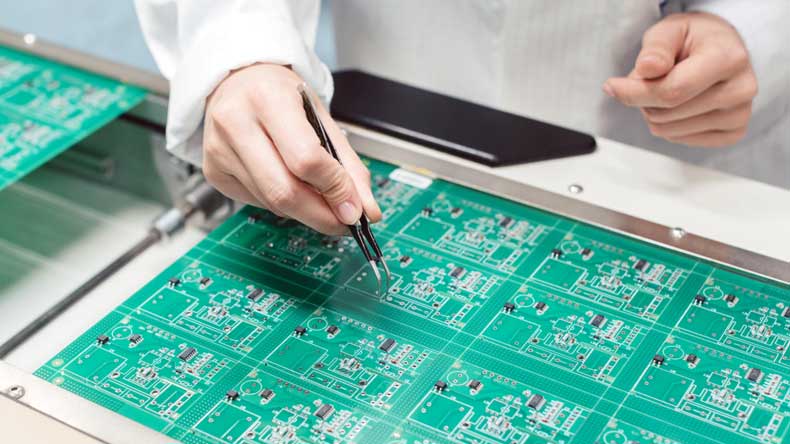
Layout Verification Methods Before PCB Release
Layout verification is what stands between a finished design and an expensive mistake, and it works best as a sequence of independent checks rather than as a single act of inspection. Every check has a blind spot, and the blind spot of one is usually covered by another. A design rule check will not notice that a connector is wired backwards, and a peer review will not notice that a clearance is fifty microns under the fabricator limit.
Why Verification Is a Sequence, Not a Step
Automated checks are fast, exhaustive and literal, while human checks are slow, sample based and good at spotting intent errors. Running the automated checks first removes the trivial mistakes and leaves the reviewer free to look for the things a machine cannot judge. Running them at the end, after the review, wastes the reviewer’s attention on problems a script would have found in seconds.
The order that works in practice is: rule checks, then netlist comparison, then a design for manufacturing review, then the specialist signal checks, and finally the human review. Each stage takes the output of the previous one as its starting point, and the whole sequence should be repeated after any change, however small it appears.
Design Rule Check: What It Can and Cannot See
A design rule check compares the layout against a set of geometric constraints: minimum clearance, track width, annular ring, mask expansion, drill sizes, and the relationships between them. Its value depends entirely on whether the rule set matches the fabricator’s actual capability, which is why rules should be taken from the fabrication drawing rather than from a template that came with the software.
The blind spot is intent. A rule check cannot know that a trace was meant to be wider because it carries two amps, or that a via was meant to be under a thermal pad. Our notes on PCB pad design standards describe the geometry limits that most rules derive from, and those limits should be verified against the chosen fabricator rather than assumed.

Netlist Comparison Against the Schematic
The netlist check compares the connectivity extracted from the layout with the connectivity in the schematic. It catches the class of error that no geometric rule can see: a net connected to the wrong pin, a component placed but never wired, or a part that was changed in the schematic and never updated in the layout.
This check only works if the schematic is current. A design where the schematic was edited informally, or where a fix was made directly in the layout, will pass the comparison while being electrically wrong. Our discussion of the characteristics that define PCB design quality treats schematic and layout synchronisation as a precondition for every other check.
Design for Manufacturing Review
The DFM review compares the design against the process that will build it. Panel utilisation, minimum annular ring, aspect ratio, solder mask registration, copper to board edge clearance and fiducial placement all belong here. Most of these are cheap to fix and expensive to discover after a fabrication query, and the review is best done by the fabricator and the assembler rather than by the designer alone.
This is also the moment to confirm material availability. A laminate that was available during design may be on allocation by the time the board is released, and the substitution may change the impedance or the thermal behaviour. Our notes on PCB material requirements describe how these choices interact with the rest of the stackup.
Signal and Power Integrity Checks
Where the design has controlled impedance routes, the checks are specific: confirm the stackup geometry against the target impedance, verify that every fast net has a continuous reference plane, inspect each layer transition for a return via, and confirm that length tolerances inside each group are met. These checks are tedious and entirely mechanical once the criteria are written down.
On the power side, verify that the current path from the regulator to each load is wide enough, that decoupling capacitors are close to the pins they serve, and that the return path for each capacitor is short. A power integrity problem rarely appears as a rule violation, which is why it needs its own checklist rather than being folded into the geometric checks.

Mechanical and Documentation Checks
Mechanical verification covers the things that a purely electrical review forgets: board outline against the enclosure, mounting hole positions and diameters, connector orientation, component height under a lid and clearance around a flexing cable. A three dimensional check against the mechanical model finds most of these in minutes, and a physical printout at one to one scale finds the rest.
Documentation is part of the deliverable. Confirm that the fabrication drawing, drill table, stackup, impedance table and assembly drawing all describe the same board, and that revision numbers match. A board built from conflicting documents is a board nobody can defend.
Peer Review and the Human Eye
Finally, someone other than the designer should look at the layout with fresh eyes. The most productive review is guided but not scripted: walk the critical nets, look at the power distribution, check the areas that were changed most recently, and ask why anything unusual was done. The designer’s own blind spots are usually in the parts they spent the most time on, not the parts they rushed.
Recording the outcome of the review, including the decisions that were accepted rather than fixed, makes the next review faster and gives the project a record when a question arises later in the build.
Building a Verification Checklist
The value of these checks comes from doing them the same way every time, which means writing them down. A checklist for a four layer board will differ from one for a rigid-flex design with controlled impedance, but the structure is the same: automated checks, connectivity, manufacturing, specialist electrical work, mechanical fit, documentation and independent review. Keeping the list in the project folder, with the date and the result of each run, turns verification from a habit into evidence.
Review the checklist itself after every project. Any defect that reached fabrication is proof that a check was missing or was not applied, and adding that check is the cheapest improvement available. Over a few projects the list becomes the most valuable document the team owns, because it captures the mistakes that were actually made rather than the ones that were merely imagined.
FAQ
Can a clean design rule check be trusted on its own? No. It proves that the geometry respects the rules it was given, and nothing more. It cannot detect an incorrect connection, a component with the wrong footprint, or a design that will not fit the enclosure. It should be the first check, not the only one.
How often should the checks be repeated? After every change that alters connectivity or geometry, however small. A track nudged to clear an obstacle can create a new clearance violation, and a component moved for mechanical reasons can break a length match. Re-running the sequence takes minutes and prevents a respin.
Who should sign off on the design? Someone who is not the designer, and ideally someone who will be affected by the outcome, whether that is the person building the prototype or the engineer responsible for assembly. A single independent pair of eyes catches a surprising proportion of the errors that survive the automated checks.