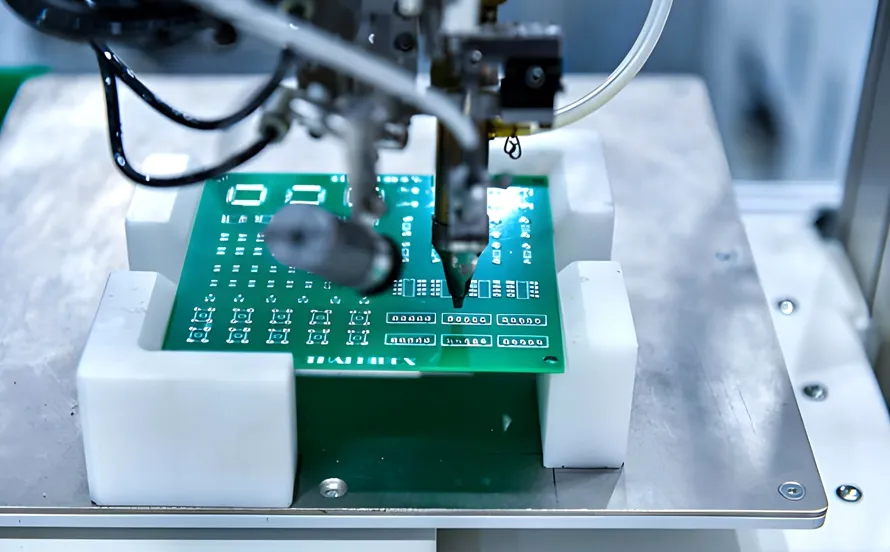
Spray Fluxing in Wave Soldering: Nozzle, Volume and Coverage
Spray fluxing is the step that decides whether a wave soldered joint can form at all, and it is also the step most often left on default settings. The flux has to be applied in the right amount, in the right places, and in a condition that still allows it to work when the board reaches the wave. Too little leaves unwettable copper, while too much leaves residue, voids and a board that fails cleaning. This article covers the practical variables: nozzle choice, transfer efficiency, deposited volume, coverage of through holes, and the monitoring that keeps the process in control.
What Spray Fluxing Has to Achieve
Flux removes the oxide from the copper and the solder, and it prevents new oxide from forming while the joint is hot. In a wave soldering machine the flux is applied to the underside of the board some distance before the wave, so the deposit has to survive a conveyor ride, a preheat zone and the thermal shock of the wave itself. Everything the machine does after the sprayer assumes that the flux is there and still active.
The deposit has to be uniform in the sense that matters. Every joint that will touch the wave must receive enough activator, and no area should receive so much that it cannot be dried or cleaned. Uniformity across a panel with a mixed copper distribution is harder than uniformity across a plain test board, because the copper acts as a heat sink and changes both the dry-out behaviour and the local temperature.
Flux Chemistry and Solids Content
Water based, alcohol based and low solids fluxes behave differently in a sprayer. Alcohol carriers evaporate quickly and need a shorter distance to the preheat zone, while water based formulations dry more slowly and are more sensitive to airflow. Low solids fluxes carry less rosin or resin, so they leave less residue but also tolerate less error in the deposited volume.
The solids content determines how much active material a given volume of liquid delivers. Two fluxes with the same recommended deposition in micrograms per square centimetre can need very different spray settings, because the solids percentage changes the relationship between wet volume and dry film. Reading a recommended wet volume as if it were the dry figure is a common source of under-fluxing.
Nozzle Types and Spray Patterns
Air atomising nozzles, ultrasonic nozzles and reciprocating spray heads each produce a different footprint. A fixed air atomising nozzle produces a fan or cone pattern, and the pattern has to be chosen so that its edges overlap the board width without wasting flux outside it. Ultrasonic nozzles produce a softer, more uniform mist with less overspray, which suits narrow boards and high value assemblies.
Reciprocating heads sweep across the board and can be programmed for a shaped profile, applying more flux at the edges where heat loss is highest. Whatever the type, the nozzle is a wear item. A partially blocked air cap changes the pattern long before it stops spraying, and the change is slow enough that it is usually found by a defect rather than by an inspection.
Controlling the Deposited Volume
The deposited volume is set by the flow rate, the spray time or duty cycle, the number of passes and the transfer efficiency of the nozzle. The most reliable way to set it is by weight: spray a known area of bare copper laminate, weigh it before and after, and convert the gain into a deposition per unit area. That number can be compared with the flux supplier recommendation and repeated later to detect drift.

Weight measurement also separates two failure modes that look identical on the board. A low reading with a normal spray time points at a blocked or worn nozzle, while a normal reading with a changed appearance points at a chemistry or carrier problem. Without the number, both look like the same defect.
Coverage of Through Holes and Solder Side
Spray flux reaches the solder side easily and the hole interiors less so. In a plated through hole the flux has to climb the barrel by capillary action, and the amount that arrives depends on the hole diameter, the board thickness and the wetting of the barrel wall. Small holes in thick boards are the hardest case, and they are also the joints where a missed flux deposit produces an incomplete fillet.
Spraying from below at a slight angle helps, and some processes add a dedicated hole treatment or a foam fluxer for the same reason. Where the board carries press fit connectors or heavy thermal planes, the local demand for flux is higher than the average, and a single flat setting will be wrong in one direction or the other.
Conveyor Speed and Flux Dry-Out
The distance from the sprayer to the preheat zone and the conveyor speed together determine how long the carrier has to evaporate. If the board arrives at the wave with wet flux, the water or alcohol flashes into steam and blows solder away, producing voids, spatter and blowholes. If the deposit is dried too hard, the activator is consumed before it reaches the joint.
Preheat profile and flux loading are therefore one variable, not two. Increasing the conveyor speed to raise throughput shortens both the preheat and the evaporation time, and a setting that was comfortable at the slower speed becomes marginal as soon as the line runs faster.
Process Monitoring and Drift
Spray fluxing drifts slowly. Nozzles wear, filters load, pumps lose output and the flux itself changes as the carrier evaporates from an open tank. A weighing check at the start and end of a shift catches most of this, and a simple record of the weight, the flux specific gravity and the spray settings turns an intermittent defect into a trend that can be seen before it reaches the customer.
The specific gravity of alcohol based flux rises as the alcohol evaporates, and the solids content rises with it, so a tank that is topped up rather than replaced will slowly deliver more solids than intended. That is one reason a defined tank change interval is part of the process rather than a housekeeping habit.
Common Defects Linked to Fluxing
Insufficient flux shows up as incomplete fillets, dewetting around the pad edge and a wave that will not bridge a small gap. Excessive flux shows up as residue, white spots after cleaning, solder balls trapped in sticky flux and a board that fails surface insulation resistance testing. Contaminated flux, usually from a dirty tank or from flux that has been sitting, produces a dull joint and a residue that is hard to remove.
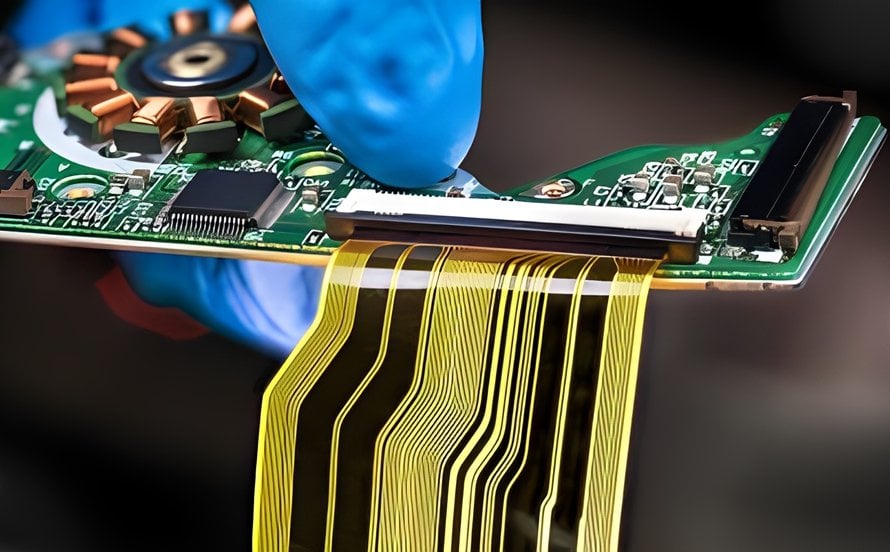
Because several of these defects also have other causes, the fluxing step should be confirmed before other variables are adjusted. Our solder defect notes group the failures by their point of origin, which helps with that order of work.
Setting Up a New Product
A new assembly should be set up by measuring rather than by copying settings from a similar board. Start from the flux supplier recommended deposition, verify that the spray pattern covers the board without excessive overspray, weigh a coupon to confirm the volume, and then adjust the preheat until the board enters the wave dry but not baked. Only after that should the wave parameters be tuned.
The record of those settings belongs with the product file, along with the flux batch, the nozzle type and the weighing result. At gopcb the same discipline applies to the production process flow that carries a board from bare laminate to finished assembly, and it is the reason a repeat order can be run without rediscovering the settings. Our solderability guide covers the surface condition that the flux has to cope with, and our surface finish guide explains how the coating changes what the flux has to remove.
FAQ
How much flux should be deposited per square centimetre? The flux supplier data sheet gives a recommended range, normally expressed as a dry weight per unit area, and the process should be weighed against that figure rather than set by appearance. The correct value depends on the solids content and on how much oxide the surface carries.
Can spray fluxing replace foam fluxing? For most through hole and mixed technology boards it can, because the sprayer reaches the solder side evenly and uses less material. Foam fluxing still has an advantage on very thick boards with small holes, where more liquid is needed to fill the barrels.
Why do joints look fluxed but still fail to wet? The deposit may be present but already consumed, which points at a preheat that is too high or a conveyor speed that is too slow. Contamination on the copper and an exhausted flux batch produce the same appearance.