
Solder Ball Contamination on Assembled Circuit Boards
Small spheres of solder sitting on the surface of an assembled board are one of the most common cosmetic defects in SMT. They are also one of the most misdiagnosed, because the mechanism that produced them determines whether they are harmless or represent a genuine risk of a short circuit later. Understanding where they come from is the only way to eliminate them.
What Solder Balls Are
A solder ball is a discrete sphere of alloy sitting on the board surface, either loose or lightly attached. Unlike a bridging defect, which connects two conductors, a ball may be electrically isolated. The risk it presents depends on its size, its location and whether it is attached firmly enough to survive handling and vibration.
The distinction between a ball and a spatter droplet is worth making. Spatter consists of very fine particles distributed around a joint, usually within a few millimetres, and it indicates a specific mechanism. Balls are larger and more isolated, and they often originate from a different process step entirely, such as paste that was transferred onto the board before assembly.
Where They Come From During Printing
Most solder balls start life as solder paste. Paste deposited where it should not be, or paste that is transferred by contact, becomes a sphere when it melts. Common sources include paste on the underside of the stencil that drops onto the board, paste smeared on the conveyor rails, and paste picked up by a misplaced squeegee stroke.
A less obvious source is the underside of a misprinted board. When paste is deposited and then the board is wiped and reprinted, the wiped area may retain residue that reflows into spheres. Boards that were reworked at the printer, or that were printed twice, should therefore be inspected more carefully than a first-pass board.
Paste and Stencil Contributions
Paste properties influence both the likelihood of spatter and the tendency to leave residue. A paste with a high solvent content generates more volatile material and produces more spatter during reflow, and one with poor antislump behaviour can slump and contaminate the surface between prints. Paste that has been exposed too long thickens and prints poorly, which typically shows up as irregular deposits and extra material.
Stencil condition contributes as well. Apertures with rough laser-cut walls retain paste and release it unevenly, and paste that clings to the wall can be transferred to the next board. Cleaning frequency, aperture quality and stencil tension all interact. Verifying the deposit volume rather than assuming it is one of the most effective controls, and the principles are covered in this guide to solder paste inspection.
Reflow Profile and Spatter
The reflow profile determines how violently the paste releases its volatiles. A ramp that is too fast causes solvent to boil rapidly, ejecting material from the joint and depositing it on the surrounding surface. A soak that is too short has the same effect, because the volatiles have not been given time to leave gradually.
Heating rate is the key variable. Keeping the ramp rate within the paste manufacturer’s recommendation, and providing enough soak time for the flux to activate and dry, removes most spatter. Where the oven has zones that cannot be individually tuned, a longer overall profile is usually the practical solution, provided the time above liquidus stays within limits.
Moisture and Popcorn Ejection
Moisture absorbed into the laminate or into a component escapes as steam during reflow and can eject small droplets of molten solder from a nearby joint. The ejected material solidifies into spheres that may land anywhere on the board. This mechanism is particularly likely when boards have been stored in humid conditions without a bake.
The tell-tale sign is a cluster of balls near a via or a component with a large body, rather than a scattered distribution. Baking the boards before reflow and controlling the storage environment removes the mechanism, which is why an unexpected increase in balling is often traced back to a storage or scheduling change rather than to the printer.
Classification and Inspection Criteria
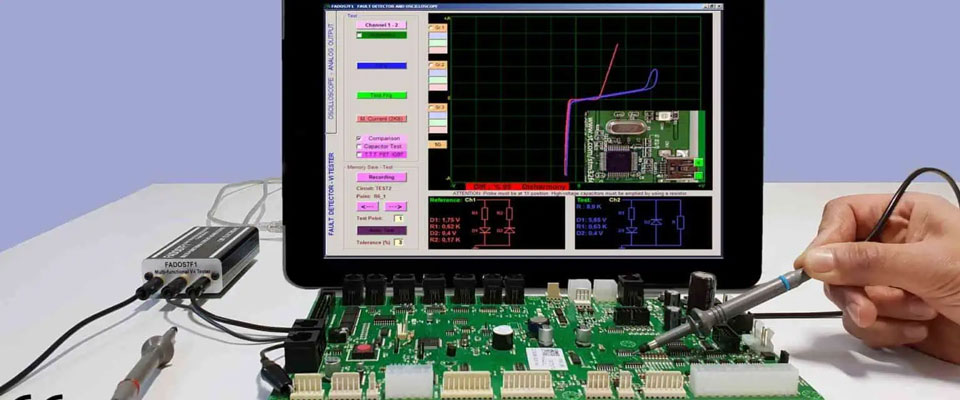
Acceptance criteria usually distinguish between balls that are attached and those that are loose, and between those near conductors and those in open areas. A firmly attached ball in a non-critical area is often acceptable, while a loose ball anywhere is generally a reject because it can move during service.
Size and count thresholds are also common, expressed as a maximum diameter and a maximum number per board or per unit area. The criteria should reflect the product’s environment: a conformally coated assembly with a firmly attached ball poses a different risk from an uncoated board in a vibrating enclosure. The classification logic sits alongside other assembly defect categories described in this overview of solder defect signatures.
Cleaning and Removal Methods
Removal depends on attachment. A loose ball can be brushed away, but brushing risks spreading paste residue or dislodging other material, so it should be done with a controlled method and followed by inspection. An attached ball must be removed with a soldering iron or a hot air tool, which introduces thermal and mechanical risk to the surrounding area.
Cleaning the board after assembly reduces loose contamination, but it does not remove balls that have bonded to the surface. Where a product specification prohibits balls entirely, the process must prevent them rather than relying on inspection and rework, because a small ball in a dense area can be extremely difficult to find and remove reliably. The practical limits of rework are discussed in this guide to PCB quality judgement.
Prevention in Process Design
Prevention begins at the printer, because that is where the raw material is handled. Under-stencil cleaning on a defined cycle, careful handling of printed panels, and immediate correction of any misprint all reduce the amount of stray paste on the board. Paste that is not on the board cannot become a ball.
Storage and reflow control address the second mechanism. Baking boards that have absorbed moisture, controlling humidity in the assembly area and verifying the reflow profile at defined intervals remove the ejection pathway. Together, printer discipline and thermal control account for the majority of balling that appears in production.
Specification and Customer Expectations
A specification should state whether any balls are permitted, the maximum size and count if they are, and how attachment is determined. Written criteria that an inspector can apply consistently are essential, because the difference between a harmless attached sphere and a loose one is not always obvious.
It also helps to explain the mechanism to the customer. A defect that is understood as a process artifact with a known cause and remedy is easier to discuss than one that appears intermittently. Documented corrective action, with before and after data, is usually what resolves a complaint about balling. A customer who can see the inspection data behind a disposition is far more likely to accept a technically sound judgement than one who is simply told that the defect is cosmetic.
FAQ
Are solder balls always a defect? Not always. A firmly attached ball in an area away from conductors is often acceptable under a defined specification, and many standards set size and count limits rather than prohibiting them entirely. A loose ball is a different matter, because it can migrate and cause a short.
Does cleaning remove solder balls? Cleaning removes loose material and reduces the population, but it does not remove balls that have fused to the surface or to a joint. Those must be removed mechanically or with heat, which carries its own risk. Prevention at the printer and in storage is more reliable than removal.
Why did balling suddenly increase? The usual causes are a change in paste lot or age, a stencil that needs cleaning more often, an increase in ambient humidity, or boards that were stored longer than usual before reflow. Comparing the printer and storage records for the affected lot with the previous lot usually identifies the change.