Stencil Cleaning Frequency and Methods on SMT Lines
A stencil is the tool that defines every solder joint on a board, and it is also the part of the process that is cleaned least often in proportion to its importance. Paste left in an aperture changes the volume of the next deposit, and paste left on the underside transfers to the board on the next print. Stencil cleaning frequency and method are therefore direct process controls rather than housekeeping, and the deposit data responds immediately when either is changed.
Why the Stencil Has to Be Cleaned
Paste contains flux, metal powder and solvent, and all three change as the paste is worked. Solvent evaporates from the thin film left on the stencil surface, the flux thickens and the powder oxidises, so residue that stays on the tool becomes progressively harder to remove and progressively more harmful to the print.
Residue on the underside is worse than residue on the top, and it is also less visible from the operator position. It lifts the stencil away from the board at the point where it sits, which increases the gap locally and allows paste to smear under the stencil on the next stroke, producing bridges and inconsistent deposits across the whole panel.
Aperture Blockage and Its Symptoms
A blocked aperture produces a deposit that is short of paste, and the resulting joint after reflow is concave or incomplete. The blockage grows gradually as dried paste builds on the walls, so the first sign is usually a slow fall in deposit volume rather than a sudden defect, and by the time a defect appears the aperture may be substantially closed.
The symptom is easy to confuse with a paste problem or a worn squeegee. Measuring the deposit volume, as described in the guide to solder paste inspection, separates the possibilities, because a blockage produces a low volume that repeats at the same aperture on every board.
Under Stencil Cleaning
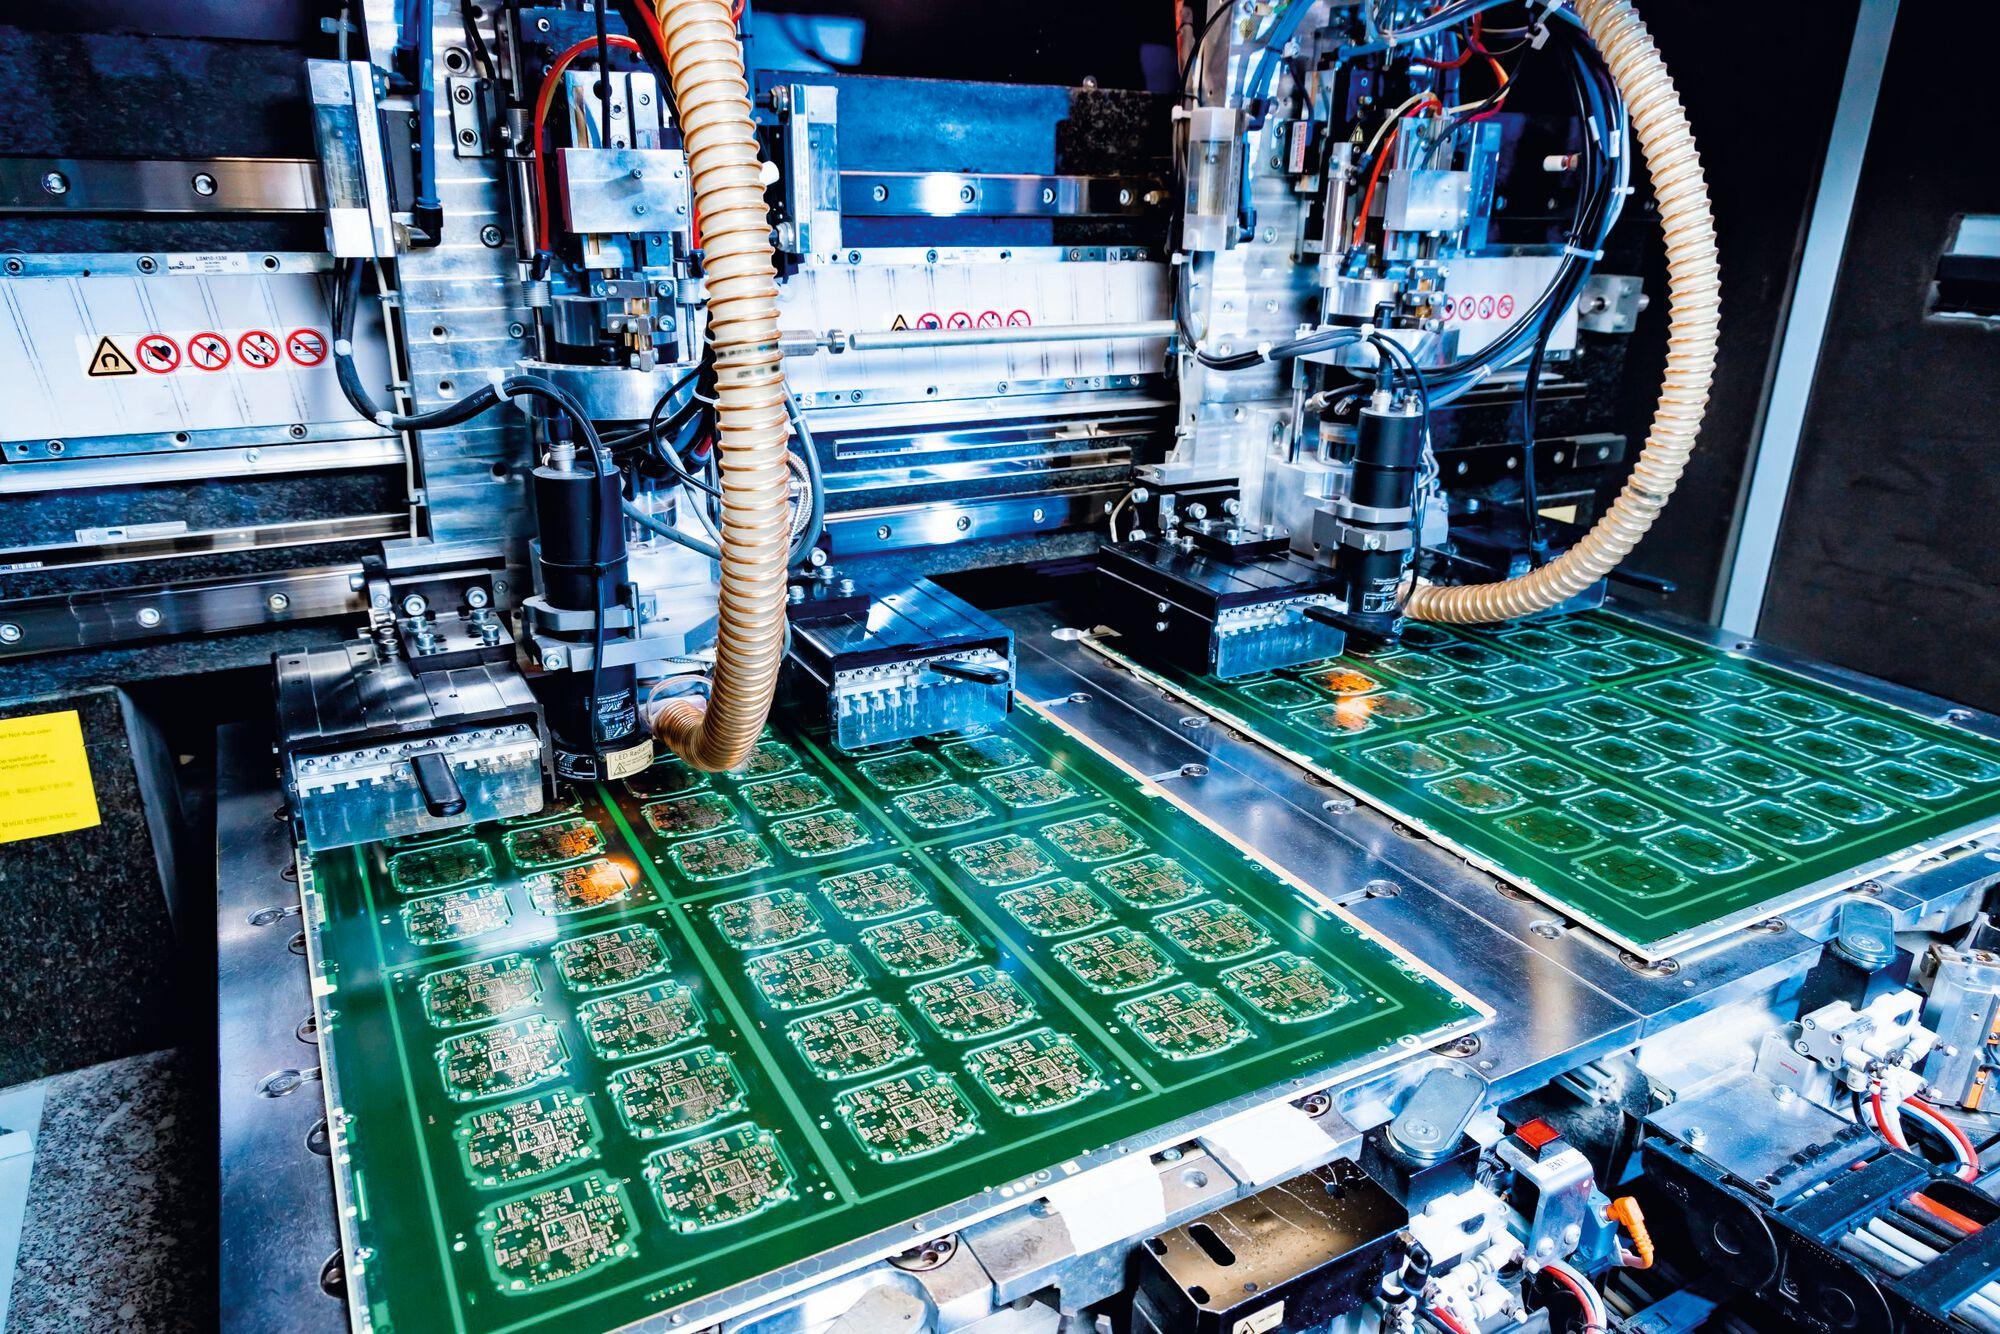
Most printers include a cleaning system that wipes the underside of the stencil between prints, using a roll of paper or fabric that is advanced after each wipe. The system is effective when it is set up correctly and nearly useless when it is not, and it is the first thing to check when print quality drifts.
The parameters that matter are the wipe frequency, the vacuum level, the solvent delivery and the condition of the roll, and each of them can be verified in a few seconds at the machine. A roll that has run out, a vacuum that is blocked or a solvent that has dried up will each produce a clean looking machine and a dirty stencil, and the resulting defects will be attributed to the paste.
<img src="https://www.gopcba.com/wp-content/uploads/2026/08/microwave-PCB-substrate.png" alt="Aperture checked for paste residue blockage under backlight” />
Batch Cleaning Methods
Periodically the stencil is removed and cleaned thoroughly, either in a dedicated stencil washer or in an ultrasonic bath. These methods remove the residue that the in line wipe cannot reach, including material inside the apertures, and they restore the release characteristics of the tool.
The choice between them depends on the chemistry and on the stencil. An ultrasonic bath reaches into the apertures but has to be set so that it does not attack the frame, the mesh or any coating, while a spray washer is gentler and may leave more residue in a very small opening. The choice should be made for the smallest aperture on the stencil rather than for the average one. The frequency should be set from the deposit data rather than from a fixed interval.
Cleaning Chemistry and Compatibility
The chemistry has to dissolve the paste residue without attacking the stencil or its coating. A solvent that is too aggressive removes the nano coating that improves paste release, and the loss is not visible until a fine pitch aperture stops releasing properly and the deposits become ragged.
The compatibility of the chemistry with the stencil, the frame adhesive and the coating should be confirmed with the supplier and verified on a sample before it is used in production. A change of chemistry is a process change and should be treated as one, with a print trial and a deposit measurement rather than an assumption that a cleaner is a cleaner, because the effect on the coating and on the release is not always visible at first.
Drying and Inspection
A stencil must be dry before it goes back on the printer, because residual solvent dilutes the paste and changes its rheology at the first print. Drying is normally done with compressed air, with a controlled air knife or in a drying cabinet, and the method should be quick enough not to hold up the line and thorough enough to remove liquid from every aperture.
Inspection after cleaning is quick with a light behind the stencil. A clean apertures lets light through, while a blocked one does not, and the check takes seconds. Doing it every time is what prevents a cleaned stencil from being returned to the line still blocked, and the habit costs less time than the rework it avoids.
Frequency and Triggers
The frequency depends on the paste, the aperture size, the volume printed and the environment. A line running fine pitch apertures in a warm room needs more frequent cleaning than one running coarse features in a controlled room, and the interval should be short enough that the deposit data does not drift. As a starting point, the volume of paste printed through the stencil is a better measure than elapsed time, because a busy line fouls its stencil faster than an idle one.
Triggers matter as much as the interval. A change of paste, a long pause in production, a print that was interrupted or a visible smear on the board should each prompt a clean. Those events are the ones that produce the deposit problems, and they do not follow the schedule, so the work instruction should name them explicitly.
Storage and Handling
A cleaned stencil should be stored so that it does not collect dust and does not rest on its mesh. A rack or a cabinet with a defined place for each stencil prevents the damage that comes from leaning one sheet against another, and it also makes it obvious when a stencil is missing, which is worth knowing before a production run rather than during it.
Handling should avoid touching the apertures and the mesh, because a fingerprint or a dent changes the release locally. The frame and the tension are part of the tool as well, and a stencil whose tension has dropped, as described in the guide to stencil frame tension, will produce uneven deposits no matter how clean it is.
Records and Line Discipline
The records should show when each stencil was cleaned, by which method, and what the deposit measurement showed afterwards. Those records turn a maintenance activity into a process control, and they allow an interval to be extended or shortened on evidence.
Discipline is what makes the records meaningful. The cleaning method should be defined in a work instruction, the materials should be controlled, and the check should be part of the job rather than an extra task when time allows. The same approach to defining and recording a process step is described in the guide to judging PCB quality.
FAQ
How often should a stencil be cleaned? The in line wipe should run continuously, while the full clean depends on the paste and the apertures. A common approach is to clean at every product change and at a defined interval during long runs, with the interval confirmed by measuring the deposit volume before and after.
Can a stencil be cleaned too often? The cleaning itself is not harmful if the chemistry and the method are compatible, but each handling operation carries a risk of damage. A stencil that is cleaned more often than necessary is exposed to more handling, so the interval should be set from the data rather than minimised.
What is the best way to check that an aperture is clear? Hold the stencil up to a light. A clear aperture passes light and a blocked one does not, and the check is fast enough to be done after every clean. For fine pitch work a microscope gives a more definite answer.