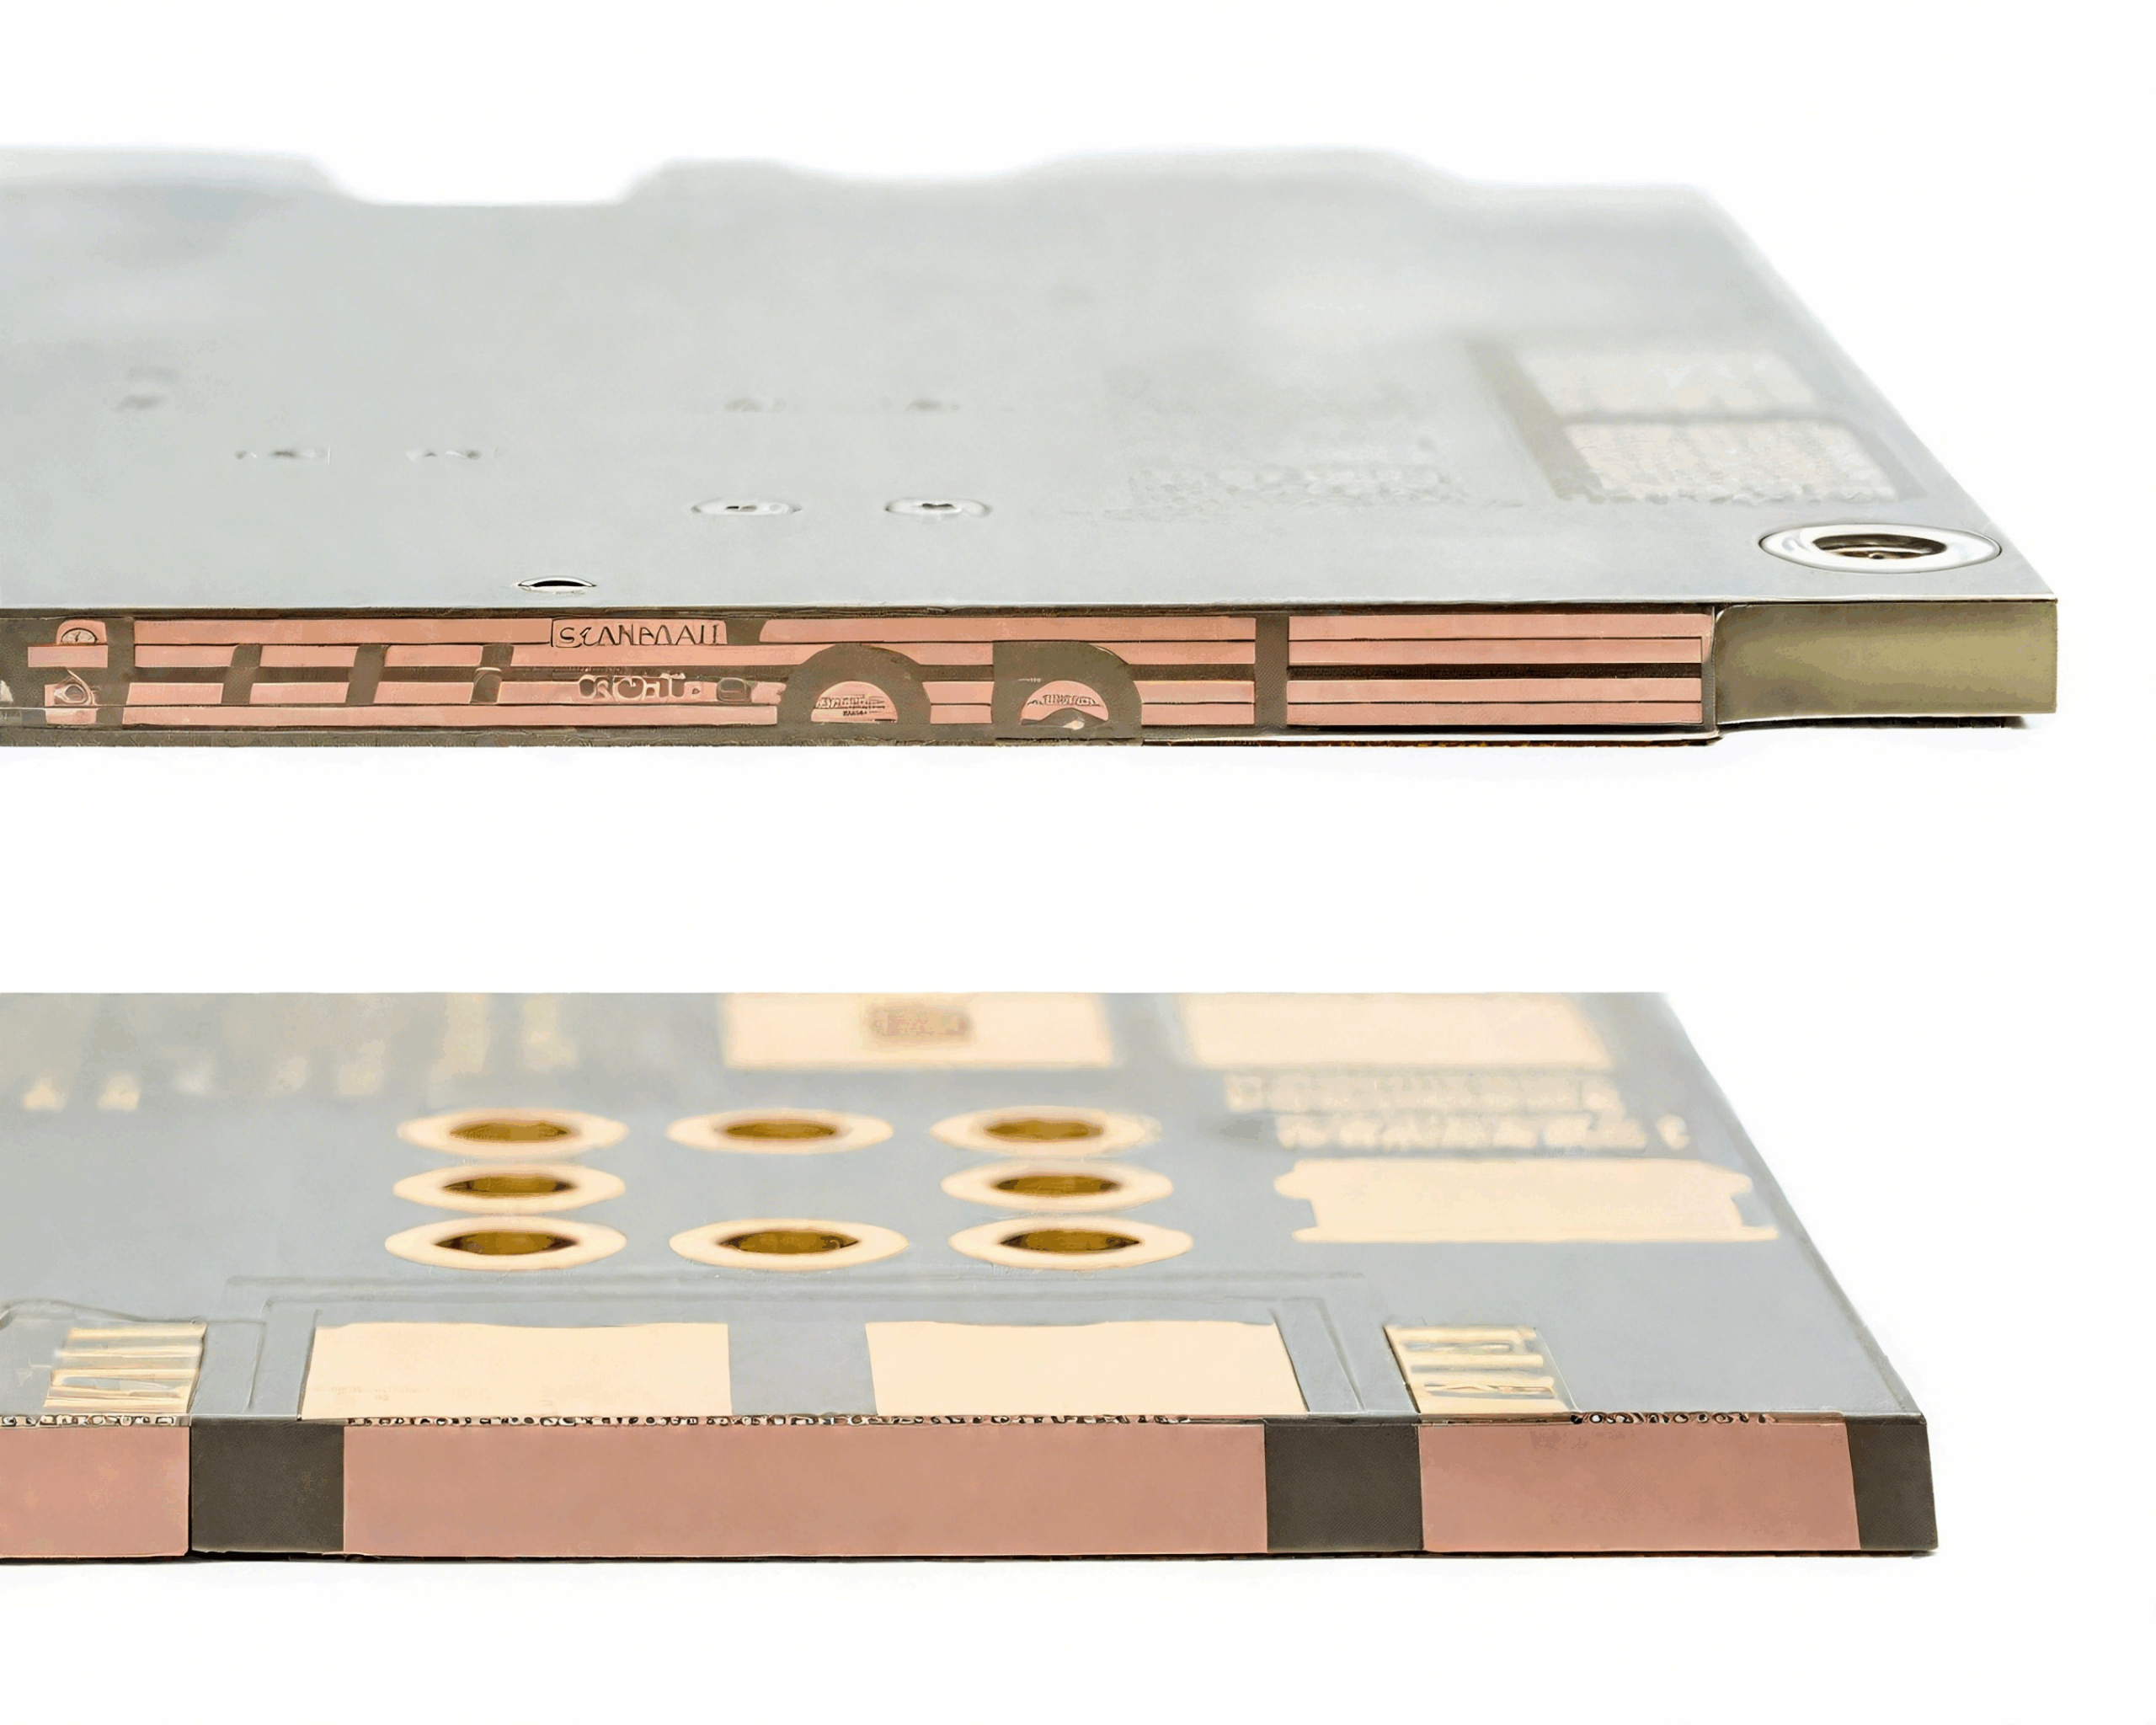
Glob Top Encapsulation: Dispensing and Cure Control
A glob top is a dome of filled epoxy dispensed over a bare die or a delicate area of an assembly to protect it from moisture, contamination and mechanical damage. It is the cheapest encapsulation available for a chip on board product, and it is also one of the least forgiving, because every property that matters, from adhesion to thermal expansion, is set by a material that is applied in a single step and then cured.
The process window is narrower than it looks. The material has to flow to the edges of the area to be covered, wet the surface it touches, release the air it traps, and then cure without pulling away from the components underneath. Each of those requirements is a separate parameter, and a change made to satisfy one of them usually moves another.
What a Glob Top Does
The primary function is a barrier against moisture and ionic contamination, which protects the die surface and the wire bonds from corrosion. The second function is mechanical protection during handling, and the third is electrical, in some designs, where the encapsulant also raises the surface insulation resistance between fine features.
It does not seal the assembly hermetically and should not be expected to. Epoxy transmits water vapour slowly, and a glob top works by slowing the ingress of moisture rather than by stopping it. Where a hermetic barrier is needed, the package is a different design entirely, and the comparison between a coating, a glob top and a potting compound is set out in the notes on coating and potting.
Materials and Their Properties
Glob top materials are filled epoxies, and the filler content controls the coefficient of thermal expansion. An unfilled epoxy expands at 60 to 80 parts per million per degree, while a well filled material can be brought to 20 to 30, which is far closer to the silicon it covers and to the laminate beneath it. The mismatch that remains is the source of most stress related failures.
The glass transition temperature and the cure schedule matter for the same reason. A material with a low glass transition softens during a thermal cycle, and one that is cured too quickly develops internal stress that appears later as a crack or as a lifted wire bond. The selection side of those properties is covered in the notes on potting compound selection.
Dam and Fill Versus Single Dot
Two dispensing strategies are used. A single dot places a volume of material over the die and lets it flow out to a defined boundary, which is simple and fast, and it depends on the surface energy of the area being uniform. A dam and fill process dispenses a high viscosity bead around the perimeter first, cures or partially cures it, and then fills the enclosed area with a lower viscosity material.
The dam and fill approach gives a straighter edge, a more predictable height and better control over where the material stops, which matters when the glob top sits close to a connector or a test point. It costs an extra pass and an extra cure step. The single dot is used where the boundary is defined by a mask opening or a keepout that the material will not cross, and it is the standard choice for a simple die on board.
Dispensing Equipment and Programming
The dispenser controls the volume through the needle diameter, the pressure, the time and the needle height above the surface. A needle that is too close touches the previous deposit and drags the material, while one that is too high places the material inaccurately and introduces air. The height is set from the surface of the die or the board, which means the fixture has to hold the assembly flat and repeatably.
The pattern is programmed as a path rather than a point. A perimeter path followed by a fill path gives a controlled edge, and the speed is set so that the material does not pile up at the corners. The deposit is measured by weight or by profile rather than by eye, and the measurement is the basis for adjusting the program.
Cure Profile and Shrinkage
Cure converts the liquid into a solid and shrinks it at the same time. A typical schedule for this class of material is 30 to 60 minutes at 125 °C, or a longer time at a lower temperature where a component cannot take the higher one. Shrinkage of a few tenths of a percent is normal, and it is the reason a large glob top pulls on the wire bonds at its edges.
A two stage cure is used where the deposit is thick. The first stage gels the surface at a moderate temperature so that the material does not skin over while the interior is still liquid, and the second completes the cure. Skipping the first stage traps solvent and produces a void in the middle of the dome, which is invisible from outside and appears later as a blister.
Wetting, Bleed and Contamination
Adhesion is what keeps the material in place, and adhesion is destroyed by contamination. Flux residue, mould release, silicone and fingerprints all reduce the bond between the epoxy and the surface, and the failure appears as creep, where the material lifts at the edge and moisture travels underneath it. Cleaning the area before dispensing is therefore part of the process rather than a preparation for it.
The surface also sets the spread of the material. A mask surface with a low surface energy lets the epoxy bead up, while a clean laminate allows it to flow. Bleed, the thin film of resin that travels ahead of the main deposit, is controlled by the surface energy and by the viscosity, and it can be limited by a mask dam. The residue that causes adhesion loss is the same material that has to be removed before coating, as described in the notes on flux residue and coating adhesion.
Voids and Bubbles
Air enters the material in three ways: it is mixed in during dispensing, it is trapped under the deposit as the material flows over a component, and it is released from the surface as the material wets it. The first is controlled by degassing the syringe and by avoiding turbulence in the needle, the second by dispensing from one edge so that the flow front pushes air ahead of it, and the third by a slow enough cure that the gas can rise before the material gels.
A void in a glob top is a route for moisture and a stress concentration. Where the requirement is tight, the deposit is inspected by X-ray or by ultrasound, and the sample is sectioned. A simple and effective control is a cure that starts slowly, because most bubbles that remain are those that were formed after the surface had already gelled.
Inspection and Acceptance
Visual inspection confirms the coverage, the edge position, the absence of exposed wire bonds and the absence of bleed onto adjacent pads. Coverage is the critical parameter: a wire bond that is not covered is unprotected, and a deposit that has flowed onto a test pad prevents contact. Height is measured on a sample with a profile projector or a laser sensor.

The joint requirement is the package level test. A thermal cycle confirms that the material and the wire bonds survive together, and the cure that produced the sample has to be the production cure rather than a laboratory one. The cure control that supports those results is described in the notes on underfill flow and cure, which faces the same class of problem in a different geometry.
Process Control and Records
The controls are the material lot with its expiry, the mix and degas procedure, the needle size and height, the dispense program revision, the deposit weight, the cure profile and the room conditions. Each is recorded, and the deposit weight is the single most useful number because it catches a drifting dispenser before the coverage does.
The records should also include the cleaning step before dispensing and the time between cleaning and dispense, because that interval is where contamination creeps back in. With those records, a creep or a voiding problem can be attributed to a material lot, a program change or a delay in the line rather than to the encapsulant itself.
FAQ
Can a glob top be reworked? It can be removed mechanically and locally, and the area has to be cleaned and re-dispensed. The wire bonds beneath rarely survive the removal, so rework is usually a scrap decision.
Why does the edge of the dome lift? Adhesion loss from contamination or an incomplete cure. The material shrinks as it cures, and the stress is concentrated at the edge.
Is a dam always necessary? Only where the material has to stop at a defined line. A mask opening or a keepout can serve the same purpose on a simple shape.