Screw Torque Control in PCBA Assembly: Drivers and Checks
Screw torque control covers every threaded fastener on an assembled board, from a small bracket screw to a heat sink stud. The torque applied decides whether the joint stays tight in service and whether the board underneath survives the assembly operation. It is a process setting, not a personal judgement. A loose bracket or a cracked boss becomes a warranty claim that starts on the assembly bench.
Threaded hardware is often added late in the build, which is exactly when process control is weakest. A driver that is out of calibration or set by feel will strip threads, crack bosses and still pass a visual inspection. The control has to be written down and checked like any other parameter on the line.
What Screw Torque Control Covers
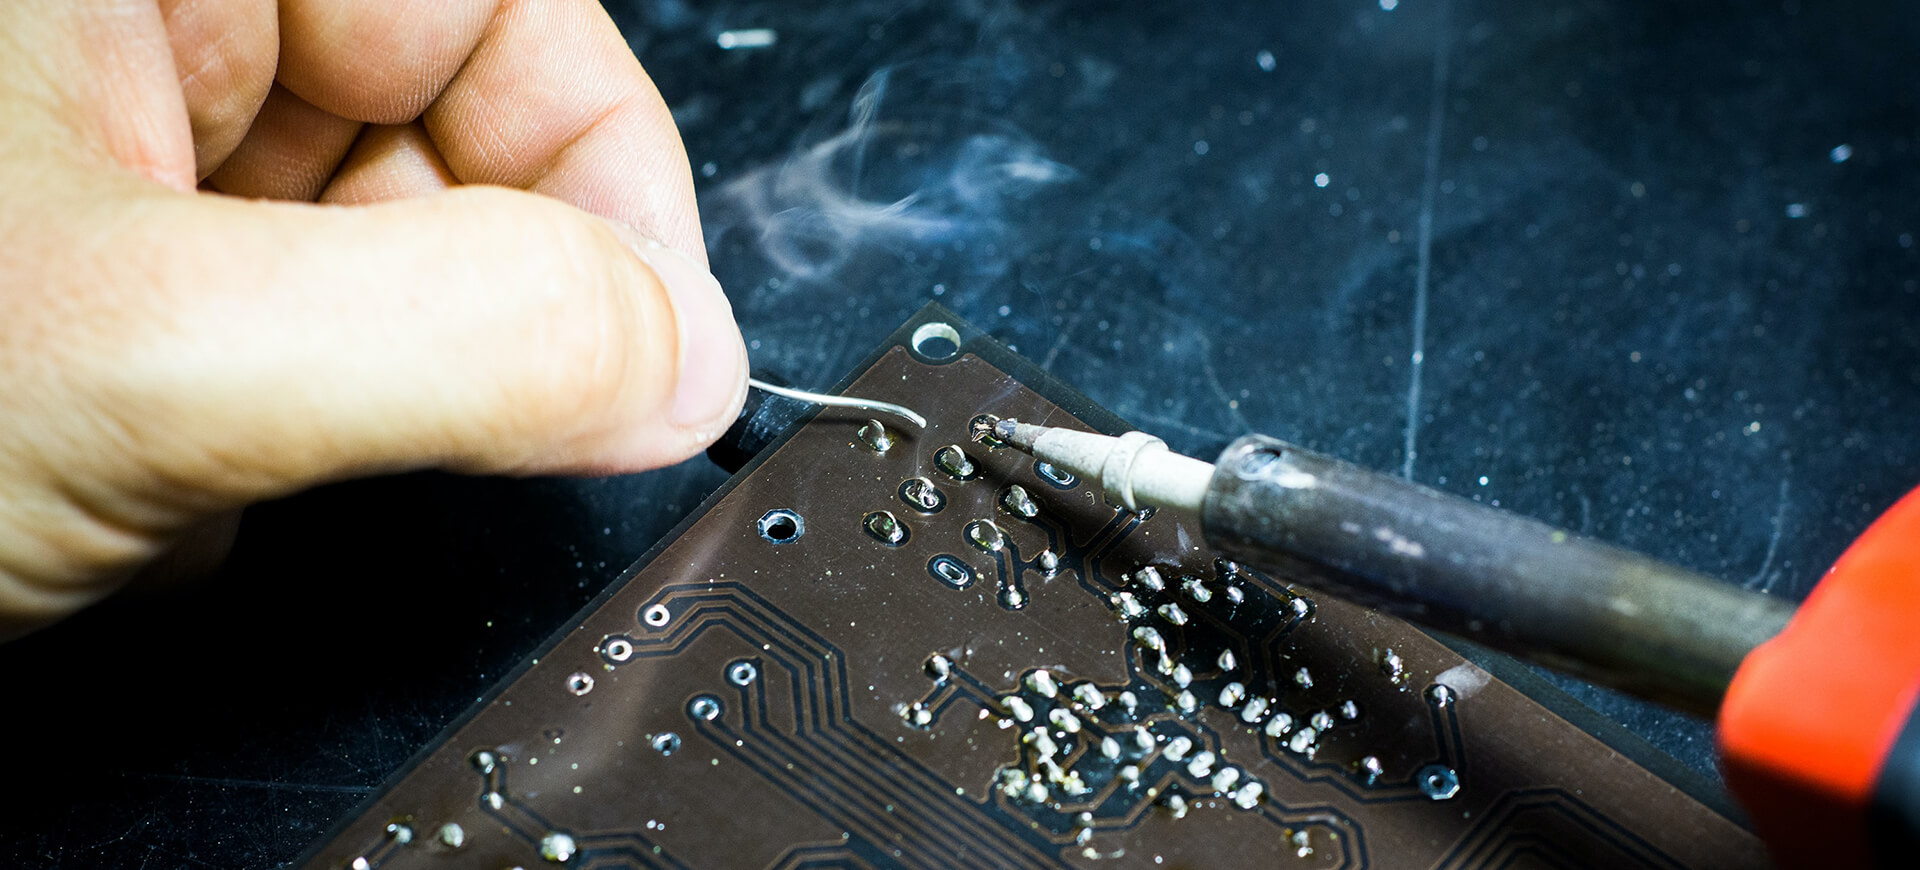
Torque control covers the driver, the bit, the fastener, the hole or boss it enters, and the specification that ties them together. Each of those can change the result, so the specification has to name all of them. A torque value quoted without the screw size means very little to a production team. Every one of those parts has a tolerance, and the torque result is the sum of them.
It also covers the sequence when several screws hold one part, because the first screw can tilt the component and preload the rest. Torque applied in a circle from one corner is not the same as torque applied in a cross pattern. The work instruction should show the order rather than leave it to habit.
Driver Selection and Clutch Type
Drivers differ in how they stop: a clutch that slips, a clutch that shuts the motor off, and a current-limited driver that infers torque from the motor. Each holds a different tolerance and each drifts in a different way. The choice should follow the tolerance the product needs, not the tools already on the shelf.
The bit matters too. A worn cross bit cams out and chews the screw head long before the clutch releases, and an oversized bit spreads the load into the wrong part of the recess. Bits belong in a replacement schedule rather than in a drawer. A cam-out also sends side load into the board, and that damage is often blamed on the screw.
Setting the Torque Value
The torque value comes from the fastener supplier, the connector datasheet or the hardware standard the product is built to. Where more than one source applies, the lowest figure that still holds the joint is the safe starting point. Hardware drawings usually state a range, and the middle of that range is easier to hold.
The setting should be validated on a sample of the actual board, because the laminate, the plating and the boss design all affect how much torque the joint can take. Boards from a different supplier can behave differently at the same setting, and that difference is easy to miss. Revalidation after a laminate or finish change is part of the control, and the tolerance work in PCBA assembly tolerance studies shows why.
Thread Damage and Boss Failure
Thread damage shows as a screw that spins without tightening, a stripped plastic boss, or a crack that appears after the unit is in service. Over-torque causes most of it, but cross-threading and worn bits do their share of the work. Both faults look identical once the screw is in place.
Self-tapping screws cut their own thread, so the required torque is higher on the first insertion and lower on the second. If a screw is removed and refitted, the torque value from the first pass is no longer valid. Rework rules should say how many insertions a boss can take, and the assembly work instruction is where those rules belong.
Screw Types and Material Pairing
Fastener material has to suit the environment as well as the load. Stainless steel screws in a stainless boss gall and seize, while steel screws in aluminium can corrode in damp conditions. The pairing should be chosen at design and then protected in the process. A thread locking compound or a patch screw is often cheaper than a change of material. A manual station also depends on operator training that has to be refreshed regularly.
Plated finishes add another variable, because a zinc-plated screw has a different friction coefficient from a bare one and the same torque then produces a different clamp load. Where a specification quotes torque, it assumes a particular finish. Changing the supplier without changing the specification is a common source of loose hardware.
Manual versus Programmed Drivers
A manual driver relies on the operator holding the tool square and stopping at the signal. It works for low volumes and forgiving joints, and it is difficult to audit. Programmed drivers record each screw and refuse to continue when a value is missed. The recorder is what turns torque from an opinion into data.
Automation is not always the answer, because a robot applying torque to a warped board can push the board rather than the screw. Where boards are thin or support is poor, a manual station with a calibrated driver and a support fixture is often more reliable. The choice should follow the joint rather than the equipment list.
Verification and Calibration
Verification means checking the torque driver against a torque analyser at the start of a shift or a build, and recording the result. A driver that reads its own torque is not verifying itself, because the transducer and the readout can drift together. Only an external reference shows the true value.
The measurement should be taken in the middle of the range the driver uses, and again near the ends. A driver that is accurate in the centre and wrong at the top will pass a simple check and still damage hardware. Joint audits on the finished board complete the picture, and the acceptance criteria usually come from the PCBA inspection standards or from the documents published by IPC.
Records and Rework Rules
The record should carry the driver number, the calibration date, the torque setting, the fastener and the product it was used on. That is enough to trace a loose hardware complaint back to a specific station and shift. Records kept only in a personal notebook are not records.
Rework rules should define how a stripped boss is handled, how much thread locking compound is used, and when a board must be scrapped rather than repaired. A repair that hides the damage is worse than the original fault. Where a screw cannot be torqued to specification, the assembly should be quarantined until the cause is understood. Reviewing that record monthly shows whether the settings are actually being held.

FAQ
Why does screw torque need a written specification? Because the value depends on the screw, the boss and the finish together. A number without those details cannot be reproduced on another line or after a supplier change.
What causes most thread damage? Over-torque, cross-threading and worn bits. All three are process faults, and all three appear as the same spinning screw at the end of the build.
How often should drivers be verified? At least at the start of each build, and after any drop or repair. A driver used for safety-critical hardware is usually verified every shift.