Quadcopter PCB Guide: Design, Components and Cost for Beginners
Quadcopters are the most common type of drone in the world today. They appear everywhere from hobby parks to film sets, agricultural fields, and industrial inspection sites. Inside every one of these aircraft sits a small, dense circuit board that acts as the brain and nervous system of the machine: the quadcopter PCB. This guide explains what a quadcopter PCB is, which components it carries, how it works, what it costs, how it is manufactured, and what beginners should look for when designing or buying one.
What Is a Quadcopter PCB?
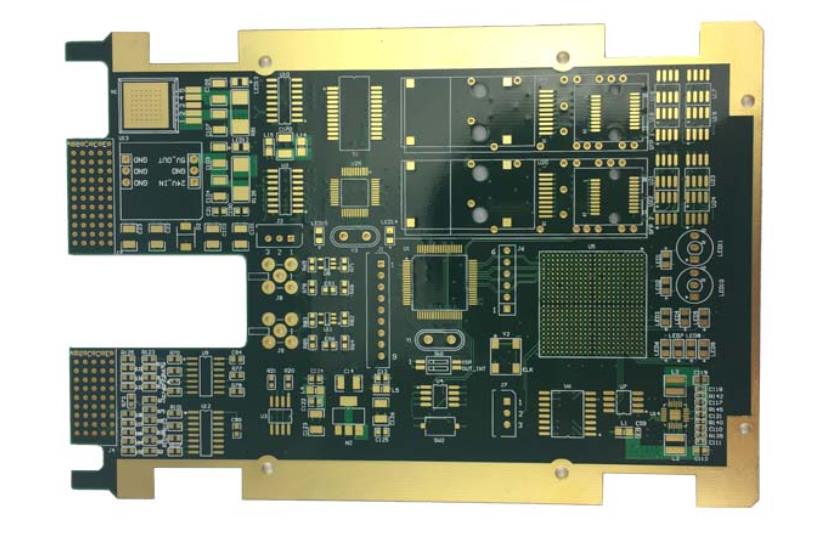
A quadcopter PCB is the printed circuit board that integrates the electronics controlling a four-rotor drone. It mounts the flight controller chip, sensors, communication modules, and motor driver circuits, and routes every electrical connection between them. Because the aircraft must react to wind, throttle changes, and radio commands in milliseconds, the board’s layout and quality directly affect how stable and responsive the drone feels in the air.
The board is often described as the drone’s nervous system. It gathers data from sensors that measure rotation and acceleration, processes that data with flight software, and sends precise signals to the four motor controllers. If any part of that chain is weak, the symptoms appear quickly: delayed commands, drifting hover, vibration-induced noise, or even a complete loss of control. This is why serious quadcopter builders treat PCB quality as a flight-safety issue rather than a commodity purchase.
Core Components on a Quadcopter PCB
A typical quadcopter board brings several functional blocks together. The microcontroller unit processes flight data and runs the control loop that keeps the aircraft balanced. The power management system distributes battery voltage to the motors, sensors, and radio, converting it into the clean rails the logic circuits need. The sensor cluster, normally a gyroscope, accelerometer, and barometer, measures attitude and altitude for the flight software. Motor drivers or electronic speed controllers regulate the brushless motors, and the communication module, whether Wi-Fi, radio, or Bluetooth, links the drone to the pilot.
These blocks must share one small board without interfering with each other. Motor currents are large and noisy, while sensor signals are tiny and sensitive, so layout decisions, ground planes, and component placement determine whether the electronics work reliably in flight. A well-designed quadcopter PCB separates the power section from the sensing section and keeps return paths short, giving the flight controller clean data to work with.
How a Quadcopter PCB Works
The working principle of the board can be summarized in three functions. Signal processing receives commands from the remote control and translates them into motor instructions through the microcontroller. Power management allocates energy from the battery to the motors, sensors, and radio according to the current flight state. Flight control continuously reads the gyroscope and accelerometer, compares the actual attitude with the commanded attitude, and adjusts motor speeds many times per second to keep the aircraft level.
When the PCB design is weak, latency and noise appear in that loop. A drone that responds slowly, vibrates in a hover, or drifts without command input is often showing symptoms of a layout or component issue on the board. When the design is strong, the aircraft feels locked-in: stable in wind, predictable in turns, and tolerant of aggressive maneuvers.
Types of Quadcopter PCBs by Application
Quadcopter boards fall into three broad tiers. Entry-level boards power toy and beginner drones and typically cost USD 10 to 30 per unit; they use simpler stack-ups and fewer sensors. Professional-grade boards for commercial drones range from USD 50 to 150 and include better thermal management, more reliable materials, and redundant interfaces. Custom boards for racing, industrial inspection, and cinematography drones usually cost USD 200 to 300 or more because they are tailored to a specific airframe, payload, and flight envelope.
The right tier depends on the mission. A beginner building a first quadcopter can start with an entry-level board and focus on learning assembly and tuning. A company producing inspection drones needs professional-grade reliability and documentation. A racing team needs a custom board optimized for weight and response. Understanding these tiers keeps expectations, budgets, and performance aligned.
Key Design Considerations for Quadcopter PCBs
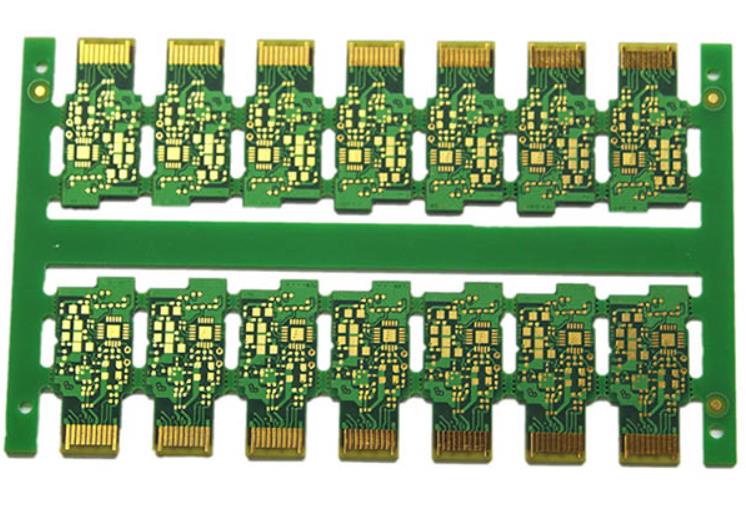
Weight is the first design driver for any flying board. Every gram saved extends flight time, so designers use thin laminates, compact placement, and only the layers the routing truly needs. Thermal management follows closely, because motor drivers and regulators generate heat in an enclosed airframe with little airflow. Copper pours, thermal vias, and careful placement keep hot components below their limits during hard flights.
Electromagnetic interference control matters more on drones than on most ground products. The radio must stay connected while motors switch large currents, so designers use ground planes, filtering, and shielding to keep noise away from the receiver and sensors. Material selection is usually FR-4 or high-Tg FR-4 for durability, with four or more layers on advanced aircraft to give the routing and grounding the design needs. Every one of these choices trades weight, cost, and reliability, which is why experienced drone engineers iterate with their fabricator on stack-up and layout before finalizing the design.
Component placement deserves special attention in quadcopter design. The inertial sensors must sit close to the aircraft center of gravity, where vibration is lowest, and their traces should avoid motor-drive currents that can corrupt the measurements. The radio and its antenna need clear placement away from the power section, while the motor outputs belong near the board edge so that thick copper and connector routes stay short. A practical stack-up for an advanced board might place the sensors and processor on one layer pair, route the power stages on dedicated planes, and reserve an outer layer for the radio section, with stitching vias tying every ground pour together. Small choices of this kind, repeated across the whole layout, decide whether the finished drone hovers cleanly or fights its own electronics for every second of flight.
Manufacturing Flow for Quadcopter Boards
Production follows the standard electronics path with flight-specific care. Circuit design starts with schematic capture and layout in professional EDA software, followed by DFM review to catch manufacturability issues early. Prototyping produces a small batch for functional validation, where the team verifies sensor readings, motor response, and radio range in real flight tests. Volume production then repeats the validated design with controlled processes, and assembly places the sensors, chips, and motor drivers before final testing checks every board against the flight requirements.
Because drone boards mix fine-pitch processors, MEMS sensors, and power components, fabrication and assembly quality both matter. Clean drilling, consistent plating, and careful reflow keep solder joints sound through the vibration of normal flight. Factories that document test results and material lots make it possible to trace any field failure back to its root cause, which is essential as production volumes grow.
Testing quadcopter boards goes beyond standard electrical checks. After assembly, each board should be programmed with the flight firmware and verified against a motor test bench, where the ESC outputs are exercised through their full throttle range and sensor readings are compared with known values. Vibration screening on a sample basis catches solder defects that pass visual inspection, and thermal testing confirms that the power stage stays within limits during sustained hover. For production batches, recording the calibration values and test results of every board creates a data trail that makes field failures traceable and keeps quality consistent from the first prototype to the thousandth unit.
How Much Does a Quadcopter PCB Cost?
Price follows layer count, material grade, and complexity. Entry-level quadcopter boards typically cost USD 10 to 30 per board, mid-range boards with better sensors and power stages run from USD 40 to 80, and fully custom professional boards range from USD 100 to 300 or more. Large orders reduce unit cost significantly, so volume pricing for mass-market drones sits well below prototype pricing for the same design.
Buyers should compare total cost rather than board price alone. A slightly more expensive board that survives crashes, resists moisture, and holds its solder joints in vibration is cheaper than a bargain board that fails after a season of flying. For commercial fleets, the cost of a grounded drone during a mission window usually dwarfs the savings on the board itself.
Common Problems and Maintenance Tips
Even well-built quadcopter PCBs face a predictable set of problems. Overheating appears when cooling is insufficient or loads exceed the design margin, usually around the motor drivers. Solder joint damage comes from crash impact and continuous vibration, especially on components near the board edges. Moisture damage occurs when humid air or condensation reaches unprotected circuits and corrodes the copper.
Simple habits extend board life considerably. Inspect the board after every hard landing for cracked joints or displaced components, keep the airframe free of dust and debris that can trap heat, and store the drone in a dry environment between flights. When a crash is severe enough to bend the frame, inspect the PCB for micro-cracks even if the drone still powers on, because intermittent failures often appear only later.
Trends in Quadcopter PCB Technology
Quadcopter boards are evolving toward smaller, smarter, and cleaner designs. Miniaturization continues as high-density interconnect packs more function into compact racing and camera drones. AI-assisted control is moving onto the board itself, enabling obstacle avoidance and autonomous missions with on-board processing. 5G and IoT integration brings faster data links and remote fleet management, and environmental goals are pushing manufacturers toward halogen-free and recyclable materials.
For builders and manufacturers alike, the practical implication is that board design is becoming more specialized. Off-the-shelf flight controllers still suit hobby projects, but commercial quadcopters increasingly use custom boards tuned to their sensors, power systems, and payloads. Teams that design and source their boards with an experienced fabrication partner gain the flexibility to adopt these trends early.
Quadcopter PCB FAQ
Q1: How much does a quadcopter PCB cost on average? Entry-level boards run USD 10 to 30, and professional custom boards can exceed USD 300 depending on layers, sensors, and complexity.
Q2: Can I design a quadcopter PCB myself? Yes, if you are comfortable with EDA software and electronics fundamentals. Plan to iterate with a manufacturer on DFM and testing before committing to volume.
Q3: How long does a quadcopter PCB last? With reasonable maintenance and protection from moisture, a well-built board typically lasts two to five years in normal use.
Q4: Which material is best for a drone board? High-Tg FR-4 is the common choice for durability, with lighter laminates used where weight is critical and specialized substrates reserved for RF sections.
Q5: Do I need a multilayer board for a quadcopter? Advanced aircraft generally use four or more layers for clean grounding and dense routing, while simple beginner boards can work with two layers.
Conclusion
The quadcopter PCB is the quiet center of every stable flight. It reads the sensors, runs the control loop, manages power, and keeps the pilot connected, and its quality decides how the aircraft behaves in the air and how long it survives in service. Beginners should understand the components, costs, and design trade-offs before choosing a board, while manufacturers should pair their layouts with capable fabrication and assembly partners. Working with an experienced PCB manufacturing team that supports PCB design layout reviews and quick prototype PCB assembly turns a good quadcopter concept into a reliable product that flies as well as it looks.