SMT Feeder Setup: 6 Checks That Stop Placement Errors
Feeder setup is the part of SMT preparation that gets the least attention and causes a large share of placement defects. A feeder that is loaded slightly forward of the pick position, or a tape that sits a fraction of a millimetre out of its pocket, produces a part that is placed off centre or dropped before it arrives.
The defects it creates are hard to diagnose because they look like machine problems. Placement offsets, missing parts and rejected components are usually chased through the placement program, when the cause is a strip of tape sitting a little low in a feeder that was never verified after loading.
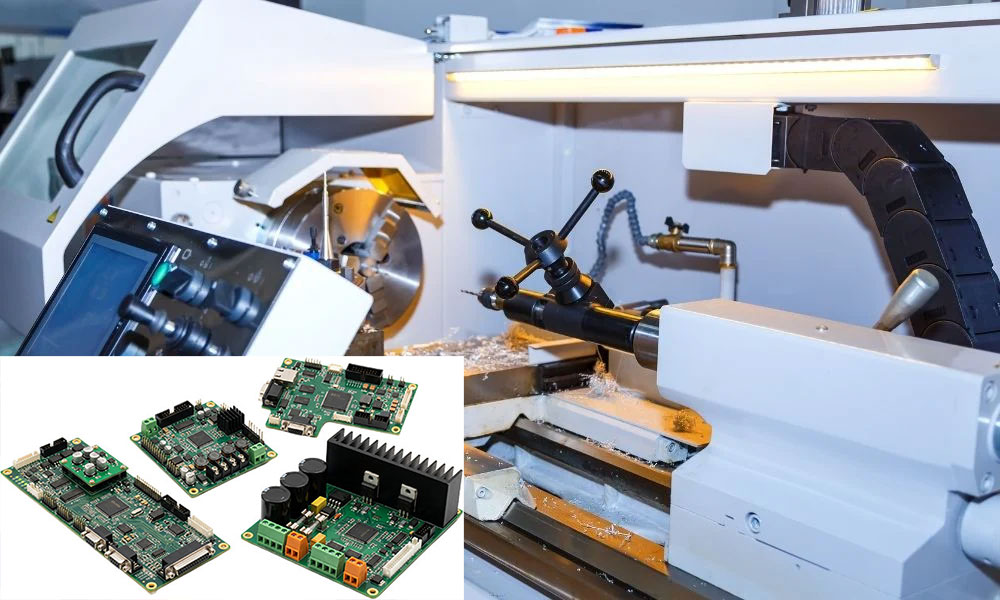
<img src="https://www.gopcba.com/wp-content/uploads/2024/09/zuzhuang1-1.png" alt="Tape and reel feeder loaded into an SMT placement machine during feeder setup” />
Why Feeder Setup Deserves Its Own Check
A placement machine assumes that every part will be presented at the pick position with the same orientation and height. The program compensates for nozzle geometry and for the vision system, but it cannot compensate for a pocket that does not present the component where the machine expects to find it.
Setup errors are also systematic. A feeder that is wrong is wrong for every board in the run, so the defect rate it produces is proportional to the number of placements, not to the number of boards. Finding the cause early saves the whole order.
Tape Specifications: Width, Pitch and Pocket Depth
Carrier tape is specified by width, pocket pitch, pocket depth and cover tape peel force. The machine is configured for a tape width and pitch, and a supplier change that is nominally the same part can still arrive in tape with a different pocket depth or peel force.
Peel force is the most common hidden variable. Cover tape that releases too easily lets parts escape during indexing, while tape that releases with too much force lifts the component out of the pocket as the cover is drawn away. Both produce missing or rotated parts at the pick position.

Feeder Types and What Each Suits
Mechanical, pneumatic and electric feeders all exist, and the differences matter at the extremes. Electric feeders index with a motor, which makes pocket position repeatable and tape advance programmable, and they are usually preferred for small chips and fine pitch devices.
Mechanical feeders are cheaper and simpler but depend on the tape to advance correctly, so they are more sensitive to tape quality. Where a line mixes feeder types, the placement machine types and their feeder interfaces should be matched to the component range rather than chosen for cost alone.
Pick Position and Component Centre
Pick position is the point where the nozzle meets the component, and it has to coincide with the centre of the pocket as presented. It is set during feeder teaching and confirmed with vision, and it drifts when the feeder wears or when tape tension changes.
Teaching should be done with the production tape rather than with a sample, because pocket depth determines how high the component sits. A pick position taught on a shallow sample tape will sit too low when the production tape runs, and the nozzle will press the component into the pocket.
Splice Quality and Reel Changes Mid-Run
Reels are frequently spliced so the line can continue without stopping. A splice that adds thickness, misaligns the pockets or changes the peel force creates a short window of placement faults at every reel change, and the window is easy to miss in the defect data because it is brief.
Splice tape and the method of applying it should be specified, and the splice should be inspected rather than trusted. Counting the number of splices per shift and correlating them with defect times is a simple way to prove whether splices are contributing to the placement defects seen downstream.
Nozzle Choice and Pick Reliability
The nozzle has to match the component body, not just its footprint. A nozzle that is too small will not develop enough vacuum area, while one that is too large can pick two parts or graze the pocket walls and lift a neighbour out of its pocket.
Nozzle condition matters as much as nozzle selection. A worn or partially blocked tip loses vacuum at the moment of pick, and the component is dropped between the feeder and the board. Vacuum level and tip cleanliness belong in the daily check, alongside the placement accuracy verification.
Feeder Calibration and Maintenance
Feeders wear at the sprocket, the indexing mechanism and the tape guide. Wear changes the pocket position by small amounts that accumulate, so a feeder that was accurate when new will drift out of specification without any visible damage.
Calibration on a bench fixture, at a defined interval and after any jam, keeps the fleet within tolerance. Recording the calibration result against the feeder serial number makes it possible to see whether a particular feeder keeps returning, which is usually a sign it should be retired.
Defects That Point at the Feeder
Component rotation and off-centre placement that appear together point at an unstable pick, which is usually the feeder or the nozzle. Missing components on one reference designator only point at that feeder, while scattered missing parts across the board point at vacuum or nozzle condition.
Cracked or chipped parts are a different signal. They usually mean the nozzle is pressing too hard, which happens when the pick height is set too low or when the pocket depth of the tape changed. Reading these patterns together narrows the cause far faster than adjusting the placement program.
Qualifying a New Feeder or Tape
A new feeder, a new tape supplier or a new reel format is a change to the process and deserves a first article. Run the affected part through a full production panel, inspect the placements, and confirm that the pick position and the vision results are stable across the run.
Where the tape itself is new, check the peel force and the pocket depth against the specification before loading it onto the line. Because these variables are easy to measure and easy to overlook, feeder setup is one of the few places on an SMT line where a five minute check prevents a shift of rework.
Points to Confirm at First Article
The checks that matter are the ones performed on the product rather than on a sample kept for the purpose, because a coupon that travels with the panel is the only evidence about that panel. Where an operation cannot be verified afterwards, it has to be controlled during the operation, and that control has to be visible in the record.
FAQ
How often should feeders be calibrated? The interval depends on use, but a common practice is a scheduled bench calibration with additional checks after any jam or tape misfeed. Feeders that fail repeatedly should be removed from the fleet rather than recalibrated again.
Can the same feeder run different tape widths? Only where the feeder is designed for it and the change is made with the correct guides and indexing parts. Using a wider tape in an unmodified feeder distorts the pocket position and produces exactly the placement errors that calibration is meant to prevent.
Why does a part place correctly at the start of a reel and badly at the end? The tape is under tension, and tension changes as the reel unwinds. Cover tape peel force and pocket position can both shift over the length of a reel, which is why the last part of a reel sometimes needs a tension adjustment or a different feeder.