



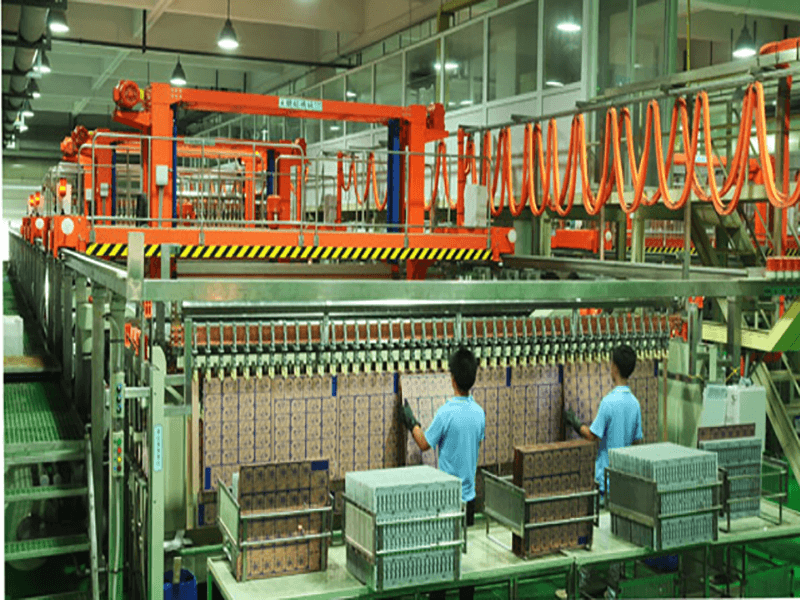
Stencil Cleaning, Storage and Inspection
A stencil is a consumable that behaves like a precision tool, and it is treated as neither. Most paste volume problems that are blamed on the printer or the profile begin with a stencil that was not cleaned, not stored or not inspected.
Why Cleanliness Decides the Volume
Paste left in an aperture changes how the next print releases. The residue dries, the walls of the aperture become rough, and the paste sticks to them instead of transferring to the pad.
The effect is not uniform. The apertures that block first are the smallest and the ones with the highest area ratio, so the failure appears on the fine pitch device while the rest of the board still looks acceptable.
Cleaning Methods
Manual cleaning with a solvent and a wipe is the most common method and the least repeatable. The result depends on the operator, the solvent and how long the paste was left to dry.
Automated cleaning with a controlled cycle of solvent, agitation and drying gives a repeatable result and it is worth the equipment on any product with fine pitch. The cycle should be defined with a time and a temperature, not with a description. Our paste volume notes describe how the release is verified.
Cleaning Frequency
The stencil should be cleaned after every print, not every few prints. Under printing without cleaning is used for volume but it requires a paste and a process that tolerate it, and the window is narrow.
Where under printing is used, the aperture condition should be monitored by paste inspection rather than by the visual look of the board, because the deposit shrinks gradually before it fails. Our paste inspection notes describe what the system measures.
Storing and Handling
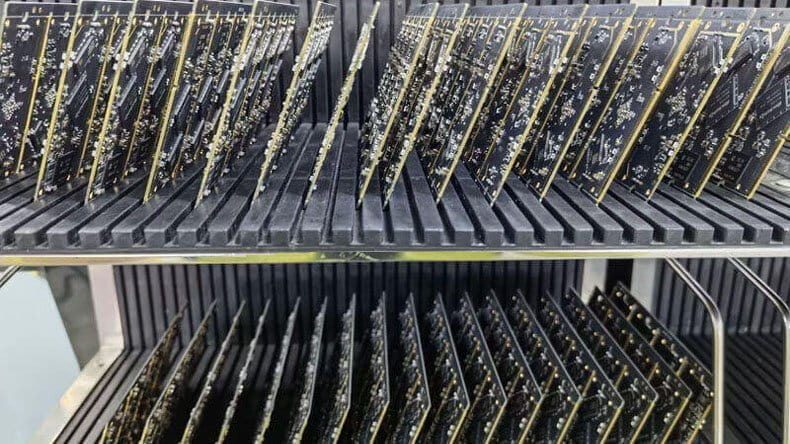
A stencil should be stored flat, in its frame, with nothing resting on the foil. A bend in the foil changes the tension and the aperture position, and the change is not visible until the print is measured.
Frames should be identified with the part number and revision. A stencil used with the wrong revision of the board produces a misregistered print that looks like a printer problem.
Stencil Life and Inspection
The foil work hardens and the tension falls with use. The number of prints a stencil can deliver should be established for the product rather than assumed from a general figure.
The inspection looks at the aperture edges, the surface condition of the foil and the tension. A damaged aperture can be repaired, but a repair changes the volume and should be measured. Our quality notes describe how the result is recorded.
Relation to the Design
The stencil thickness and the aperture size are set by the paste volume the joint needs. Where a board mixes a fine pitch part and a through-hole part, one stencil may not serve both and a step stencil becomes the answer.
The step is defined in the design, not on the shop floor, because it changes the print parameters and the stencil cost. Our fabrication notes notes list the stencil attributes that should be stated.
Verification of the Process
The stencil and the paste together should be verified by measuring the deposit on a coupon or by paste inspection on the board at the start of a run and at intervals.
Where the volume drifts, the cause should be established before the frequency of cleaning is increased, because the two changes have different effects and only one of them is correct. Our inspection notes describe how the resulting joints are checked.
Additional Considerations for This Build
Practical attention to paste release pays for itself here, because it decides whether the finished board behaves as the drawing intended. Where the requirement is not stated on the fabrication drawing or in the assembly notes, the shop has to assume a default, and that default is rarely the value the design was simulated with. Stating paste release explicitly, together with the tolerance that applies, removes the assumption and keeps the result predictable from batch to batch.
Process Control and Verification
On a design of this kind, aperture is the item that decides how the rest of the board is arranged. Running a first article through the same checks as the production panel confirms that the two agree, and that comparison is the cheapest form of process control available at prototype stage. Keeping a sample from the panel turns a dispute into a measurement, because the same coupon can be re-examined by both parties without rebuilding the batch.
Reviewing the design before the data is released is cheaper than correcting it after the panel is in the tank, because every step downstream inherits the decision made at the front end. Documenting the assumption is part of the design work, and a short note on the drawing prevents a question that would otherwise arrive a day later and cost a day of schedule.
The process window is set by the narrowest step in the flow, so an improvement anywhere else shows up as margin rather than as yield until that step is addressed. A short note on the drawing about handling, storage or packaging is often worth more than an extra decimal place on a tolerance.
Where a value sits close to a process limit, the drawing should say so, since the shop can then open the process window rather than working to a nominal figure that carries no tolerance.
Process Control and Verification
On a design of this kind, aperture is the item that decides how the rest of the board is arranged. Running a first article through the same checks as the production panel confirms that the two agree, and that comparison is the cheapest form of process control available at prototype stage. Keeping a sample from the panel turns a dispute into a measurement, because the same coupon can be re-examined by both parties without rebuilding the batch.
Reviewing the design before the data is released is cheaper than correcting it after the panel is in the tank, because every step downstream inherits the decision made at the front end.
Process Control and Verification
On a design of this kind, aperture is the item that decides how the rest of the board is arranged. Running a first article through the same checks as the production panel confirms that the two agree, and that comparison is the cheapest form of process control available at prototype stage. Keeping a sample from the panel turns a dispute into a measurement, because the same coupon can be re-examined by both parties without rebuilding the batch.
A first article check confirms that the process and the drawing agree on the points listed above, and that the coupon data supports the values used in the design.

Where a measurement falls outside the expected window, the sample is retained so that the cause can be established before the balance of the batch is released.
FAQ
How often should a stencil be cleaned? After every print is the default. Anything less should be justified by measurement on that specific product rather than by habit.
Can a damaged aperture be repaired? It can, and the repair is acceptable if the deposit is measured afterwards. A repair that is assumed to be equivalent is a volume change waiting to be discovered.
What does gopcb provide for stencil control? We provide aperture and thickness design against the required paste volume, step stencil definition for mixed boards, a specified cleaning cycle with time and temperature, flat storage with frame identification, stencil life and tension monitoring, and deposit measurement that confirms the release.



1 Comment
Squeegee Selection Guide
[…] the panel, the squeegee and the stencil support should be checked before the paste is blamed. Our stencil notes describe the condition that […]