Complex PCB Prototype Manufacturing: Materials, Processes, and Testing
Not every PCB can be made with a standard stackup and simple routing rules. A complex PCB prototype often combines high-frequency materials, dense layer counts, fine-line circuitry, buried or blind vias, and demanding electrical specifications. Engineers need a manufacturing partner that can control process variables precisely and prove performance before volume production. This guide explains how challenging PCB prototypes are manufactured and what to verify during the prototyping stage.
Selecting Materials for High-Difficulty PCB Prototypes
Material selection is critical for a complex PCB prototype. High-frequency communication boards require substrates with tightly controlled dielectric constant and dissipation factor, because even small material variations can change impedance and signal loss. High-temperature, high-humidity, and chemically demanding environments may require specialty laminates with stronger mechanical properties. These materials are often harder to cut and drill, so tooling and cutting parameters must be adapted carefully.
Lamination Control for Multilayer and Mixed-Material Boards
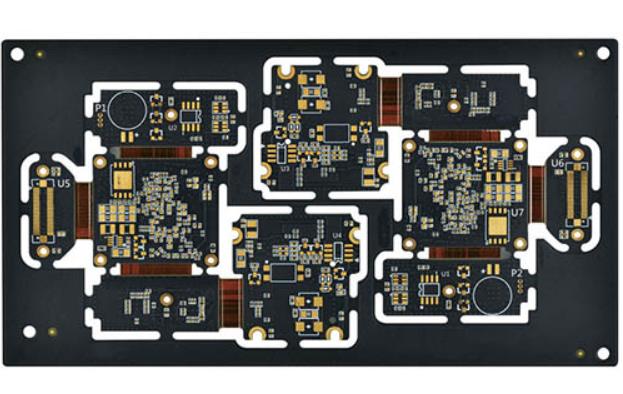
Challenging boards usually have many layers, and different materials expand at different rates. During lamination, the manufacturer must control temperature, pressure, and time with a material-specific profile to prevent delamination, resin voids, and dimensional movement. Precise layer registration is equally important, because misregistration at one layer can turn into shorts or opens after drilling and plating.<
/p>
Fine-Line Etching and Signal Integrity
Fine traces require tight etching control. As line width decreases, side etch becomes a larger percentage of the total trace, so manufacturers use repeated etching steps and carefully controlled chemistry to maintain straight edges and consistent widths. Uniform etching across the panel also reduces impedance variation and lowers the risk of opens or shorts in dense routing areas. An early PCB layout review helps identify trace width, spacing, and copper balance issues before tooling starts.
Drilling, Microvias, and Layer-to-Layer Connections
High-density prototypes often use small mechanical vias, buried vias, and blind microvias. Mechanical drilling needs high-hardness drill bits, controlled spindle speed, and optimized feed rates to produce clean hole walls. Laser drilling is preferred for microvias because it can create small, accurate holes with minimal damage to surrounding material. After drilling, plating quality determines the reliability of every layer-to-layer connection.
Surface Finish for Complex Boards
Surface finish affects solderability, wire bonding, and long-term reliability. ENIG is common for prototypes that need flat pads and good oxidation resistance. The process must keep nickel and gold thickness uniform across the board, because uneven plating can create weak solder joints or cosmetic defects. For fine-pitch components, roughness and flatness requirements are even stricter.
Electrical Testing and Reliability Validation
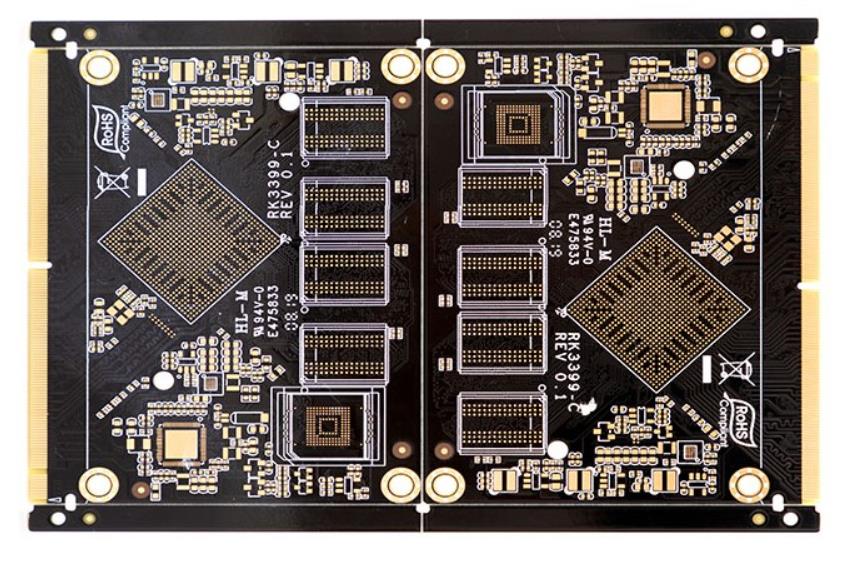
Testing is where a challenging PCB prototype earns its place in the product schedule. Beyond visual inspection and opens/shorts testing, impedance testing verifies that controlled impedance traces meet the target values. Signal integrity testing evaluates high-speed behavior, while thermal cycling exposes defects caused by coefficient of thermal expansion mismatch. These tests confirm that the prototype can survive real operating conditions instead of only passing basic electrical checks.<
/p>
Work With an Experienced PCB Prototype Manufacturer
Complex prototype manufacturing requires more than advanced equipment; it requires DFM feedback, clear communication, and disciplined process control. At gopcb, our PCB manufacturing team reviews stackup, impedance, and manufacturability before production, then supports prototype PCB assembly and later low-volume PCB assembly so the transition from prototype to product stays smooth.