From Bare PCB to PCBA: The Complete Process Guide
What Does “Bare PCB to PCBA” Mean?
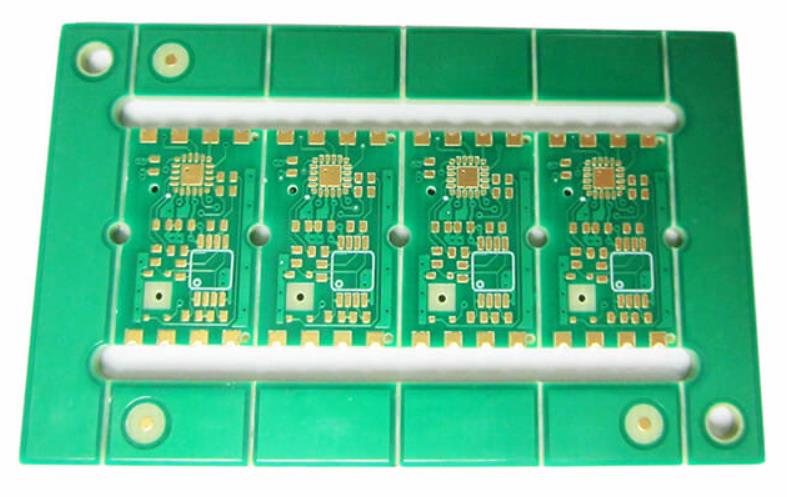
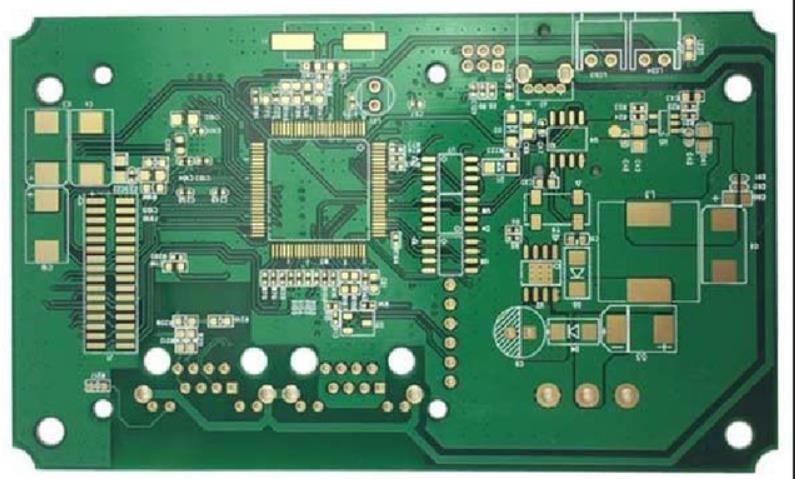
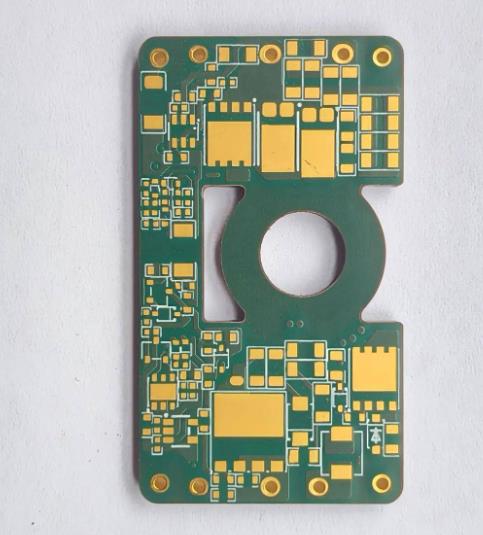
A bare PCB is a printed circuit board that has been manufactured with its copper traces, pads, solder mask, and silkscreen but carries no electronic components. It is the empty foundation of every electronic product. A PCBA, or printed circuit board assembly, is the finished board after components such as resistors, capacitors, connectors, and integrated circuits have been mounted and soldered onto the bare board. The journey from bare PCB to PCBA is the core of electronics manufacturing, and it combines PCB manufacturing, component placement, soldering, inspection, and testing into one controlled production flow. Manufacturers that control every step of this flow, such as gopcb, deliver boards that work the first time instead of boards that fail in the field.
The complete process is usually divided into four stages: surface mount assembly, through-hole insertion and soldering, inspection and functional test, and protective finishing. Not every product needs every stage. A simple board with only surface mount components skips the through-hole stage, while an industrial control board with large connectors often needs both. The process manager plans the route according to the bill of materials, the board layout, and the reliability requirements of the final application. Understanding the full sequence helps engineers design boards that are easy to assemble and helps buyers evaluate quotes from different assembly partners.
Stage 1: Solder Paste Printing and SMT Placement
The first production stage on a modern line is surface mount assembly. SMT PCB assembly starts with preparations that determine the quality of every joint made later. The bare board must carry a clear fiducial mark, usually called the mark point or reference point, which the placement machine’s camera uses to recognize the board orientation and position. Without a readable mark point, the machine cannot align the board, and placement accuracy collapses. The second preparation is solder paste printing: an automatic printer transfers an exact amount of solder paste through a laser-cut stencil onto every pad that will receive a surface mount component. The third preparation is SMD programming, where the machine program is built from the BOM so that each component is picked from the correct feeder and placed at the correct coordinate.
When these preparations are complete, production can run. The board enters the line and the printer deposits paste onto the pads through the stencil openings. The placement machine then picks each component from tape, tray, or bulk feeders, checks it with its vision system, and places it on the board at high speed. After placement, the board travels through a reflow oven, where a carefully profiled temperature curve melts the solder paste and forms a permanent metallurgical joint between the component terminal, the paste, and the pad. The board finally passes through an automated optical inspection (AOI) machine that photographs the assembly and checks component position, polarity, solder joints, and missing parts against the programmed data.
Two cautions matter at this stage. Components with polarity, such as diodes, electrolytic capacitors, and LEDs, and components with defined pin sequences, such as ICs, must face the correct direction. This is especially important for ball grid array (BGA) packages, whose joints are hidden under the body: if the orientation is wrong, the board must be baked, removed, cleaned, and reworked, which is time-consuming and can damage the board. AOI catches most of these errors, but it cannot verify electrical function because the soldered board cannot be powered while it is still connected to the assembly process. That is why placement programming, feeder loading, and incoming component inspection are controlled with the same discipline as the machines themselves.
Stage 2: Through-Hole Insertion and Wave Soldering
Boards with connectors, relays, transformers, or other high-power parts usually need a second stage. Through-hole PCB assembly, also called DIP assembly after the dual in-line package, inserts component leads through holes in the board and solders them on the opposite side. Although the sequence is simpler than SMT placement, it still needs preparation. A furnace fixture or carrier holds the board so that it can travel on the conveyor without bending. Component leads that are too long are pre-formed and cut to the correct length so that they seat properly and do not shadow the solder wave. Operators then insert each plug-in component into its hole according to the placement drawing, and the loaded board moves to the wave soldering machine.
In wave soldering, the underside of the board passes over a fountain of molten solder. The solder wets the exposed metal of the leads and the barrel of the plated holes, and capillary action pulls the joint together as the board leaves the wave. Some people worry that the solder in the bath will splash onto the whole circuit board. It does not: molten solder adheres only to metal surfaces and will not stick to the green solder mask or the laminate. This selective wetting is exactly the purpose of the solder mask, which protects the copper and keeps solder exactly where the circuit designer intended it.
After wave soldering, the board is normally inspected again because through-hole joints can suffer from bridges between adjacent leads, insufficient fill, or shadowing caused by tall components. gopcb combines AOI with experienced operators who check the wave-soldered side before the board moves to the test stage. For boards that mix surface mount and through-hole parts, the two stages are sequenced so that all SMT work, including double-sided reflow where needed, is finished before wave soldering, because wave soldering can disturb components placed on the underside.
Stage 3: Visual Inspection and Functional Testing
A soldered board is not yet a finished PCBA. Between wiring and shipment, every board is checked and verified in two screening steps. The first step is human visual inspection, which screens out boards with obvious defects such as solder bridges, false soldering, missing components, or shifted parts that the naked eye can identify. Boards with visible errors are routed to rework, where trained technicians correct the defect with approved procedures, and the boards that pass visual inspection continue to the second step.
The second step is electrical testing with a test fixture, also called a bed-of-nails or ICT fixture, which contacts the test points on the board. The tester powers the board and checks each small module: power rails come up to the right voltage, relays pick up when they are commanded, signals reach the correct outputs, and no short or open circuit hides inside the assembly. Boards that pass this step are functionally ready for the customer. Screening in two steps has a second benefit beyond catching failures: because the defect is identified before rework, the maintenance team knows exactly what to repair instead of guessing, which reduces the workload of the repair station and shortens the whole turnaround time.
For boards used in critical products, gopcb adds PCBA testing options beyond the basic fixture test, including in-circuit tests for individual components, flying probe testing for prototypes, and functional tests that run the board exactly as it will run in the finished product. Testing every board, rather than sampling, is what lets a manufacturer promise low field failure rates. Scientific and technical personnel should verify each step from the bare board to the finished assembly, because only a fully tested board can be passed to the next step with confidence.
Stage 4: Conformal Coating and Protective Finishing
The final stage of the journey from bare PCB to PCBA is protection. Boards that work in humid, dusty, corrosive, or vibrating environments are treated with a protective finish. Conformal coating is a thin insulating polymer layer that is sprayed or brushed over the assembled board, covering the components and traces while leaving connectors and test points open. Some manufacturers dip the complete board in wax or resin, and each company develops its own process line: an operator may brush three-proof paint by hand for small batches, a machine may spray it automatically for large runs, or the board may be dipped in wax for maximum moisture protection. Some simple consumer boards receive no protective treatment at all because their enclosure already shields them.
The choice of finish depends on the application and on how the board is serviced. Silicone coatings resist moisture and wide temperature swings, acrylic coatings are easy to rework, and polyurethane coatings offer strong chemical resistance. Wax and parylene provide the highest barrier for harsh environments. The coating must not cover gold fingers, connectors, battery contacts, or calibration holes, so the process usually applies masking before coating and inspects coverage with ultraviolet light when a fluorescent coating is used. A correctly coated board survives condensation, salt spray, and vibration for years, while an unprotected board can corrode within months in the same conditions.
Why the Whole Process Should Stay Under One Roof
When each stage from bare PCB to PCBA is handled by a different supplier, boards move between factories, documentation is duplicated, and defects are argued over instead of fixed. One-stop manufacturing solves this by keeping the bare board, the assembly, the testing, and the coating under one quality system. If an AOI result points to a pad finish problem, the engineer can walk to the PCB shop and correct the finish on the next panel. If a functional test fails because a component is marginal, the procurement team can change the supplier in the same week. This closed loop shortens lead times and makes root-cause analysis practical.
gopcb runs the complete sequence described above in one facility: bare board fabrication, SMT placement, through-hole insertion, reflow and wave soldering, AOI and electrical testing, and conformal coating for boards that need it. The engineering team reviews Gerbers, BOMs, and test requirements before production begins, so the process from bare PCB to PCBA is planned before the first board is printed. Send gopcb your design files and assembly drawings for a free manufacturability review and a quote that includes full testing, coating options, and quality documentation.