Depth-Controlled Milling on PCB Panels: Holding Z Tolerance
Some boards cannot be profiled with a through-cut. Where a recess has to be milled to a controlled depth, or where a cavity must stop a fraction of a millimetre above an inner layer, the routing depth becomes a process parameter in its own right. depth-controlled milling is the technique used for those features, and the tolerance that matters is measured in tens of micrometres.
What Depth-Controlled Milling Is
A conventional router cuts through the panel and the depth of the cut is irrelevant as long as the board separates cleanly. A depth-controlled operation cuts part of the way into the laminate and stops. The cut may form a recess that later houses a component, a step in the outline, a cavity for an embedded device, or a partial cut that allows a section to be removed without damaging the layer beneath.
The defining requirement is that the bottom of the cut has to be at a known distance from a known surface, which turns the machine into a measuring instrument as much as a cutting tool.
Why Z Tolerance Matters
The tolerance on the cut depth has to be smaller than the thickness of the layer that must not be damaged, and it has to hold across the whole panel. If the remaining material is too thick, the feature does not work; if it is too thin, the copper below is exposed or the laminate is weakened, and the defect may not be visible until the board is tested or until it fails in the field.
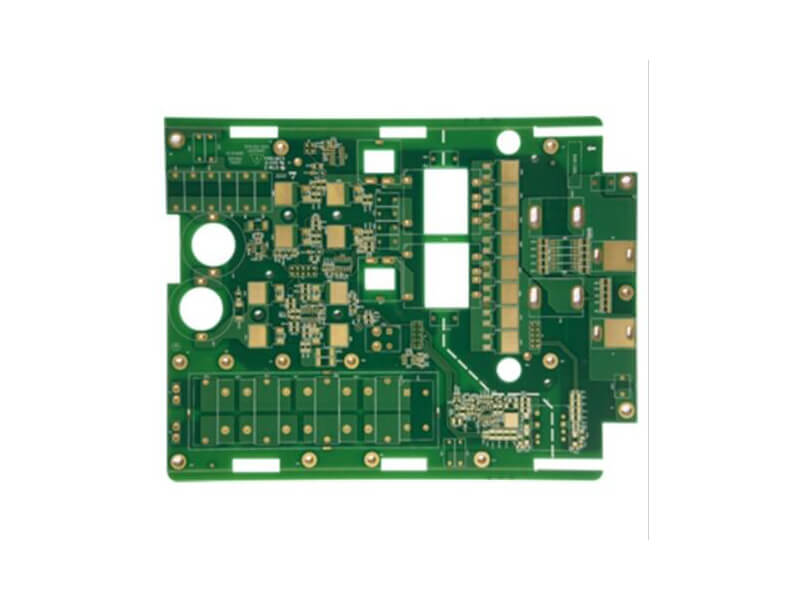
That is why depth control is a system problem rather than a single machine setting. Every element in the stack from the machine table to the top of the panel contributes to the error, and each one has to be understood.
Independent Z Axes and Grating Scales
The core of a modern depth-controlled router is a separate scale on each spindle axis, so that the machine senses the panel surface and controls each axis independently rather than relying on a single mechanical reference. With independent control, the spindles can follow a panel that is not perfectly flat, which is the normal case, and each can compensate for its own tool length.
The practical benefit is that the depth error tracks the local surface rather than the whole panel, which makes the operation feasible for features that are small in area even when the panel has some bow or thickness variation.
Tool Length Measurement and Compensation
The effective length of the cutting tool is one of the largest single contributors to depth error, and it changes every time a tool is loaded. A measuring station that touches off each tool before use removes most of this variation, and the residual error between tools of the same nominal size can be compensated by the first-article method described below.
Automatic tool changers introduce a subtler problem: the length can change when the tool is gripped, and because that happens after the compensation has been applied, the error is easy to miss. The conservative response is to use a single tool for the depth-controlled features and to avoid unnecessary tool changes in the middle of the operation.
Cover Boards and Backing Plates
The panel is supported from below and covered from above during milling, and both surfaces affect the result. The backing plate has to be flat, because its thickness variation adds directly to the depth error; a dense, dimensionally stable material is a better choice than a soft one that compresses unevenly.
The stability of these two supports is what makes the z-axis depth repeatable across a panel. A backing plate that compresses under the pressure foot changes the reference height from one cut to the next, and a cover board that varies in thickness changes the distance the tool has to travel. Both should be specified, inspected on receipt and replaced on a schedule rather than when they visibly fail. Since the laminate itself also moves with moisture and temperature, a panel that has been stored in a humid area will not machine the same as one taken straight from a dry store. PCB dimensional stability explains why the material moves and how much.
A cover board on top protects the finished surface from the pressure foot and gives the machine a consistent surface to reference. A thin, flat, copper-free laminate is a common choice, and its thickness error can be measured and compensated in the same way as the panel itself.
Pressure Feet and Surface Damage
The pressure foot holds the panel down during the cut, and if its contact face is worn or uneven it will mark the surface, particularly on a finished board where the solder mask is already cured. Worn feet should be dressed or replaced, not adjusted around, and the pressure setting should be the minimum that holds the panel securely.
On thin panels the pressure foot also flattens the material locally, which is helpful for depth control but has to be accounted for if the panel will relax after the operation.
First-Article Compensation
Every panel moves slightly when it is first clamped, and the machine’s own reference points are established on the first piece. The first-article method measures the feature on the first board, compares it with the drawing, and applies the difference as an offset for the rest of the run. Done properly, it removes the systematic error and leaves only the random variation.

The offset should be recorded with the job so that a repeat order does not have to rediscover it, and it should be re-established whenever the panel thickness, the tool type or the backing material changes.
Process Limits and Alternatives
Depth-controlled milling is not the only way to make a recess. Where a shallow, well-defined step is needed in a large area, the feature can sometimes be produced during lamination with a pre-formed shim, or by laminating a thinner section into the stack. Where the feature is purely cosmetic, a shallower cut with a wider tolerance may be acceptable.
The choice is usually economic: milling is flexible and needs no tooling, while a lamination approach has higher setup cost but better depth control on a large area. PCB slot design rules and edge routing covers the related question of what can be routed at all.
Design Notes for Milled Features
Give every milled feature an explicit depth with a tolerance, referenced to the surface it is measured from, and state whether the copper beneath it must remain intact. Specify the corner radius, because it is set by the tool and cannot be sharp, and keep features away from the board edge by at least the width of the pressure foot.
Where the feature will hold a component, check the flatness as well as the depth, since a recess that is the right depth in the centre and dished at the edges will not seat a part properly. Board outline and mounting design covers how these features fit into the mechanical design.
FAQ
How accurate can depth-controlled milling be? Typical production tolerances are in the region of plus or minus 0.05 mm on a well-controlled process, with tighter figures achievable on a first article and more variation across a large panel.
Can the machine mill to an inner layer and stop there? Yes, that is one of the main uses of the technique, but the remaining dielectric has to be specified and the tolerance has to be tighter than the layer thickness.
Why does the tool change affect depth more than wear? Because a worn tool changes its cutting performance gradually while a tool change moves the effective length by an amount that is applied after compensation and is therefore easy to overlook.