PCB Prototype Types: Materials and Construction Choices
A PCB prototype is not simply a small quantity of a production board. It is a board built to answer a question, and the construction that answers the question most cheaply is often not the construction that will be used in production.
Choosing the right prototype type means balancing three things: what the prototype must prove, how quickly the answer is needed, and how much the construction will cost at the prototype quantity, where tooling and setup dominate the price.
What a Prototype Is For
A prototype exists to validate assumptions: that the circuit works, that the layout does not create noise problems, that the mechanical fit is correct and that the thermal design is adequate.
Which of those assumptions matters most determines the prototype type. A design validated for electrical function on a cheap two-layer board says nothing about a four-layer production stack with controlled impedance.

Single-Sided and Double-Sided Prototypes
A single-sided prototype is the cheapest option and is adequate for slow logic, simple power circuits and mechanical fit checks. It sacrifices routing freedom and usually requires jumper links.
A double-sided prototype adds a plated through-hole process and allows a ground plane on one side. For most mixed-signal designs it is the minimum practical construction, because it provides a defined return path.
Both are fast to build and inexpensive at small quantity, which makes them suitable for the exploratory stage before the stackup is fixed.
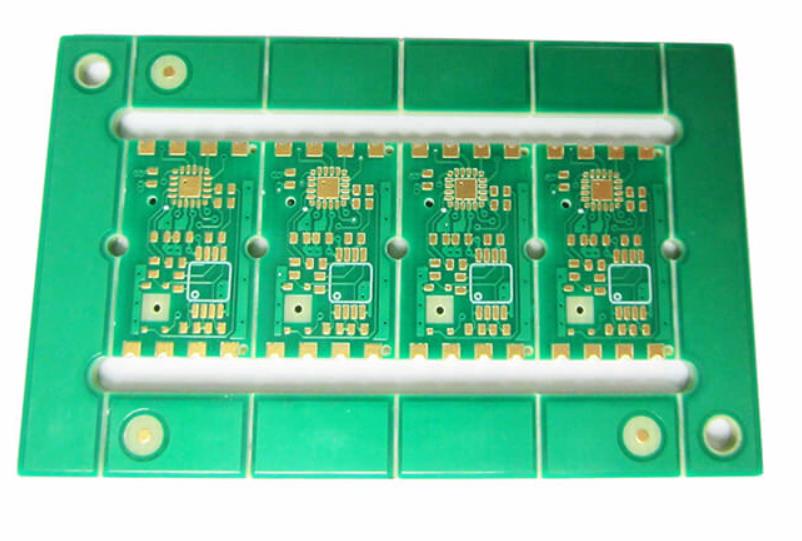
<img src="https://www.gopcba.com/wp-content/uploads/2026/06/光纤监测系统PCBA.jpg" alt="Prototype panel with multilayer and metal core samples” />
Multilayer Prototypes
A multilayer prototype is used when the production design will be multilayer. Reproducing the production stack matters when the circuit is sensitive to impedance, to plane integrity or to the layer arrangement.
The cost rises with layer count, but the increment from two to four layers is proportionally smaller than subsequent additions. Four layers with a solid ground plane and a partitioned power plane covers a large share of designs.
Where the production board will be six or eight layers, a prototype built on four layers may still be useful for functional validation, but the impedance and crosstalk results will not transfer.
Rigid-Flex and Semiflex Prototypes
A rigid-flex prototype is expensive, because the construction requires polyimide materials, coverlay and additional lamination steps. It is justified when the mechanical behaviour is the thing being validated.
A semiflex prototype offers a cheaper way to validate a fold in the assembly. The rigid regions are standard FR-4 and the bend region is thinned, so the electrical performance is that of a normal board while the mechanical arrangement can still be tested.
Where the production part must bend repeatedly, neither is adequate and a true flex construction is required from the first prototype, because the lifetime behaviour cannot be inferred from a single bend.
Metal Core and High-Thermal Prototypes
Metal core prototypes are used when thermal performance is the question. An aluminium-backed board changes the reflow process as well as the thermal path, so validating both at prototype stage avoids a surprise in production.
They are single-sided by construction in most cases, which constrains the layout. Where the production design needs two conductive layers, a metal core with a second dielectric is used and the cost rises accordingly.
Material Selection at Prototype Stage
Prototype material selection is usually standard FR-4, because it is stocked, cheap and quick. Higher glass transition laminates are used when the application is hot, and low-loss materials when the interface is fast.
Substituting a cheaper material at prototype stage is a false economy if the production design will use a different one, because the impedance and the thermal behaviour change with the material. Where the difference matters, the prototype should use the production material.
Quantity Considerations
Prototype quantity is usually chosen to cover the team: one unit for each engineer, one to keep as a reference, and a spare for the one that will be damaged during debugging.
Because tooling dominates the cost at low volume, five boards often cost barely more than one. The decision should be made on how many units the debug and test process is likely to consume rather than on the minimum order quantity.
Tooling, Panel and Setup Effects
At prototype quantity, the price is dominated by one-time items: tooling, programming, stencil and first article inspection. The board area itself is a small part of the cost, which is why a larger prototype board often costs barely more than a small one.
Panel sharing matters in the same way. A small prototype board can be added to a panel with other work, which reduces cost, while an unusual size or a non-standard thickness may require a dedicated panel and a longer schedule.
Understanding this structure explains a common surprise: doubling the quantity often changes the price far less than expected, because the fixed cost is unchanged. Ordering a larger prototype batch is usually better value than ordering twice.
Assembly and Test at Prototype Volume
Where the prototype is delivered assembled, the assembly cost follows the same logic. Setup for the placement machine, the stencil and the first article inspection are fixed, while the per-unit machine time is small.
Test access should be designed in from the first prototype. Test points cost nothing in layout and eliminate the need to probe fine-pitch pads, which is both unreliable and slow.
Prototype assembly is also the right moment to check the manufacturing data: fiducials, panelization, component orientation and the bill of materials. Errors found here cost a revision; errors found in production cost a line stoppage.
Prototype Versus Production Construction
Where the prototype differs from production, the difference should be documented. A prototype that passes on a two-layer board and a production design that uses four layers has validated the circuit but not the stackup.
The safest approach is to use the production stack at prototype stage whenever the electrical performance depends on it, and to accept a cheaper construction only where the question being answered is purely functional.
Design Checklist
Decide what the prototype must prove, choose the construction that can prove it, and confirm that the material and stackup match the production intent wherever the electrical behaviour depends on them.
Then check the practical details: panel size, tooling cost, the number of units needed for the debug process and the lead time for any non-stocked material. On a prototype, the schedule is usually set by material availability rather than by fabrication.
Related reading: PCBA development process, PCB prototyping design flow, and multilayer prototype requirements.
Documenting the Prototype
Record which assumptions the prototype is meant to test and what construction was used. A prototype that differs from production in stackup or material should say so in the documentation, otherwise the results will be read as validating the production design.
Note the revision, the material, the layer count and any deviation from the fabrication drawing. On a project that runs for months, that record is the only reliable way to interpret an old measurement.
FAQ
Should a prototype use the production stackup? Whenever the electrical performance depends on it, yes. For purely functional validation, a simpler construction is acceptable if the difference is documented.
Is a semiflex prototype cheaper than rigid-flex? Considerably, because it uses standard FR-4 and the same fabrication flow, with only a milling operation added for the bend region.
How many prototype units should be ordered? Enough to cover debug, test and a reference unit. Because tooling dominates at low volume, ordering a few extra usually costs very little.