Solder Ball Defects in SMT Assembly: Causes and Fixes
Anyone who has inspected a reflowed board under magnification has seen them: tiny spheres of alloy scattered beside pads, sometimes loose on the mask and sometimes clinging to a component body. They look trivial, and on a benign design they often are, but on a dense assembly a single stray ball can bridge two conductors or roll into a connector when the product is handled.
What Solder Balls Are and Why They Matter
A solder ball is a small, roughly spherical particle of alloy that has separated from the intended joint. It may be a few micrometres across or large enough to see without magnification. The mechanism is always the same: a fragment of paste or a droplet of molten alloy became isolated and solidified before it could rejoin the joint.
Their significance depends on where they land. A ball on solder mask, well away from any conductor, is a cosmetic finding. One that sits between two fine-pitch pads, rests on an exposed via, or lodges in a connector housing is a reliability risk. The acceptance criteria for a product should reflect that distinction rather than treating every sphere as equally serious. A workmanship standard provides the framework, but the pitch of the product and the enclosure around it decide whether a particular particle is tolerable.
Balls Versus Spatter and Other Artefacts
Solder spatter is produced when molten alloy is ejected explosively, usually by rapid outgassing, and the droplets land as irregular fragments rather than spheres. Balls formed from paste fragments tend to be more regular and are often found in groups near a specific pad. Distinguishing the two matters because the corrective actions differ.
Other artefacts are frequently mistaken for solder balls. Filler particles from the laminate, cured adhesive spheres, and flux residue that has formed into beads can all resemble alloy under a microscope. A quick check with a probe or a heated tip confirms whether the particle melts, which settles the question in seconds.
Stencil, Paste and Print Effects
Printing is the most common root cause. Paste squeezed onto the underside of the stencil during a print leaves deposits on the mask that become isolated balls after reflow. Insufficient separation speed, excessive squeegee pressure, and a stencil that is not wiped often enough all contribute to that transfer.
Paste condition matters too. Paste that has dried on the stencil, been left open on the machine, or been poorly mixed has a higher viscosity and releases badly. Print parameters should be verified against deposit measurements, because a paste that is starting to dry produces both missing deposits and the loose residue that becomes balls.
Reflow Profile and Heating Rate
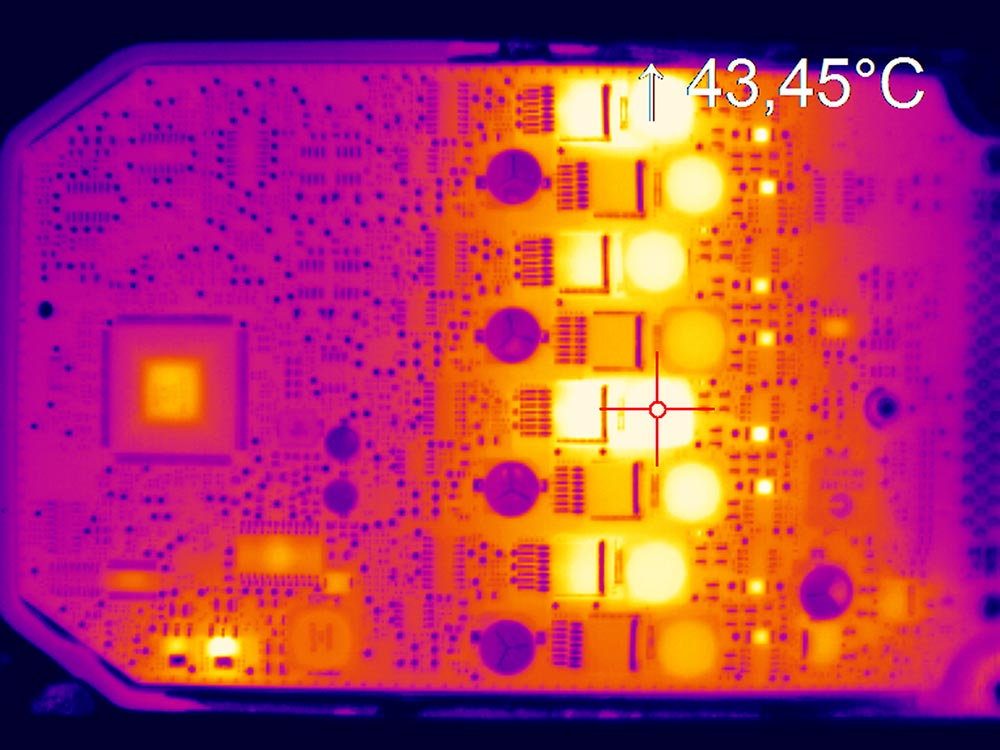
A profile that heats the assembly too quickly drives volatiles out of the paste violently, throwing droplets of alloy onto the surrounding surface. A soak stage that allows the flux to activate and the solvent to leave gently reduces that behaviour. The preheat ramp rate is usually the single most effective parameter to adjust.
Peak temperature and time above liquidus also matter. Excessive peak temperature increases oxidation and spattering, while a very short liquid phase leaves partly coalesced paste that can shed fragments. Profiling with thermocouples on representative pads shows what the paste actually experiences, which is often hotter and faster than the oven display suggests.
Flux Chemistry and Moisture
Flux that contains water, either from formulation or from absorbed humidity, boils during reflow and ejects material. Some chemistries are more prone to this than others, and a change of supplier can introduce the problem without any change in process settings. Storage and handling of paste therefore belong in the investigation.
Humidity in the assembly area also affects the paste on the stencil. A room that is too humid slows solvent loss in a way that seems harmless but changes paste behaviour, while a room that is too dry causes the paste to skin over. Both conditions correlate with defect spikes that appear seasonal until they are measured.
Component and Pad Contamination
Contamination on the pad prevents wetting, so the paste does not merge into the joint and instead separates into particles. Fingerprints, flux residue from a previous step, and particles from handling all produce this effect. Boards that have been stored past the shelf life of their finish are particularly prone.
Component terminations can be contaminated as well, especially on parts handled outside their packaging. Where balls cluster around one component family, the terminations rather than the process deserve scrutiny. Comparing the affected parts against a known-good lot isolates the cause quickly.
Detection, Inspection and Criteria
Optical inspection after reflow detects most balls above a certain size, and the criteria usually specify a minimum size and a forbidden area, such as inside a connector or between fine-pitch leads. Automated systems can be programmed to flag them, though small spheres under a component will escape optical inspection.
Cleaning removes loose balls, which is one reason assemblies with tight criteria are washed after reflow. Cleaning does not remove a ball that has fused to a pad or a lead, however, so the defect must still be prevented rather than washed away. Where cleaning is used, the chemistry must suit the flux and must not leave a residue of its own behind. Criteria and cleaning method should be stated together in the specification.
Corrective Actions in Order of Impact
Start with the print process: check the stencil underside, increase the wipe frequency, verify separation speed, and confirm the paste is within its working life. Then review the profile, particularly the ramp rate into soak. These two areas resolve the majority of persistent solder ball problems.
If the defect persists, examine the paste and the boards. Confirm that the paste lot is within specification, that storage conditions are met, and that the board finish has not oxidised. Only after those checks should the flux chemistry or the supplier be questioned, and by then the evidence should point clearly in one direction.
Prevention Through Process Control
Prevention is a matter of routine discipline: wipe the stencil on schedule, keep the paste sealed and within its working window, control the room’s temperature and humidity, and verify the profile after any change to the oven or the product. None of these steps is difficult, but each one is easy to defer during a busy shift. Assigning the checks to a named role, with a signature on the setup sheet, keeps them from sliding down the priority list.
Recording the parameters and the defect rate together turns prevention into a measurable activity. When a spike appears, the log shows which variable changed, and the correction is targeted rather than experimental. That record is also the fastest way to prove to a customer that the issue has been addressed.
FAQ
Are solder balls always a defect? Not always. A small ball on solder mask, away from any conductor and outside a connector, is often acceptable under the criteria for general-purpose products. Balls between fine-pitch pads, on exposed metal, or inside a mating interface are defects because they can cause a short or a mechanical problem later.
Does cleaning remove solder balls? Cleaning removes loose particles effectively, which is why it is used on assemblies with tight criteria. It cannot remove a ball that has fused to a pad or a component lead, and it adds cost, so prevention at the printer and the oven remains the better strategy.
What is the single most common cause? Paste transferred to the underside of the stencil during printing. It is followed closely by an aggressive preheat ramp that ejects droplets from the paste. Checking the stencil and the profile at the start of the investigation usually identifies the cause within an hour.