SMT Component Identification: Packages and Markings
Surface mount parts are identified by their package, their marking and their position on the board. The information is small and often abbreviated, and being able to read it quickly is what keeps an assembly line moving and a repair from turning into a guess. The conventions are consistent enough to learn in an afternoon.
How Package Sizes Are Named
The size code of a chip component describes its dimensions. A 0402 part is about 0.04 by 0.02 inches, a 0603 about 0.06 by 0.03, and the same numbers appear in metric codes with different values, so the unit has to be established before anything is ordered or replaced.
Metric and imperial codes are a frequent source of confusion because they use similar numbers for different sizes. A part described in metric terms may appear to be two sizes larger than the same part described in imperial terms, and the confusion only resolves when the actual dimensions are measured.

Chip Resistors and Capacitors
Rectangular chip components look similar whether they are resistors or capacitors. A resistor usually has a dark body and a marking, while a ceramic capacitor is normally unmarked and lighter in colour, and a part without a marking can only be confirmed by measurement.
Size is not a reliable guide either, since the same package is used for both. Measuring the resistance or capacitance with a meter is the definitive check, and it takes less time than reasoning about appearance.
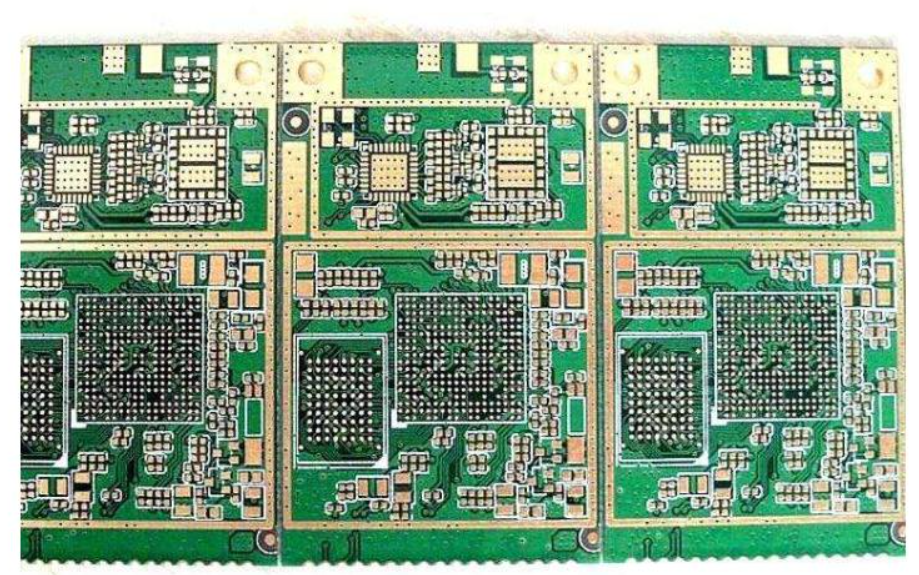
<img src="https://www.gopcba.com/wp-content/uploads/2020/12/project_image_4.jpg" alt="Marking codes on chip resistors and a tantalum capacitor polarity bar” />
Reading Resistor Codes
A three digit code gives two significant figures and a multiplier: 103 means ten followed by three zeros, or ten kilohms. A four digit code adds a digit of resolution, so 1002 is ten thousand ohms and 1001 is ten thousand ohms in the four digit form equivalent to 1k0.
The letter R marks the decimal point. A code such as 4R7 means four point seven ohms, and codes beginning with R are fractional values. For very small parts there may be no marking at all, and the value comes from the reel or from the assembly drawing.
Capacitor and Inductor Markings
Ceramic capacitors are generally unmarked, so they are identified by package size and by the reel they came from. Tantalum capacitors are marked with a bar indicating the positive terminal and a code that gives the value and voltage, which is worth knowing because a reversed tantalum fails short.
Inductors are often marked with a value code in microhenries, and some are unmarked. The package shape is a useful clue, but the same footprint may be used for different values, so the assembly drawing remains the authority.
Diodes, LEDs and Polarity
A diode carries a band at the cathode end, and an LED is a diode with a transparent or coloured body, marked in the same way. Getting the orientation wrong is one of the most common assembly errors, which is why the band is reproduced on the placement drawing and on the board legend.
Zener diodes and Schottky diodes use the same marking convention, with the type indicated by the package and the marking rather than by appearance. The part number on the reel is the reliable source.
Transistors and Small Integrated Circuits
A small outline transistor package carries a short code rather than a full part number, and the same code can appear on different devices from different manufacturers. The code has to be looked up against the specific manufacturer’s table rather than guessed.
Integrated circuits in small packages are marked with a date and lot code that varies between production runs, with the part number often abbreviated. For these, the assembly drawing and the reel label are more useful than the marking itself.
Recognising the Major Packages
Rectangular packages with leads on two sides are small outline devices, those with leads on four sides are quad flat packages, and those with no leads and a pad underneath are quad flat no-lead devices. Ball grid arrays have no visible leads at all and are identified by their solder spheres or their footprint on the board.
The package gives a strong indication of the part type without identifying it exactly. A no-lead package with a thermal pad suggests a power device or a regulator, and that narrows the search when the marking is unclear.
Tools That Make Identification Reliable
A stereo microscope or a loupe is essential for reading markings, and calipers confirm the package size when the code is ambiguous. A component tester or an LCR meter resolves the unmarked parts, and a good light source prevents the misreading that produces a wrong substitution.
The reel label is part of the tool set. Materials management practice that keeps the label with the part, and the traceability that links the reel to the assembly, removes most of the guesswork from identification during production. It also supports the placement verification that catches a wrong part before the board is reflowed.
Marking Conventions and Their Limits
Short codes are used because the package is too small for a full part number. That economy means a code is only unique within a manufacturer’s catalogue, so the same three characters can identify different parts from two suppliers.
The practical rule is to treat the marking as a hint and the documentation as the fact. Where a board is being repaired without documentation, the identification is confirmed by measurement or by the circuit function rather than by the code alone.
Why It Matters in Production
A wrong part identified as the right one is a defect that passes visual inspection and appears as a functional failure at test or in the field. The cost of the error is far larger than the time saved by not checking the reel.
The same knowledge improves the pad design review, because a package that is misunderstood at the design stage produces a footprint that is wrong for the part that will be fitted, and the error only appears when the stencil is already cut.
Package Size Versus Power Rating
Physical size limits how much power a component can dissipate. A small resistor has a lower rating than a larger one of the same value, and fitting a small part where the circuit expects a large one produces a component that runs hot and drifts.
The same applies to capacitors and inductors. Where a design relies on a specific rating, the package is part of the specification, and a substitution based only on the value being correct is a reliability risk rather than an equivalent part.
Moisture Sensitivity and Packaging
Many parts are supplied in sealed bags with a humidity indicator because they absorb moisture that turns to steam during reflow. The label on the bag carries the sensitivity level and the date, and both belong with the identification.
A part removed from its packaging loses that information unless it is recorded. Storing parts with their labels, and returning them to dry storage when a build ends, preserves the traceability that identification depends on.
Keeping a Reference Set
A small reference collection of the packages the project uses, with known values and clear labelling, makes identification quicker and more reliable than a datasheet on a screen. It is particularly useful when training someone new to the line.
The collection should include the sizes actually used, a few marked and unmarked examples of each type, and the polarity conventions. That small investment removes most of the hesitation that leads to a wrong part being fitted.
FAQ
Why are some capacitors unmarked? Because the package is too small to carry a legible code, and the value is set by the reel and the assembly drawing rather than by the component itself.
Do all manufacturers use the same SMD codes? No. Codes are unique within a manufacturer’s catalogue, so the same marking can mean different parts from different suppliers.
What is the most reliable way to identify a part? The reel label and the assembly drawing. Where those are unavailable, measurement with a meter and the circuit function settle what the marking only suggests.