Stencil Life and Replacement Criteria in SMT Printing
A stencil looks permanent, but it wears every time a squeegee crosses it. Tension falls, apertures deform, the foil surface roughens and the edge where paste releases starts to hold material instead. None of this happens quickly, which is why stencil life is rarely managed deliberately until print quality collapses. This guide explains how gopcb measures stencil wear and when a stencil should be retired.
What Wears Out on a Stencil
Three things degrade in service: the foil, the mesh and the frame bond. The foil thins under repeated squeegee pressure and the aperture walls lose their sharp edge. The mesh loses tension, which allows the foil to lift and paste to smear. The bond between mesh and frame relaxes, and the stencil no longer sits flat.
Chemical cleaning adds its own wear. Solvent and wipe systems attack the coating applied to the foil, and once the coating is gone paste release becomes less consistent. Stencil life is therefore measured in print cycles, cleaning cycles and the combination of the two, not in calendar time.
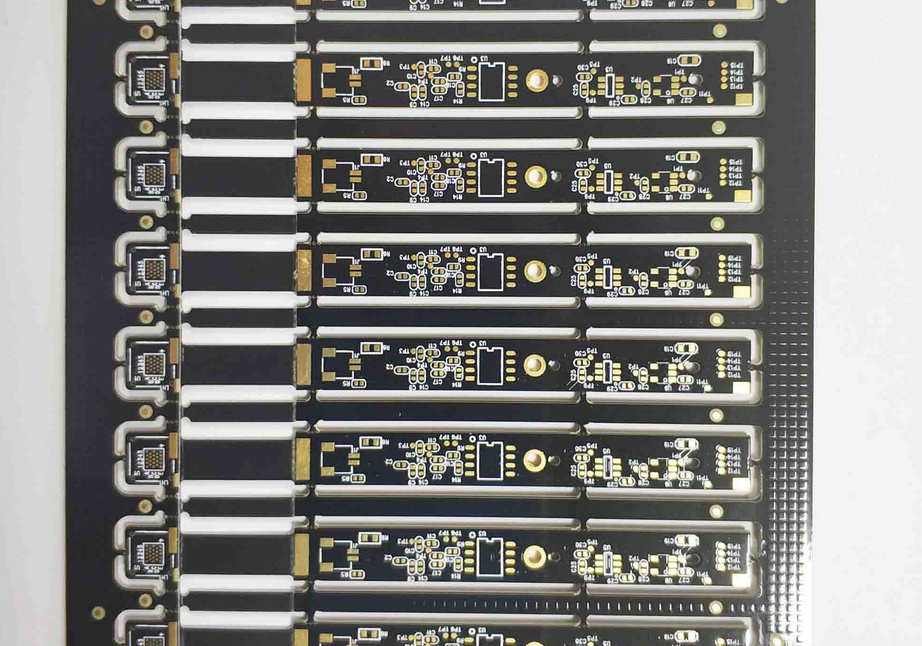
<img src="https://www.gopcba.com/wp-content/uploads/2026/09/219.png" alt="Stencil life inspection showing tension loss on a solder paste stencil” />
How Stencil Tension Changes
Tension is the most useful single indicator of stencil condition. A new stencil is specified at a tension value, and that value falls as the mesh fatigues. Below a certain point the foil no longer stays in contact with the board across the print stroke, and paste bleeds under the apertures.
Tension should be measured at several points across the stencil with a gauge, and the readings recorded against the stencil serial number. A stencil that has lost tension in one area produces a print defect that follows a repeatable pattern on the board, which is the clearest sign that the tooling rather than the process has changed.
Aperture Deformation and Paste Release
Apertures lose their shape gradually. Laser cut walls carry a taper that helps paste release, and repeated cleaning rounds the edge that the paste tears against. As the walls become smoother and less defined, the deposit becomes taller and less consistent, and the volume measured by inspection drifts away from the original value.
This drift is measurable. Comparing print volume from a stencil in service with the volume from a new stencil on the same product shows the change directly, and it is a more reliable indicator than wear visible under a microscope. Our paste inspection guide explains how that volume data is collected.
Coating Wear and Its Consequences
Many stencils carry a nano coating that reduces friction between paste and aperture wall. The coating improves release, which is why it matters most on fine pitch apertures with a low area ratio. It also wears away, and the rate depends on cleaning chemistry, wipe frequency and squeegee pressure.
Once the coating is worn, deposits become more variable and paste residue builds up on the underside of the foil, forcing more frequent cleaning. The stencil still prints, so the change is easy to miss. Tracking volume spread by aperture size over the stencil life shows the trend before it becomes a quality problem.
Cleaning, Handling and Storage
Most stencil damage happens outside production. Stencils stored flat with weight on top lose tension, and stencils hung by one corner bend at the frame. Cleaning in an ultrasonic bath at the wrong frequency can fatigue the mesh and the frame bond, and aggressive wiping shortens coating life.
Good practice is a dedicated rack, a defined cleaning method and a log that records each cleaning cycle. Handling should avoid touching the foil surface at all, because a crease introduced during a changeover becomes a permanent defect that shows on every subsequent print. The discipline mirrors the handling rules used across the production process flow.
Print Defects That Point to Stencil Wear
Several defects are characteristic of a stencil at the end of its life. Insufficient paste that repeats in the same positions suggests deformed or blocked apertures. Bridging that appears after a period of good production points to paste bleeding under a foil that no longer sits flat. Solder beading along one edge suggests localised tension loss.
Distinguishing tooling wear from process drift requires evidence. Printing with a known good stencil on the same product, at the same settings, separates the two. If the deposits return to specification, the process was never the problem, and the questions described in our notes on solder defects can be set aside.
Setting a Replacement Policy
A written policy should define the indicators that trigger retirement: tension below a stated minimum, identifiable aperture deformation, coating loss on critical apertures, physical damage to the foil and a defined maximum print count. Any one of them is sufficient, and the policy should not rely on operator judgement alone.
The policy also needs a reaction plan. When a stencil is retired mid-build, the replacement must be verified with a first article print before production continues. Without that check, a new stencil with a different coating batch can shift deposit volume enough to change the process window.
Cost of Retiring Too Early or Too Late
Retiring too early wastes money, because a stencil that still prints within specification has useful life remaining. Retiring too late is more expensive, because the defects it produces are found at inspection or, worse, in the field. The balance point is found by measuring, not by habit.
In practice the cost of a late replacement is dominated by the disruption it causes. A defect traced to a worn stencil forces a batch review, and the review costs more than several new stencils. Recording stencil life data makes the trade-off visible and lets the policy be tuned with evidence.
Records That Support the Policy
Each stencil should carry a serial number that links to a record of its print count, cleaning cycles, tension measurements and any repairs. The record turns a consumable into a traceable asset and makes it possible to compare stencil life between suppliers or between coating types.
These records also help when quality is questioned externally. A manufacturer able to show that tooling is monitored and retired on defined criteria, in the same way that it documents other controls, presents stronger evidence when PCB quality is assessed.
Additional Considerations for This Build
Practical attention to replacement criteria pays for itself here, because it decides whether the finished board behaves as the drawing intended. Where the requirement is not stated on the fabrication drawing or in the assembly notes, the shop has to assume a default, and that default is rarely the value the design was simulated with. Stating replacement criteria explicitly, together with the tolerance that applies, removes the assumption and keeps the result predictable from batch to batch.
Process Control and Verification
On a design of this kind, print volume is the item that decides how the rest of the board is arranged. Documenting the assumption is part of the design work, and a short note on the drawing prevents a question that would otherwise arrive a day later and cost a day of schedule. The process window is set by the narrowest step in the flow, so an improvement anywhere else shows up as margin rather than as yield until that step is addressed.
FAQ
How many prints can a stencil survive? It depends on the aperture sizes, the squeegee pressure, the paste and the cleaning regime, so the range is wide. Measured tension and print volume are better indicators than a fixed number, and both should be tracked from the first use.
Can a worn stencil be repaired? Tension can sometimes be restored by re stretching and re bonding the mesh, and minor foil damage can be repaired in non critical areas. Repair is not appropriate once apertures are deformed, because the deposit volume cannot be returned to the original value.
Why did print quality change without any process adjustment? Because the tooling changed rather than the process. Coating wear, tension loss and aperture rounding all alter the deposit while the printer settings stay identical. Comparing against a known good stencil is the fastest way to confirm it.