Assembly Cost Drivers: What Actually Moves the Price
Quotations for an assembly are often compared line by line, which is the least informative way to compare them. The number that moves the price is usually the one that is not broken out: the yield, the test time and the panel utilisation.
The Board Cost Stream
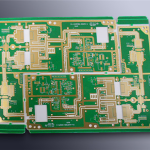
The fabrication cost is driven by the board area, the layer count, the material, the smallest feature and the yield. Of these, the smallest feature and the yield are the two that designers most often ignore.
A design that uses the fabricator’s standard line width and spacing costs less than one that needs the fine line process, even where the layer count is the same. The difference is the process capability required rather than the material.
Panel utilisation determines how many boards come from a panel, and an outline that leaves an awkward area on the panel costs money for every board. Our layer count notes describe how the panel is planned.
Component Cost and the Extended Range
The component list is usually the largest single cost, and the extended parts are the ones that move it. A part that is available from one supplier in one package costs more than one that is available from several.
The cost of an extended part is not only the part price. It is also the additional inspection, the potential for a supply interruption and the engineering time spent on second sourcing, which is why the design should prefer standard parts where the performance allows.
The number of distinct part numbers drives the feeder count, the changeover time and the risk of a setup error. Reducing the variety is a cost measure that also improves quality. Our cost reduction notes describe how the list is reviewed.
Assembly Cost Stream
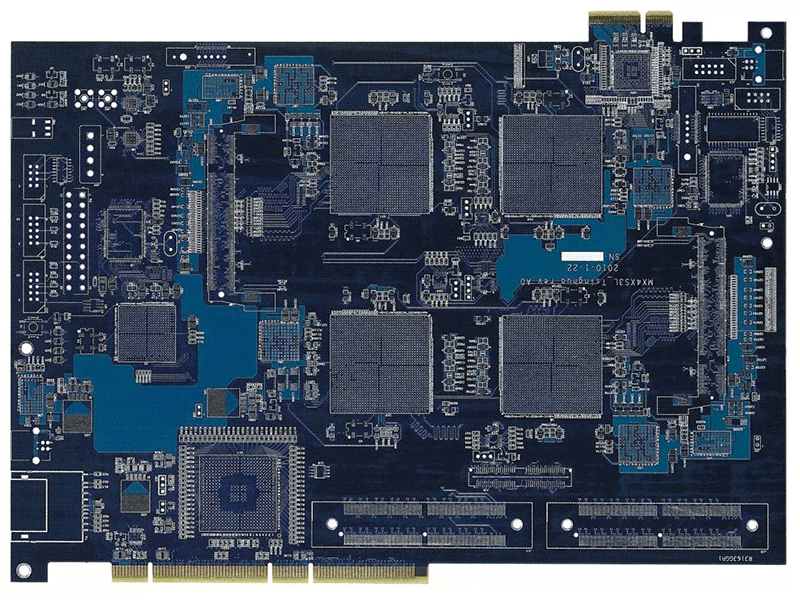
The number of placements is the primary driver of the machine time. A board with two thousand placements takes longer than one with five hundred, and the machine time is a real cost.
The number of through-hole parts drives the hand or selective soldering time, which is much more expensive per joint than a reflowed joint. Each through-hole part added for convenience costs more than a surface mount equivalent.
The number of reflow passes matters. A double sided assembly uses two passes, and the second pass requires a pallet and a second set of handling steps. Our fabrication notes describe how these requirements are recorded.
Test Cost
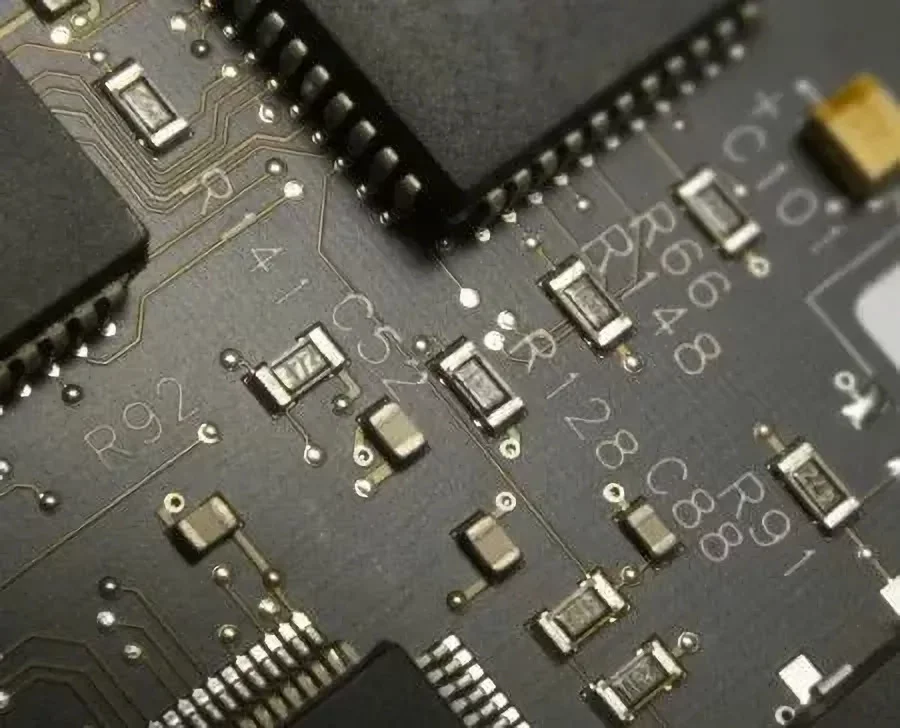
The test cost is driven by the fixture, the test time per board and the false call rate. A fixture is a fixed cost that is justified by volume, and a design with poor test access forces a fixture that is expensive to build and unreliable to run.
The test time per board depends on the number of measurements and on the settling time of each. A design that requires a long settling time for a sensitive measurement costs more per board than one that does not.
The false call rate is a hidden cost, because each false call consumes a rework operation and an operator’s judgement. A test that is too sensitive is more expensive to run than one that is correctly set. Our quality notes describe how the rate is monitored.
Yield and Its Contribution
The yield multiplies the cost of everything that came before. A board with a ninety five per cent yield costs more per good unit than one with ninety nine per cent, and the difference is often larger than the difference in material cost.
The design influences the yield through the feature sizes, the spacing, the thermal mass distribution and the test access. A design that is marginal in any of these produces a yield loss that persists for the life of the product.
The yield should be measured and reported for each build, because a design change that reduces it is a cost increase even where the quotation was lower.
Volume and Its Effect on Everything
The tooling, the fixture and the programming are fixed costs that are recovered across the volume. A design that is built in small quantities should avoid the fixed costs where possible.
A low volume build may not justify a test fixture, a stencil for each revision or a dedicated pallet. The alternative methods are more expensive per board and cheaper overall.
The volume also determines the process that is used. A prototype line and a volume line have different capabilities, and a design that pushes the limits of one may not be buildable on the other.
Comparing Quotations Properly
The comparison should be made on the total cost of ownership for the volume expected, including the tooling, the unit price, the expected yield and the cost of any test and rework.
Where two quotations differ significantly on a line item, the reason is worth understanding. A lower assembly price with a higher component price is not a saving, and a lower unit price with a higher tooling cost needs a volume to be worthwhile.
The design decisions that reduce cost are the same ones that improve quality: fewer parts, fewer processes, more margin and better test access. Our design release checklist notes where these decisions are captured.
Additional Considerations for This Build
Practical attention to cost driver pays for itself here, because it decides whether the finished board behaves as the drawing intended. Where the requirement is not stated on the fabrication drawing or in the assembly notes, the shop has to assume a default, and that default is rarely the value the design was simulated with. Stating cost driver explicitly, together with the tolerance that applies, removes the assumption and keeps the result predictable from batch to batch.
Process Control and Verification
On a design of this kind, cost driver is the item that decides how the rest of the board is arranged. A stack-up that is drawn rather than described removes most of the ambiguity from a quotation, and it lets the fabricator price the board against the dielectric and copper weights that will actually be used. Where the requirement is not written down, the shop supplies its own default, and the default is chosen for the process rather than for the design.
The measurements that matter are the repeatable ones: conductor width and spacing, annular ring, finished hole size, plating thickness and surface finish are all verifiable on a coupon that travels with the panel. Running a first article through the same checks as the production panel confirms that the two agree, and that comparison is the cheapest form of process control available at prototype stage.
FAQ
What is the largest cost in a typical assembly? The components, followed by the fabrication and the assembly labour. Test is usually the smallest of the three until the volume is high.
Does a cheaper board always save money? Only where the yield is unaffected. A cheaper process with a lower yield costs more per good unit.
What does gopcb provide for cost analysis? We provide a breakdown of the fabrication, assembly and test contributions, panel utilisation analysis, part count and process step reduction proposals, and yield data from the actual builds so that the total cost can be compared rather than the quotation alone.