




Coating Adhesion: 6 Tests Before Release
Coating adhesion is what keeps a conformal coating attached to the board for the life of the product, and it is the property most often taken for granted because a freshly coated board looks identical whether the film is bonded or merely resting on the surface.
Adhesion problems appear later, usually as a lifted edge, a blister or a creeping delamination that lets moisture travel along the surface under the film. By the time it is visible, the board is often already in the field, which is why an adhesion test is designed to find the weakness before the product is released.
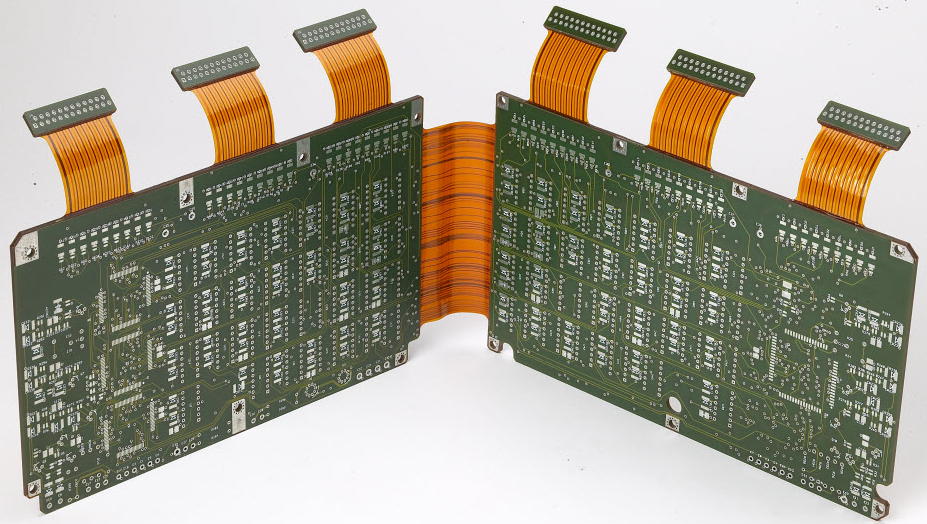
<img src="https://www.gopcba.com/wp-content/uploads/2026/09/24-2.jpg" alt="Coating adhesion tested with a cross hatch pattern on a PCB” />
Why Coating Adhesion Fails in Service
A coating adhesion failure has one of four causes: the surface was contaminated, the material did not wet it, the cure was wrong or the film was too thick and stored too much internal stress. Each of the four leaves a different pattern in the failure.
Contamination usually shows as a patchy failure that follows the area that was handled or fluxed. A wetting problem shows as a film that pulls back from edges. A cure problem leaves a soft film, and a thickness problem cracks at corners before it lifts.
Surface Energy, Wetting and Cleanliness
A liquid coating spreads on a surface when the surface energy is higher than the surface tension of the liquid. Solder mask has a low surface energy compared with bare copper, which is why a coating sometimes wets the exposed pads well and beads on the mask beside them.
Cleanliness raises surface energy, and contamination lowers it. Handling, flux residue, silicone from a dispenser or release agent from a tape all leave a low energy layer, and the general cleanliness rules behind clean versus no-clean decisions are what keep that layer from forming.
Cross Hatch and Tape Test Methods
The coating adhesion cross hatch test cuts a lattice of lines through the coating to the substrate and applies a tape over the pattern, which is then pulled off at a controlled angle. The amount of coating removed is compared with a reference scale, and the result is a number rather than an opinion.
The tape peel test is the simpler version, applied over a single cut or over an existing edge. Both are destructive, so they run on coupons or on a sample panel, and both are described in the coating standards published by the IPC.
Preparing and Scoring a Sample
The cut has to reach the substrate without gouging it, which means a fresh blade, a fixed spacing jig and a consistent pressure. A blade that has been used several times tears the film instead of cutting it, and the result then describes the blade rather than the coating.
The sample for any adhesion test should be representative: the same board material and mask, the same coating thickness and the same cure schedule as the production boards it stands for. Testing a coupon of bare laminate says nothing about adhesion on a board covered in cured mask, which is where real failures occur.
Interpreting Results and Acceptance Scales
Reference scales run from a perfect result, where nothing is removed, to a complete failure. The limit for acceptance should be set in the specification, and it should be tight enough to catch the drift that matters rather than loose enough to pass everything.
For a conformal coating the pattern of removal is as informative as the score itself. Failure along the cut lines points to a brittle film, failure between the lines points to poor wetting, and failure that removes the mask along with the coating points to the mask surface rather than the coating.
Contamination Sources Before Coating
The contaminants that matter most are the ones introduced after cleaning: skin oils from handling, flux residue left in a shadowed area, silicone from a dispensing valve, machine oil from a conveyor and release agent from masking tape. All of them are invisible to the eye.
The controls are procedural rather than technical. Handle boards by the edges only, use gloves that have been qualified for the coating process, and check the cleanliness of the surface immediately before the coating step, using the extraction methods described in ionic contamination testing where the requirement is tight.
Cure, Thickness and Stress at Edges
A cure that is too fast skins the surface and leaves solvent underneath, which weakens the bond as the solvent slowly escapes. A coating that is too thick builds stress that concentrates at corners and at the base of tall components, and that is where lifting starts.
Thickness and cure are therefore part of the coating adhesion question, and the coating thickness measurement should be taken on the same coupon used for the peel test. Where the film has to lift, the practical guidance on masking and keepout usually explains why the coating terminated on the surface it did.
Rework, Repair and Recoating
Coating that has lifted can be repaired, provided the area is cleaned back to a sound edge and the surface is prepared so that the repair material can bond. A patch applied over a contaminated surface will lift again, and the second failure is usually harder to find.
Where a component is replaced, the coating around it has to be removed without damaging the mask, and the general repair practice follows the same logic as flux residue removal after soldering. The repair should be recorded, because coating adhesion on a patched area is not the same as the adhesion of the original film, and a later failure there will be judged against that note.
Qualification, Records and Routine Checks
Qualify the coating adhesion of the system on representative boards before production, then monitor it with a coupon and a periodic adhesion test from each lot. Record the coating lot, the thickness, the cure profile and the peel result together, so that a change in any one of them can be judged against the state that was approved.
Routine checks should include a visual inspection for lifting at edges and around components, which catches most problems without a destructive test. Where the result matters to a customer, the quality record should show both the visual result and the periodic peel test for the lot.
FAQ
What peel result is acceptable? The limit comes from the customer specification or from the standard the product is built to, and it is usually expressed as a grade on the reference scale with a permitted amount of removal at the intersections. Set it in the specification rather than deciding per batch.
Does cleaning always improve coating adhesion? Cleanliness removes one class of failure, but it cannot help if the coating does not wet the mask or if the cure schedule is wrong for the material that was applied. Both of those causes have been seen on boards that were otherwise spotlessly clean. Where cleaning has not fixed a lifting problem, the next things to check are surface energy and cure.
Can adhesion be tested on a production board? The tests are destructive, so a production board cannot be tested and then shipped. A coupon built beside the product is the usual answer, provided it receives the same mask, coating and cure as the board itself.


1 Comment
Biased HAST Testing For PCB Assemblies
[…] underneath and then traps it against the surface, which is often worse than no coating at all. The coating adhesion test and the ionic contamination verification are the two checks that predict how a coated assembly will […]