Entry Material and Exit Material: Drill Hole Quality Control
The entry material on top of a drill stack and the exit material beneath it look like packaging, and they are actually process tools. They control the burr on the copper, the nailheading in the laminate and the heat that the drill carries away, and substituting a cheaper grade is one of the quickest ways to lose hole quality without changing a single drilling parameter.
What Entry and Exit Material Do
Entry material sits between the drill and the top copper layer, and it does three things: it stops the drill from burring the copper on entry, it holds the stack down, and it carries heat away from the cutting edge. It also protects the surface from the pressure foot and from debris.
Exit material sits under the bottom copper and supports the laminate as the drill breaks through. Without it, the last fibres of the laminate tear rather than cut, and the copper on the exit side deforms into a burr. The exit material is therefore the main control on exit-side quality.
Entry Material Types and Selection
Aluminum foil of roughly 0.1 to 0.2 mm is the common entry material, often with a lubricant coating that reduces friction and heat at the cutting edge. Phenolic and melamine entry boards are harder and are used where the surface has to stay flatter, and coated foils are used where lubrication matters more than stiffness.
Selection follows the drill diameter and the hole density. Small drills benefit from lubricated foil because heat is concentrated, while large drills need a material that does not deform under the pressure foot. The entry material is consumed once per stack, so its cost is per panel rather than per tool.
Exit Material and Burr Control
Exit material is usually a phenolic or composite board of 1.5 to 2.5 mm thickness, chosen so that the drill finishes cutting inside the exit material rather than in the air below it. A rigid backing supports the laminate at the moment of breakthrough, which is when exit-side burrs and tearing occur. A backing board that is too thin flexes under the drill, and that flexing is what allows the laminate to tear even when the tool is sharp.
The exit material also carries away heat and swarf, and it should be replaced before it becomes grooved or heavily drilled. A backing panel covered in old holes no longer supports the laminate evenly, and the burrs reappear even though the drilling parameters have not changed.
Nailheading and Its Causes
Nailheading is the widening of a copper pad or plane where the drill passes through, seen on a section as a cone of distorted copper. It happens when the copper is soft, when the drill is dull, or when the stack is not supported, and the condition matters because it reduces the annular ring and can shorten the distance to an adjacent conductor.
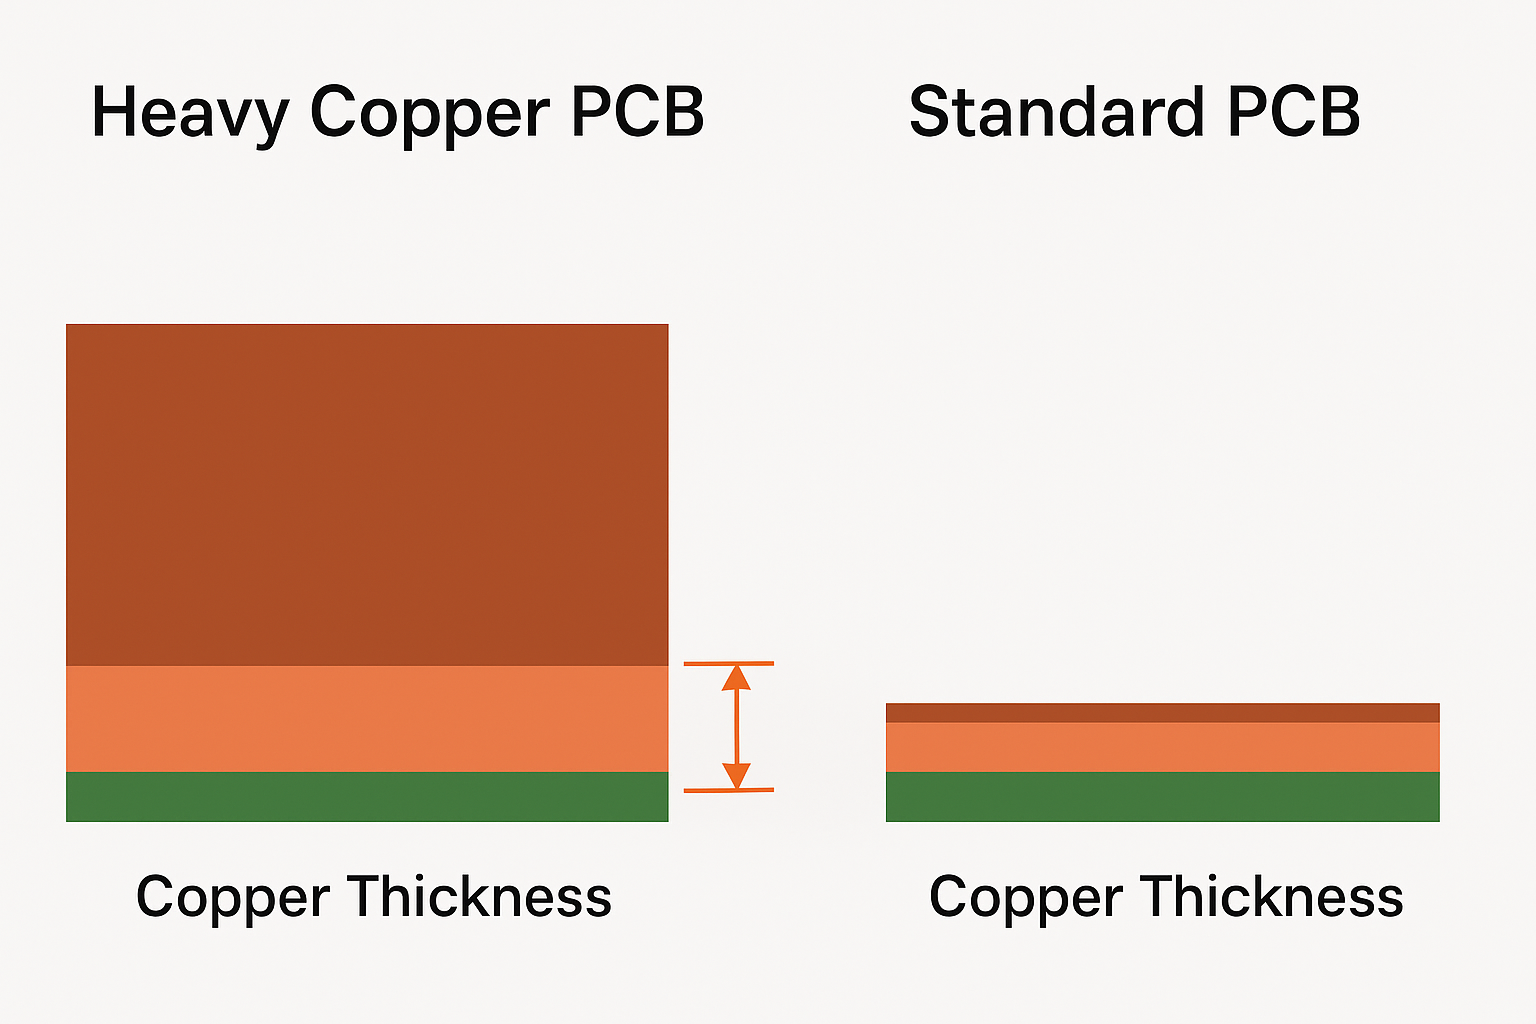
The control is a combination of sharp tools, correct feed and speed, and adequate entry and exit support. Where nailheading appears on one layer more than others, the layer thickness and the copper weight are the place to look, since heavier copper deforms more before it cuts. On a section, nailheading is measured as the difference between the nominal pad and the distorted edge, and it is worth recording because it consumes annular ring on every hole in the panel.
Hole Wall Quality and Smear
The hole wall should show cut fibres and clean copper, without resin smear that would block the subsequent plating. Smear comes from heat generated during drilling, which melts the resin and spreads it across the wall, and it is exacerbated by a dull drill, a high hit count and a low feed rate that rubs rather than cuts.
Desmear chemistry removes what drilling leaves, but it should not have to compensate for a badly drilled hole. Where desmear is doing heavy work, the section shows an over-etched wall with resin recessed behind the copper, which is a different defect from the smear it removed. Comparing the wall before and after desmear on the same panel shows how much work the chemistry is doing, and that comparison is a direct measure of drilling quality.
Drill Wear and Hit Count
Drills wear at the cutting edge and on the margin, and a worn drill cuts a smaller hole with more heat and a poorer wall. Hit counts for the size range are typically a few hundred to a few thousand holes per tool depending on the material and the stack, and the tool should be replaced on the count rather than on the appearance of the holes. Recording hit count against wall quality on a sample builds a replacement interval that suits the actual material rather than a supplier default.
Regrinding extends tool life where the geometry can be restored, and the regrind limit is usually set by the diameter of the tool. Where a drill is used beyond its limit, the wall quality deteriorates gradually, and the first indication is often a change in the plating appearance rather than in the hole size.
Backing Plates, Stack Height and Registration
The stack height and the pressure foot setting determine how firmly the panel is held, and a stack that moves during drilling produces holes that are out of position. Registration depends on the tooling system, and the first indication of a stack that is not held is a hole position that drifts across the panel.
Stacking more panels increases throughput and makes support harder to maintain, because the drill has to pass through more material before it reaches the exit board. Where quality matters more than throughput, a shorter stack with a fresh exit board produces better holes than a tall stack with a used one.
Measuring the Result
Hole quality is measured on a microsection by examining the wall for smear, the copper for nailheading and the entry and exit surfaces for burrs. Burr height is measured at the copper edge, and acceptable values are in the tens of microns, which means a section or a dedicated measurement rather than a visual impression.
Recording the measurements per panel and per drill lot shows whether the process is stable and whether a material change has affected the result. A hole that looks good to the eye can still have a burr that interferes with the annular ring, and only a measurement resolves it. The same section also shows whether the plating is uniform around the barrel, which is the property the hole exists to provide.
Cost Versus Quality Trade-offs
Entry and exit materials are consumed per panel and are a visible cost in a fabrication order, which is why they are a common target for reduction. The saving is real but small compared with the cost of a hole quality problem that reaches assembly as an annular ring or a solderability defect.
The practical approach is to match the material to the product rather than to apply one grade everywhere. A coarse board with large holes tolerates a simpler backing than a fine-pitch board with 0.2 mm holes, and the specification should reflect that difference rather than treating every order the same.
FAQ
Why is exit material needed below the panel? It supports the laminate as the drill breaks through, which prevents tearing and exit-side burrs. Without it the last fibres tear rather than cut.
What entry material is commonly used? Aluminum foil of about 0.1 to 0.2 mm, often lubricated to reduce friction and heat at the cutting edge. Harder boards are used where flatness matters.
What is nailheading? A cone-shaped distortion of copper where the drill passes through, visible on a section. It reduces the effective annular ring and is controlled by sharp tools and good stack support.