Heater PCB Price Guide: FR-4, Aluminum, Ceramic
A heater board is a power product with a sensor attached, and that combination drives its cost more than any layout decision. The same circuit that would be trivial on a logic board has to carry several amps, survive a hot enclosure and keep a temperature measurement accurate. This guide explains how a heater PCB price is built in 2025, from substrate and copper to thermal vias, coatings and test.
What a Heater Board Has to Do
A heater control board does four jobs at once. It switches the heating element through a relay, a MOSFET or a triac, it measures temperature through a thermistor, a thermocouple or a digital sensor, it runs a control loop that holds a setpoint, and it protects the product by cutting power when something goes wrong. Each function has its own cost signature.
The switching stage sets the current, and the current sets the copper. The sensing stage sets the accuracy, and accuracy sets the amplifier and the reference. The protection stage adds components and often an isolation barrier. None of those are optional in a product that heats, which is why even a simple heater controller costs more than a comparable logic board.
Substrate Choice and the Price Steps
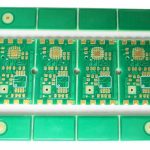
Standard FR-4 is adequate below about 130 degrees Celsius and is the cheapest option, so it dominates low-power appliances. Where the board sits near the element, an aluminum substrate PCB spreads heat into the enclosure and removes the need for a separate heatsink, at several times the unit cost but with a much better thermal margin.
Ceramic substrates sit at the top of the range. Alumina and aluminum nitride tolerate well above 250 degrees Celsius and are used where the board is effectively the heater carrier, such as a small industrial element or a medical warmer. They are also the most expensive option per square centimetre, so the choice has to follow the temperature and the duty cycle.
Copper Weight, Current and Trace Geometry
The duty cycle matters as much as the peak temperature. A board that reaches 120 degrees Celsius for a few minutes a day is a very different problem from one that sits at 110 degrees continuously, because the failure mechanism shifts from thermal shock to long-term ageing of the laminate. Specifying the substrate from the steady-state temperature rather than the peak avoids both an under-designed board and an unnecessarily expensive one.
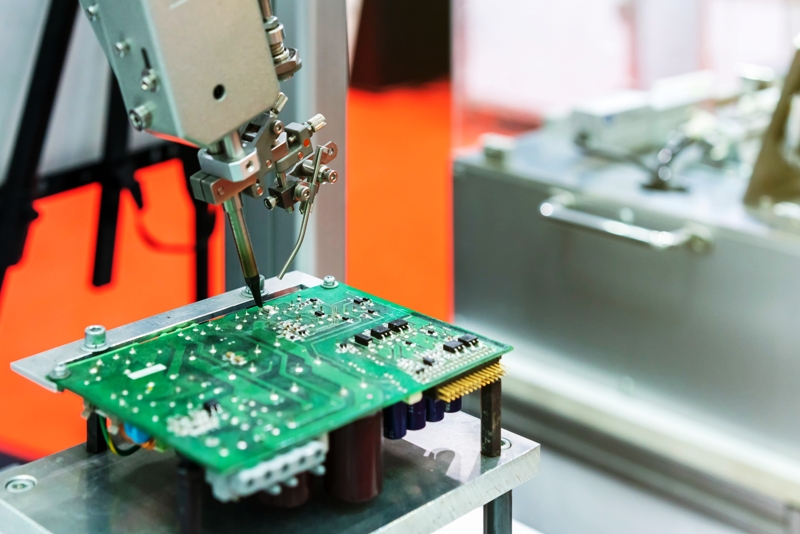
Copper weight is the main driver on the power side of the board. A heater drawing several amps at mains voltage needs conductors sized by trace width and current calculation rather than by routine design rules, and the answer is usually 2 oz or 3 oz copper on the outer layers. Heavy copper also changes the minimum spacing that the fabricator can hold.
Creepage and clearance then constrain the layout. Mains-referenced circuits need a defined separation between live conductors, and that separation consumes area that cannot be used for routing. A board that is tight on area will therefore grow, and area is priced, so insulation distance ends up as a direct cost item rather than a safety detail.
Thermal Vias and Heat Spreading
Thermal vias are the cheapest way to move heat from a hot component into a plane or into an aluminum base. A cluster of small vias under a switch or a shunt lowers the junction temperature significantly, and the cost is a drilling and plating operation rather than a material change. That makes them the first thing to try before moving to a metal substrate.
Heat spreading on the surface is the second step. A copper pour connected to the element reduces the peak temperature and improves the life of the surrounding components, and it costs nothing beyond the copper that is already there. The limits are the creepage requirement and the need to keep the sensor away from the thermal path.
Materials That Survive the Temperature
Solder mask is the component that most often fails first. A standard solder mask discolours and degrades near its rated limit, while a high-temperature solder mask holds its colour and its dielectric properties over thousands of hours. The increment is small per board and it avoids a cosmetic and sometimes electrical failure in the field.
The same logic applies to the legend ink, the adhesive that holds the element or the sensor, and any connector body in contact with the hot area. Each of those is a small line item, and each becomes a warranty claim when it is chosen from the standard catalogue rather than from the temperature requirement.
Prototype, Tooling and Certification Cost
The pcb prototype cost of a heater board is dominated by engineering rather than fabrication, because the thermal and safety design has to be verified. A first build usually includes a stencil, an assembly setup, a thermal test and often a hipot check, and on a small order those fixed charges exceed the board itself.
Certification then adds a programme cost. Safety approval, EMC testing and the documentation that support them are charged once per design but they scale with the complexity of the isolation and the number of variants. Designing for a single certified configuration rather than several near-identical ones is a genuine saving.
Application Pricing by Product Class
Test coverage is worth defining early as well. A functional test with a load bank and a thermocouple takes floor time per unit, and an automated optical inspection step takes time per panel. Both are inexpensive per unit at volume and both look expensive on a five-piece order, which is why the test plan should be scaled to the risk of the product rather than fixed at the start of the project.
Domestic products sit at the bottom: a low-power heater blanket or an infrared panel uses a single-sided or 2-layer FR-4 board with a simple relay, and the price is driven almost entirely by volume. Industrial ovens, duct heaters and heat pumps move up because they need heavier copper, isolation and a proper sensor front end.
Automotive and medical products sit at the top. Vehicular applications add vibration and wide-temperature qualification, while medical devices add a quality system, traceability and often a redundant safety cut-out. Each requirement adds a component or a process step, and the price follows the count of those steps.
Reducing Cost Without Raising Risk
The largest savings come from staying on FR-4 with thermal vias. Moving to a metal substrate should be a measured decision, taken when the thermal test shows it is needed rather than as a precaution. Sizing the copper to the actual current instead of to a generous margin is the second lever, because heavy copper is priced across the whole panel.
Standardising the interface is the third. One sensor type, one connector family and one control circuit reused across several product variants lets the same protective coating and the same test fixture be used throughout, and it reduces the number of safety programmes that have to be run. A single certified configuration also shortens the review a safety body has to carry out, which is frequently the longest single item in the whole schedule.
FAQ
Can a standard FR-4 board be used in a heater? Yes, if the measured board temperature stays below the laminate and solder mask limits. Above that, thermal vias and a metal substrate are more reliable than a larger heatsink, and they are usually cheaper than a redesign after a field failure.
How much copper is needed for a mains heater stage? It depends on current, allowable temperature rise and the copper thickness chosen. Working through the calculation rather than assuming a value is the only way to avoid both an overheated trace and an unnecessarily expensive panel.
Do heater boards need a coating? In a humid or dirty environment, yes. A conformal coating protects the conductors and the sensor connections from condensation and contamination, and it is far cheaper than the corrosion failures it prevents.