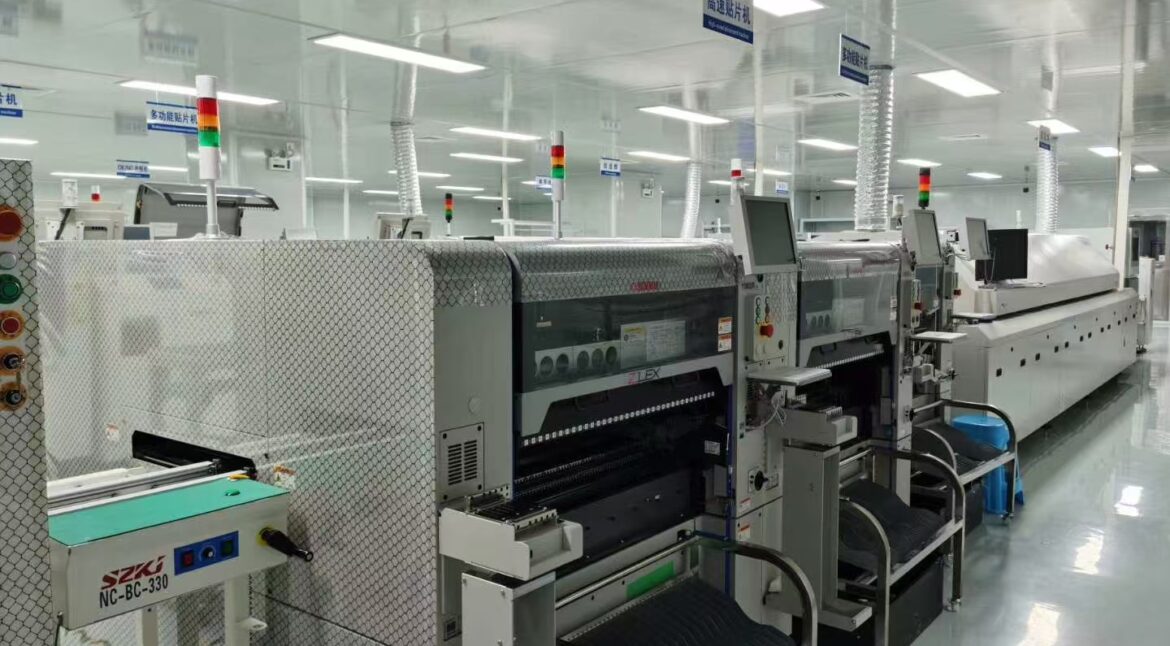
Barcode Label Quality on PCB Assemblies and Panels
A barcode label is the smallest and cheapest part of a PCB assembly, and the one most likely to break traceability. If the label cannot be read after reflow, or falls off in the cleaning line, the board loses its identity and the whole data trail behind it. Label quality depends on material choice, print method, adhesion and placement, and each of those has to survive the assembly process. This article covers what to specify and how to check it.
Why Barcode Labels Matter on PCB Assemblies
Traceability turns a serial number into a history: which panel the board came from, which paste lot was used, which reflow oven and profile, and which operator performed the final test. Without a readable label, that history has to be reconstructed by hand, and in a recall the reconstruction may not be possible at all.
The label also feeds automation. Scanners at test stations load the correct programme, log results against the unit, and prevent a board from skipping a step. A single unreadable label stops the line or, worse, allows a unit to be processed with the wrong recipe because the operator selected it manually.
Label Materials for High Temperature Assembly
Polyimide and coated polyester are the common base materials for boards that see reflow. Polyimide tolerates the highest temperatures and is the usual choice for top side placement, while polyester works well where the label is applied after the heat cycles. Paper labels are acceptable only where the board has already completed assembly.
Adhesive chemistry matters as much as the face stock. Acrylic adhesives resist high temperature and ageing better than rubber-based types, and they leave less residue if the label has to be removed. For boards that will be cleaned, confirm that the adhesive survives the chemistry and that the face stock does not swell or delaminate.

Size is part of the material decision too. A larger label has more adhesive area and survives better, but it competes for space with components and test points on a densely populated board.
Print Quality: Contrast, Quiet Zone and Module Size
Scanners need contrast. Dark bars on a light background with a defined reflectance difference read reliably, while a low contrast print may fail under the warm light of a production area. Laser and thermal transfer printers both produce durable images, but the label stock and the ribbon must be matched to each other.
Module size, or the width of the narrowest bar, sets the resolution requirement. Printing a small module with a printer that cannot resolve it produces a symbol that looks correct to the eye and fails at the scanner. Quiet zones at both ends of the symbol must be kept clear of print, varnish and even the edge of the label.
Adhesion to Solder Mask and Copper
Adhesion depends on the surface the label sits on. Solder mask varies in surface energy between chemistries and finishes, and a matte or textured mask holds an adhesive better than a very smooth, low energy coating. Bare copper and gold surfaces behave differently again, and an oily fingerprint is enough to spoil the bond.
Application pressure and dwell matter. A label applied with a hard roller and a slow pass wets out the adhesive far better than one pressed by thumb. Where the environment is humid or the board surface is cool, allow the adhesive time to build strength before the label meets its first thermal cycle.
Placement Rules and Keep-Out Zones
Labels should sit away from areas that will be heated locally, such as a connector that receives selective soldering or a shield can that will be reworked. They must also stay clear of mounting holes, board edges that will be routed, and any surface that a fixture or vacuum chuck contacts.
Orientation matters for the operator. If labels are always applied with the symbol reading in the same direction relative to the board outline, scanners can be presented the same way every time and first read rate improves. Document the position on the assembly drawing rather than leaving it to the line.
Surviving Reflow, Wave Solder and Cleaning
Reflow exposes labels to peak temperatures for a minute or more, and wave solder adds a short, intense thermal shock plus contact with flux and molten alloy. A label applied before those steps must be specified for them; a label applied afterwards has far more freedom in material choice.
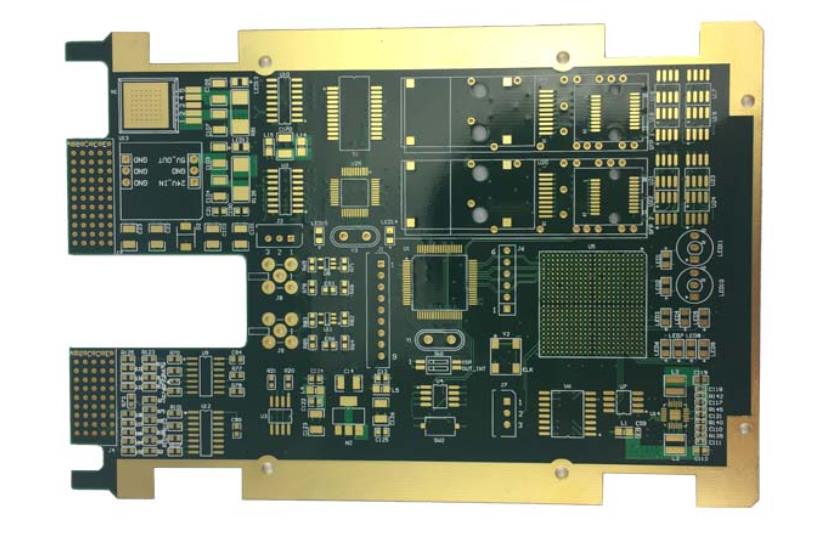
Cleaning is the other endurance test. Aqueous cleaning with a hot rinse can lift an edge and let water creep under the label, where it later causes corrosion or a short. If the board will be cleaned, test the label on a processed board rather than on a bare sample.
Grading and First Read Rate
Symbol verification grades a print against defined criteria for contrast, modulation, defects and decodability. A grade of B or better is a common acceptance target for production labels. Grading catches the slow drift in printer settings that a simple scan test would pass for weeks.
First read rate measures the same thing in production terms: the percentage of labels that scan correctly on the first attempt. Track it by station, because a rate that drops at one scanner often points to a lighting or focal distance problem rather than to the labels themselves.
Reprints, Escapes and Data Integrity
When a label fails, the replacement must carry the same data. That sounds obvious, but manual reprints are a common source of duplicate or incorrect serial numbers. Restrict reprint authority, log every reprint, and make the printer take the number from the same database record as the original.
Escapes are the more serious failure. A label that falls off after the board ships leaves a customer with an unidentified unit. Retain a sample of applied labels from each lot and check adhesion after a simulated thermal cycle, so the failure appears in your own facility rather than in the field.
Incoming Inspection of Labels
Incoming inspection should check more than the count on the reel. Verify the material and adhesive against the specification, measure a sample symbol with a verifier, and run an adhesion test after exposure to the expected process temperatures. Record the manufacturer lot so that a bad batch can be traced later.
Store labels in their original packaging, away from heat and direct sun, and respect the shelf life. gopcb treats labels as a controlled material rather than as consumables, because the cost of a failed label is measured in lost traceability rather than in the price of the label itself.
FAQ
What material should a PCB label use for reflow? Polyimide with an acrylic adhesive is the usual choice for labels applied before reflow. Polyester is acceptable where the label is added after all heat cycles, and paper only after assembly is complete.
Why do labels scan at the bench but fail on the line? Lighting, scan distance and the angle of presentation differ between the two. Verify the symbol with a grader and check the scanner setup at the station, since both contribute to first read rate.
How do I test label adhesion properly? Apply labels to a processed board, run it through the same thermal and cleaning steps as production, then examine edges for lifting and pull a sample to check bond strength. A test on a bare coupon proves very little.