Chip-Out at PCB Edges: Router Bit and Feed Control
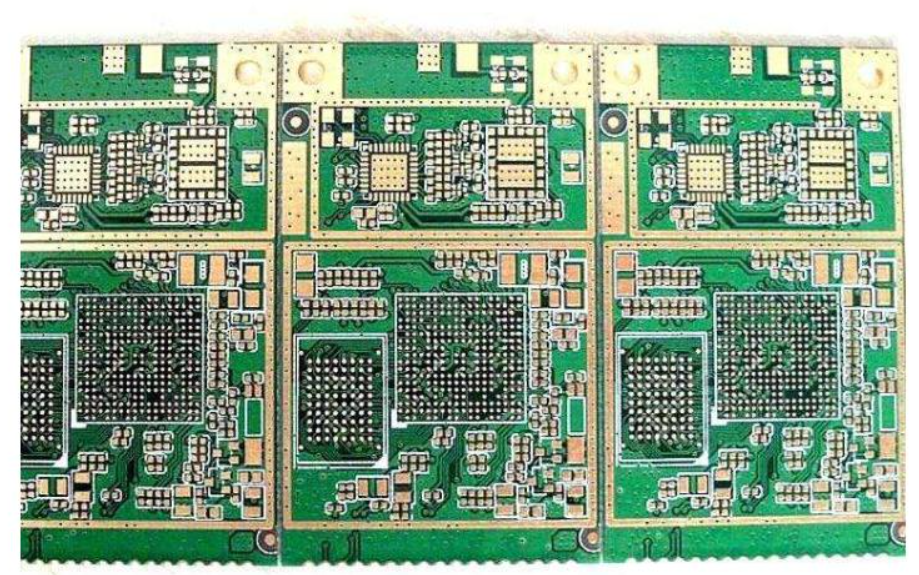
Chip-out is the mechanical loss of resin and glass fibres from the edge of a board when the outline is cut, leaving a notch, a ragged lip or a small crater where the laminate should be solid. It shows up on routed outlines, on V-scored break lines and inside slots, and it is judged against the edge criteria of the applicable acceptance standard rather than by eye.
Most edge damage comes from the same place: a cutting edge engaged in material it is not sharp enough or fast enough to shear cleanly. Turning that into a controlled process means treating the router bit, the feed rate and the panel support as one system with a measurable output.
What Chip-Out Is and Where It Appears
The defect is a fracture at the board edge where the tool has pulled material instead of cutting it. It can be a shallow flake on one side, a through thickness break that removes part of the edge plating, or a longer tear along a glass bundle that leaves a fibrous fringe.
Location is the clue. Damage on the top surface only suggests a tool that is no longer sharp enough to enter cleanly. Damage on the bottom surface points to inadequate support or a panel that lifted during the cut. Damage concentrated near a corner or a small radius suggests that the feed rate is too high for the geometry.
Router Bit Geometry and Wear
A router bit cuts with a defined cutting edge, and that edge wears in a predictable way. As the edge rounds, the tool stops shearing and starts abrading, and the abrasive regime generates heat and powder that damage the edge further. The transition is usually visible on the panel before it is visible on the bit.
Bit diameter and flute count set the geometry of the chip that is removed. A small diameter bit on a long cut deflects more and produces a rougher edge, and a bit with a coating designed for abrasive filled laminates holds its edge noticeably longer than an uncoated one. Bit life should be set from measured edge quality rather than from a fixed count.
Feed Rate, Spindle Speed and Cut Quality
Feed rate per tooth decides how much material each cutting edge removes. Too high a feed rate overloads the edge and produces chip-out, especially at corners where the engagement angle changes suddenly. Too low a feed rate rubs the laminate, generating resin smear and heat that soften the material and allow fibres to pull out.
Spindle speed interacts with the same balance. The chip load per tooth should stay within the range the bit was designed for, which means speed and feed have to be adjusted together rather than one at a time. A useful starting point is the bit manufacturer range, then verified by measuring edge quality on the first article for each new stack.
Stacking, Support and Panel Movement
Panels cut in a stack depend on the whole stack being held rigidly. If the bottom panel can move by even a fraction of a millimetre, the tool will grab it and the edge will break rather than cut. Tooling pins, a sacrificial backup and adequate clamping pressure are the controls that prevent it.

Support under the cut line matters for the same reason. A panel spanning a void in the support table will deflect downward under the cutting force, which changes the effective feed and produces a chip-out on the exit side. Table flatness and backup integrity belong in the machine maintenance schedule, not only in the setup instructions.
V-Scoring and Its Own Defect Set
V-scoring removes a controlled wedge of material from each side of a break line, and the residual web thickness decides how the board separates. If the web is too thin, the panel breaks in transit; if it is too thick, the operator separates it by force and tears the edge instead of snapping it.
The scoring wheels add a second failure mode, because a worn or chipped wheel leaves a ragged groove and can lift resin from the surface. Depth on both sides, web thickness and groove quality should be recorded for each scoring setup, and the same requirement applies to the tabs described in the guidance on breakaway tab design.
Glass Fibre and Resin Behaviour at the Edge
FR4 type laminate is a composite, and the two phases behave differently when they are cut. Resin fractures in a brittle manner and tends to chip, while glass bundles are tough and tend to pull rather than break. The visible damage on an edge is usually the resin that has fractured around fibres that were dragged out. Where the material is softened by heat, the same fracture leaves a raised burr of resin that can be mistaken for a plating defect, which is why burr removal and edge inspection belong together and are treated alongside the checks for burrs at the hole wall.
Weave style influences the result. A tightly woven fine weave tends to give a cleaner edge than a coarse weave with large openings, and the direction of the weave relative to the cut line changes how far a tear propagates. Where an application demands a very clean edge, that is a laminate selection question as much as a routing one.
Measuring Edge Quality Against Acceptance Criteria
Edge quality is assessed with a magnification of around ten times, looking at the depth of the notch relative to the board thickness, the presence of exposed or lifted glass, and whether the edge plating is continuous where it is required. The acceptance limits come from the class of the product under the relevant standard.
A ring light and a shallow viewing angle make the damage visible, because chip-out usually shows as a change in surface texture rather than as an obvious break. Recording the worst example on each panel edge, rather than an average, keeps the measurement meaningful for a specification that is applied to single points.
Effects on Assembly, Handling and Coating
Edge damage is not only cosmetic. Loose fragments of laminate and glass can travel with the panel into the assembly line, and a fragment that lands on a paste deposit becomes a soldering defect that is difficult to trace. Lifted glass at an edge also gives a coating a path to wick away from the surface, which is one of the mechanisms behind marginal board outline performance in coated products.
Handling is the other consequence. A chipped edge can cut an operator, catch on a magazine or abrade a belt, and the damage at that point propagates further into the board. Edge quality should therefore be inspected before the panel is packed, not only after the outline has been cut.
Process Control and Tool Life Records
The effective control is a record that links tool change to measured result. Bit identification, number of panels cut, feed and speed settings, and the measured edge quality of the first and last panel of the run together show whether the wear rate is stable or accelerating.
Where the record shows a step change, the cause is usually a change rather than a drift: a new laminate lot with harder filler, a tool from a different batch, or a setup that was made by a different operator. Keeping the setup sheet beside fabrication notes makes those changes visible at the point where they happen.
FAQ
What causes chip-out on a routed PCB edge? The usual causes are a worn cutting edge, an excessive feed rate, insufficient support under the cut, or a laminate with a coarse weave. Sharp tooling and a controlled chip load remove most of the risk.
Is chip-out only a cosmetic defect? No. It removes material that may include edge plating, it releases fragments that can contaminate later processes, and it gives a coating or a connector interface a defective surface to seat against.
How is edge quality judged? By inspecting the edge at about ten times magnification and comparing notch depth, exposed glass and plating continuity with the acceptance criteria of the applicable class of the standard. The worst point on the edge governs the decision.