
PCB Panel Cutting Cost: Equipment, Labor and Material
Cutting Sits Between Material and Fabrication
Before any circuit is imaged, a copper clad sheet has to be divided into working panels of the size the line can handle. That step looks trivial next to drilling or plating, yet it carries equipment, labour and, above all, material utilisation, and those three numbers decide a large part of the finished board price. A cutting plan that leaves 15 percent of the sheet as offcut costs 15 percent more in laminate before a single process step begins. Understanding how the cutting cost is built up shows where a design or a purchasing decision can remove real money.
Material Utilisation Is the Dominant Term
Laminate is bought in standard sheet sizes, and the fab must choose a panel size that fits the sheet and the line. The interaction between the two is the whole game. A panel that tiles a sheet with only a small trim allowance wastes far less than one that leaves a wide band because the dimensions did not match. Slightly adjusting the panel outline, or accepting a marginally different working panel, can add several positions per sheet. That is why the cutting cost should be quoted together with the panelisation drawing rather than after it, and why the fabricator’s suggested panel size is worth taking seriously.
Equipment and Tooling Cost
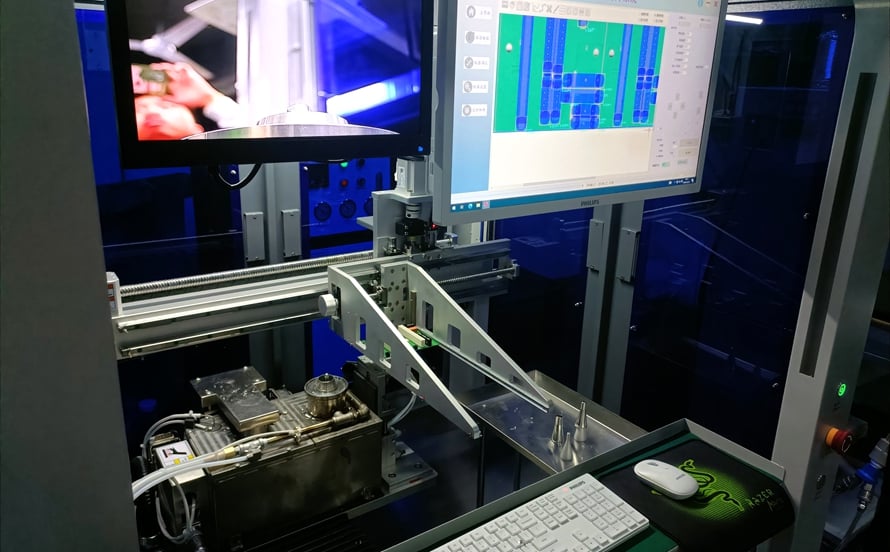
The cutting method matters by material and thickness. A guillotine shear is fast and cheap to run and handles rigid FR4 up to moderate thickness, but it leaves a slightly stressed edge and cannot cut internal openings. Routing with a carbide bit handles any outline, internal cutouts and thick or brittle material, but it consumes bits and machine time. Scoring is used for breakaway edges on thin boards and needs a dedicated blade setup per outline. Laser cutting removes mechanical stress entirely and is the choice for thin, flexible or high value material, at the highest hourly rate. The quote should state which method is used, because the cost per panel can differ by an order of magnitude.
Labour and Setup
Cutting a large batch is largely automated, so the labour content per panel is small. The setup, however, is not. A new panel size needs the machine programmed, the first article measured, and often a fixture or a stack height set. Those costs are paid once per order, so a small prototype order can be dominated by setup while a production order is dominated by material. Splitting the quotation into setup, tooling and per panel cost makes the volume sensitivity obvious and shows whether ordering a wider panel would actually reduce the unit price.

Thickness, Material and Edge Quality
Thick copper and heavy laminate resist shear cutting and push the job towards routing, which costs more per panel. Polyimide and PTFE laminates are more prone to edge damage and burring, and they often require a slower feed and a sharper tool to avoid delamination. Very thin material, below about 0.5 mm, deforms under a shear and usually moves to a lasered or scored process. If the finished product needs a burr free edge for a connector or a press fit interface, an extra edge finishing step is added, and that step is priced per panel length rather than per panel.
Depaneling After Assembly
Cutting cost does not stop at the fabricator. When the board is assembled, the individual units have to be separated from the panel, and that operation has its own cost. Manual snapping is cheapest in tooling but needs a breakaway design that is safe to snap. A router depaneler or a laser depaneler gives the best edge and no mechanical stress on the solder joints but has a higher capital and programming cost. The choice should be made together with the panel design, because a board that is easy to shear at the fabricator may be awkward, and stress prone, to snap after reflow.
Cutting a Quote Down
Match the panel to the sheet. Choose a working panel that tiles the laminate with minimal offcut. Standardise sizes. A family of boards on one panel size shares the setup. Use the right edge. Specify a burr free edge only where the function needs it. Combine steps. Route the outline and the internal cutouts in one program rather than two operations. Plan depaneling early. Include the breakaway tabs or the score line in the panel drawing so the assembly house does not have to improvise. Order with the grain. Consider how the wrap and fill direction of the laminate affects flatness, since rework caused by warp costs more than the cutting itself.
Panel cost is decided at the interface between design and fabrication. Review the process flow in PCB manufacturing, the outline and spacing rules in PCB design and layout, and the design and manufacturing considerations before freezing the panel drawing. If the boards are assembled in house, a prototype PCB assembly run confirms that the panel separates cleanly on a real line.
FAQ
What drives PCB panel cutting cost most? Material utilisation. The difference between a well tiled panel and a poorly matched one usually exceeds the equipment and labour cost combined.
Is shearing always cheapest? For simple rectangular panels in standard FR4, yes. It cannot produce internal cutouts and is unsuitable for brittle or very thin material.
When should laser cutting be used? For thin, flexible or expensive laminates, and where mechanical stress at the edge must be avoided.
Does depaneling affect the price? Yes. Snapping, routing and laser depaneling have very different tooling and per board costs, and the panel design determines which is available.
Conclusion
Cutting is cheap to perform and expensive to get wrong. Tile the panel to the sheet, pick the edge quality the product actually needs, share the setup across a family of designs and plan depaneling before the panel is drawn. In 2026 those choices routinely remove a double digit percentage from the laminate content of a board without touching the circuit.