
Solder Bridging: Causes and Cures
What a Bridge Is
A bridge is a continuous connection of solder between two features that should be isolated. It can form between adjacent pads, between the pins of a connector, between a component termination and a nearby track, or between a ball and its neighbour under an area array package. Some bridges are obvious on inspection and some are hidden, and the hidden ones are the reason bridging remains a leading cause of field returns even on lines with a good optical inspection rate. The cure depends on where the excess solder came from, which is why the diagnosis starts with the process rather than with the joint.
Too Much Paste
The most common cause at SMT is simply too much paste. A deposit that is thicker than the gap between adjacent pads will slump and touch, and the surface tension that would normally pull the joint apart is not enough to correct it. The paste volume is set by the stencil aperture area and the foil thickness, so an aperture that is too large for the pitch, a foil that is too thick for the design, or a print that is smeared will all produce bridges. In practice the fix is in the stencil design and the print parameters rather than in the reflow profile, because the excess is placed before the oven.
Stencil, Squeegee and Print Parameters
The printer contributes in several ways. An aperture with a poor area ratio releases paste unevenly and leaves a ragged deposit. Insufficient squeegee pressure leaves paste on the stencil surface that can be dragged into the next aperture; excessive pressure wears the stencil and forces paste under the foil. A separation speed that is too fast pulls the paste out of the aperture and smears it across the web. A dirty stencil underside deposits paste on the board where it should not be. The print parameters and the cleaning frequency are therefore part of the bridging control, and a paste inspection after printing shows the problem before the reflow does.
Pad and Mask Geometry
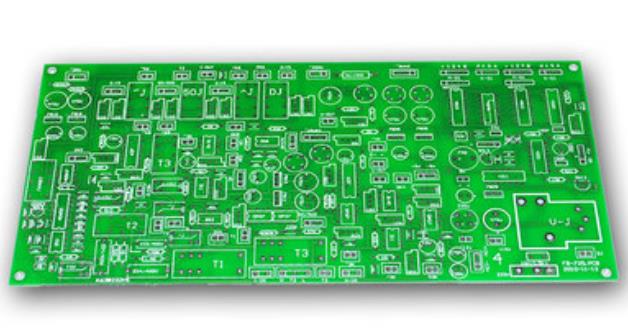
The design sets the margin. A mask web that is too narrow allows solder to wick along the exposed laminate between the pads. A pad that is wider than it needs to be reduces the gap between neighbours, and a pad that is longer than the component termination encourages the joint to grow toward the next one. On a fine pitch device, the pad width and the mask expansion together decide whether there is any barrier at all. Where the geometry is marginal, a small reduction in pad width or an increase in the mask web can remove a bridging problem that no process change will fix.
Reflow and Thermal Effects
During reflow the solder is liquid, and its behaviour depends on the thermal profile. A ramp that is too fast can cause the flux to spatter and the solder to move; an uneven heating between neighbouring pads can leave one molten longer than the other, which allows the metal to flow toward the hotter side. On a wave soldered board, the wave contact and the lead geometry cause most bridges: a long lead leaves a thermal mass that drains slowly, a dense connector produces a web that has nowhere to go, and insufficient flux leaves oxide that the solder cannot leave. The cures are a thermal relief on the plane, a shorter lead, a solder thief and a flux that is adequate for the surface.
Detection and the Cost of a Miss
Automated optical inspection finds the visible bridges, but the bridge under a package or between a ball and its neighbour is invisible to it. X-ray is the method for the hidden case, and it is normally used for the packages where the risk is highest. The cost of a missed bridge is high: an intermittent short that appears only when the board warms, a current path that damages a component later, or a failure in the field that takes the product out of service. Because the detection is imperfect, the better strategy is to control the process so that the bridge does not form, and to verify the control with the print and the X-ray data.
Working Through the Diagnosis
A bridging problem is best approached as a sequence. First confirm the paste deposit volume and the print quality, then check the stencil for damage, blockage and cleanliness, then review the pad and mask geometry against the pitch, and only then look at the profile. Where the bridges are on one area of the board, the cause is often local: a sagging stencil, a step in the foil or a component that disturbs the paste. Where they are spread across the board, the cause is usually global. Finding whether the defect is local or global is the step that halves the time to a fix.
FAQ
What causes solder bridging most often? Too much paste, usually from a stencil aperture or thickness that is too large for the pitch.
Can reflow fix a bridge? Rarely. The excess solder is placed at printing, so the cure is in the stencil and the print parameters.
How does the layout contribute? A narrow mask web, an over wide pad or an over long pad removes the margin between neighbours.
Why do wave soldered boards bridge? Excess solder draining from a dense connector, an inadequate flux or a long lead with too much thermal mass.
How are hidden bridges found? By X-ray, since optical inspection cannot see joints under a package.
Conclusion
Bridging is usually a paste volume problem before it is a reflow problem, so control the deposit, protect the mask web and verify with inspection. Fix the source, not the joint. Print and stencil control belong to SMT PCB assembly, the pad geometry is part of PCB design and layout, and the inspection is described in quality management. Bridging control for a new product begins during prototype PCB assembly in 2026.