Reflow Profile Choice: Soak Versus Spike in SMT Assembly
Every solder joint on a board is formed by a machine that knows nothing about the parts it is joining. It follows a thermal profile: a sequence of heating rates, plateaus and peaks selected for one combination of paste, components and board. Two curves can reach the same peak and still produce different joints, because what happens on the way up matters as much as the peak itself. Most assemblies fall into one of two families, the soak and the spike, and the choice between them rests on mass, chemistry and defect history.
What the Profile Has to Do
A reflow profile carries four obligations at once. It must bring the assembly to temperature without cracking parts, activate the flux, melt the alloy completely at every joint, and cool the board quickly enough to form a fine grain structure without thermal shock. Each obligation has its own window, and the profile has to sit inside all of them at the same time.
The temperature that matters is the one at the joint rather than the one the oven displays. A heavy connector, a large thermal pad or a thick copper plane lags the air by tens of degrees, so the curve is written for the slowest spot on the assembly and the zone setpoints follow from that measurement.
Zone by Zone Through the Oven
A convection oven is divided into zones, each held at a set temperature, and the board travels through them at a constant speed. The early zones warm the assembly, the middle zones hold it while the flux does its work, and the final zones lift it above liquidus before the cooling zones bring it down again.
Conveyor speed scales the whole curve in time. Slowing the belt lengthens every stage together, which is why a small change in speed can cure one problem while creating another: more time above liquidus improves wetting, but it also thickens the intermetallic layer and exposes the parts to more heat.
The Role of the Soak Zone
A soak zone holds the assembly at a temperature below liquidus for a minute or more, long enough for the flux to activate, for the volatiles in the paste to leave and for the board to even out in temperature. The plateau is the reason the classic profile suits boards with a wide mix of component masses. It also gives the operator a convenient place to judge the ramp into the peak, since the curve is nearly flat there and any deviation is easy to see.
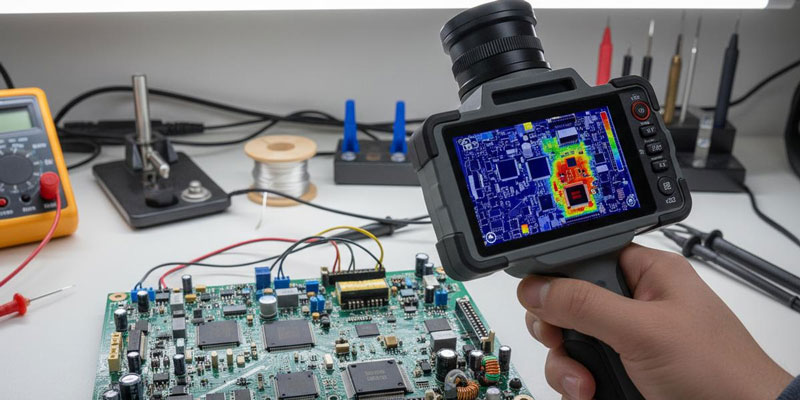
Soaking also brings the whole assembly closer to one temperature before the alloy melts. When the heavy parts and the light parts enter the molten stage at similar temperatures, the joints form at similar times, and the risk of tombstoning, solder wicking and cold joints on the small parts falls accordingly.
What a Spike Profile Changes
A spike profile removes most of the plateau and ramps almost straight to the peak. The flux is still activated, but by the ramp itself rather than by a deliberate hold, and the time above liquidus is short. The result is a brighter finish, a thinner intermetallic layer and less thermal exposure for the parts.
The short liquidus time is what makes the spike attractive for fine pitch assemblies and for parts that are sensitive to heat, but it leaves less margin. A spike profile has to be accurate, because the flux has less time to work and any lag in a heavy component is no longer absorbed by the plateau.
Component Mass and Board Thickness
The spread of thermal mass across the board decides how much soak the assembly can tolerate. A dense board with a thick ground plane behaves very differently from a thin board carrying a few small parts, because the copper moves heat away from the joints quickly and makes a plateau practical.
A thin board that reaches temperature rapidly gains less from a soak and can even suffer from one, since the small parts are held hot while they wait for the rest of the assembly. The distribution of heat is closely tied to the way copper spreads and removes it, which is the subject of thermal management design.
Paste Chemistry Sets the Window
The paste datasheet states a window for ramp rate, soak time, peak temperature and time above liquidus. Those figures are not suggestions: the flux system was formulated around them, and a profile that sits outside the window will produce poor wetting, sticky residue or solder balls no matter how carefully the oven behaves.
Where the paste and the components disagree, the narrower window governs. A part rated for a maximum body temperature and a paste that needs a long liquidus time can often be reconciled by shaping the curve, and the limits that apply to the parts come from component tolerance and reliability data.
Measuring the Profile on the Board
A profile is measured with thermocouples attached to the assembly, and the number and placement of them determine how much of the picture becomes visible. A single thermocouple on a test board tells very little, while pairs placed on the heaviest and the lightest joints show the spread that the profile has to cover.
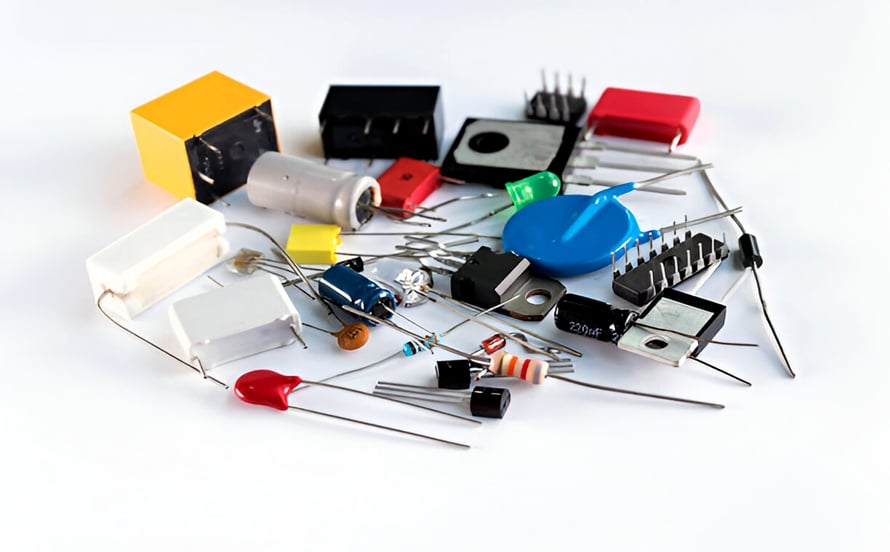
The instrument travels through the oven with the board, and the resulting curve should be recorded for each product and checked after any change. A profile measured on a bare test board will differ once the board carries a full component load, so the measurement belongs on a representative assembly.
Faults That Point Back to the Profile
Several defects carry a profile signature. Tombstoning on small chip parts usually means an uneven ramp or too much dwell time at the soak temperature. Solder balls beside a joint point to a ramp that drove the volatiles off too quickly, and a dull, grainy joint suggests the peak was short or too low.
Cracks that appear after assembly may have nothing to do with the oven and everything to do with cooling, since a fast drop through the solidus range puts stress into the joint. Reading the curve backwards from the defect is the quickest route to a cause, and the wider catalogue of these failures sits in solder defects and board failures.
Documenting and Transferring a Profile
A profile is a process document, and it should record the oven, the conveyor speed, the zone setpoints, the paste, the assembly revision and the measured curve. Without that record, a profile cannot be reproduced on a second line or reinstated after a change of equipment.
Transfer between machines is where most profile problems appear, because two ovens with identical setpoints can transfer heat differently. The curve, not the setpoints, is the thing to match, and the same discipline runs through the production process flow that a board follows from bare laminate to finished assembly.
FAQ
Which profile suits a mixed assembly? A soak profile is usually the safer choice when the board carries parts of very different mass, because the plateau lets the heavy joints catch up while the light ones are held below melting. It costs more time above liquidus overall, so the window has to allow for it.
Can a spike profile improve wetting? It can, because the flux is fresh and active as the alloy melts and the assembly spends less time oxidising. The gain depends on the paste, and a flux that needs a soak to activate fully will perform worse with a spike than with a plateau.
How often should a profile be re-measured? After any change of paste, oven, conveyor speed, assembly revision or component load, and on a fixed interval in between. A profile that drifts slowly is easy to miss, so the measured curve should be compared with the baseline rather than filed and forgotten.