Selective Soldering For Through Hole Components
A board that is mostly surface mount often still carries a connector, a transformer or a large capacitor that has to be through hole. Those parts cannot be reflowed with the rest of the assembly, and passing the whole board through a wave exposes every surface mount joint to a second thermal excursion as well as to the solder. Selective soldering exists to bring the solder to the joints that need it and to leave the rest of the board alone.
This article explains how the process works, what the nozzle and the flux contribute, and the profile conditions that determine whether the barrel fills completely.
Why Through Hole Parts Remain
A through hole connector offers mechanical strength that a surface mount part cannot match, because the pins pass through the board and the solder surrounds them. A transformer or an inductor that has to carry a large current, or a capacitor that has to withstand a high voltage, is often only available in a leaded body. Those parts are chosen for reasons that have nothing to do with the assembly process.
The traditional answer was a wave, which solders every through hole joint on the board in one pass. It also heats the whole assembly to soldering temperature for several seconds, which is acceptable for a board that is designed for it and risky for a densely populated surface mount assembly that has already been reflowed once.
How Selective Soldering Works
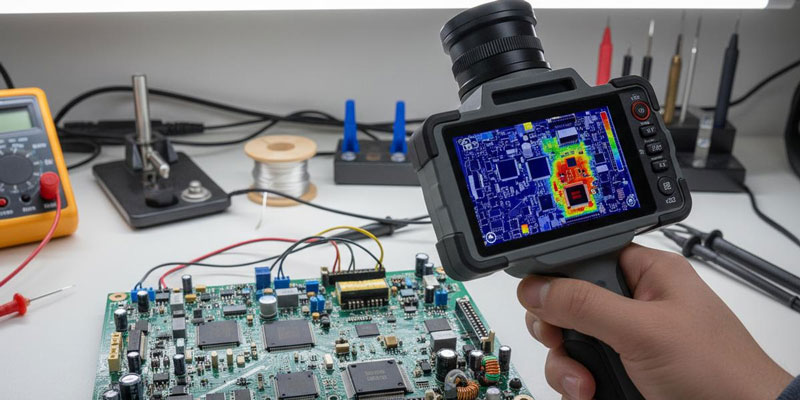
The board is held in a fixture above a small bath of molten solder, and a nozzle produces a standing wave only a few millimetres across. The board is moved so that each joint passes over the nozzle, or the nozzle is moved under the board, and the solder contacts only the area of the pad. The rest of the assembly never sees the bath.
The machine moves in a programmed path, so the order in which the joints are soldered and the dwell at each one are parameters. A small nozzle solders a single pin, while a larger one can cover a row of pins in a connector. The choice of nozzle and path determines the cycle time and the thermal load at each joint.
Nozzle Geometry And Solder Flow
The nozzle produces a wave whose shape and stability depend on the flow rate, the nozzle diameter and the height of the solder above the rim. A wave that is too high touches the board over a wide area and can flood adjacent joints, while one that is too low does not reach the barrel. The window between the two is narrow, and it is different for every nozzle.
Nitrogen is often used to shroud the nozzle, which reduces oxidation and improves the wetting. The gas flow has to be adjusted so that it does not disturb the wave or cool the solder below its working temperature. A wave that is oxidised produces joints with a dull surface and a poor fillet, which is why the atmosphere is part of the setup rather than an accessory.
Flux Application And Activation
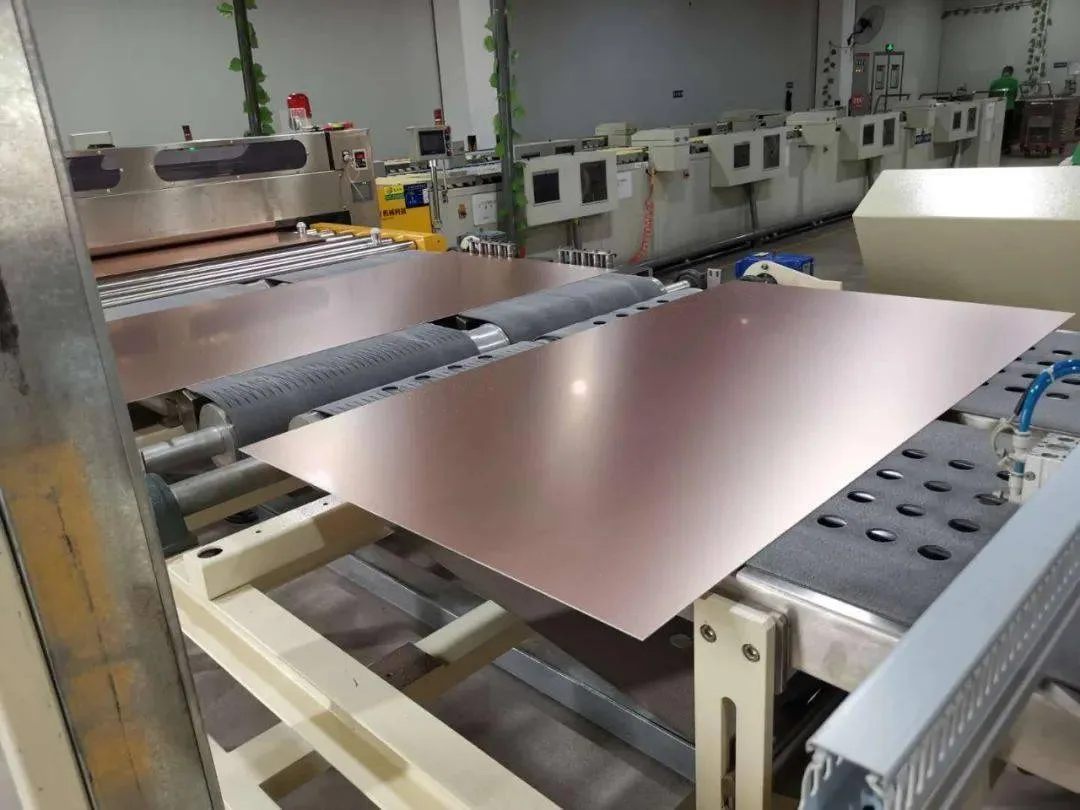
Flux is applied before the solder arrives, either by spraying the whole board or by a drop jet that places a measured amount on each joint. The choice matters: spraying applies flux everywhere, including the area under components, and the residue has to be removed or the flux has to be a no clean type that can be left in place. A drop jet places the flux where it is needed and is gentler on a board that cannot be washed.
The flux has to be activated before the solder arrives, which means the top side of the joint must be above the activation temperature when the wave touches it. The preheat is therefore part of the profile rather than a separate step, and a joint that is cold when the solder arrives will not wet even if the wave is correct.
Thermal Profile And Hole Fill
The barrel fill is the acceptance criterion, and it is defined as the percentage of the hole height that is filled with solder. A joint with a low fill looks acceptable from the top and is mechanically weak, because the solder does not surround the pin through the board. The two variables that govern the fill are the preheat and the dwell time over the nozzle.
A board with heavy copper planes around the joint takes longer to reach temperature, because the planes conduct heat away from the pad. Those joints need a longer preheat or a longer dwell, and the profile has to be set for the worst case joint on the board rather than for a typical one. The recommended fill and the visual criteria are part of the general acceptance requirements, and the alloy choice interacts with the temperature, as described in the comparison of lead free and leaded processes.
Where It Beats A Wave
Selective soldering wins where the board carries a mixture of technologies and where the surface mount joints cannot tolerate a second wave excursion. It also wins where the through hole joints are few and far apart, because the wave would expose the entire board for the sake of a handful of joints. The saving in thermal damage and in flux residue is usually larger than the difference in cycle time.
It is less attractive where the board carries many hundreds of through hole joints at a high density, because each one has to be visited by the nozzle and the cycle time becomes the constraint. In that case a wave remains the more economical choice. The decision should be made from the joint count and the thermal sensitivity of the assembly, and the assembly sequence as a whole is described in the development process. Protection applied after soldering is covered under potting and dispensing.
Additional Considerations for This Build
Practical attention to wave soldering pays for itself here, because it decides whether the finished board behaves as the drawing intended. Where the requirement is not stated on the fabrication drawing or in the assembly notes, the shop has to assume a default, and that default is rarely the value the design was simulated with. Stating wave soldering explicitly, together with the tolerance that applies, removes the assumption and keeps the result predictable from batch to batch.
Deliberate attention to flux activation pays for itself here, because it decides whether the finished board behaves as the drawing intended. Where the requirement is not stated on the fabrication drawing or in the assembly notes, the shop has to assume a default, and that default is rarely the value the design was simulated with. Stating flux activation explicitly, together with the tolerance that applies, removes the assumption and keeps the result predictable from batch to batch.
Process Control and Verification
On a design of this kind, flux activation is the item that decides how the rest of the board is arranged. Where the requirement is not written down, the shop supplies its own default, and the default is chosen for the process rather than for the design. The measurements that matter are the repeatable ones: conductor width and spacing, annular ring, finished hole size, plating thickness and surface finish are all verifiable on a coupon that travels with the panel.
FAQ
Can selective soldering replace a wave entirely? For a board with a modest number of through hole joints it can. For a board with a high joint count the cycle time becomes the limiting factor and a wave is more economical.
Why is the barrel fill lower on a joint connected to a plane? Because the plane conducts heat away from the pad, so the joint reaches the soldering temperature later. The profile has to be set for that joint rather than for a typical one.
Is no clean flux really safe to leave on the board? It is designed for that use, but the residue still has to be within the limits of the product specification. Where the assembly is used in a humid or a high impedance application, the residue should be qualified rather than assumed benign.