Lithium Battery Protection Board Design Guide
A battery protection board looks like a simple assembly: a control chip, two switches and a handful of passives. In practice it is a multi-objective design problem in which safety, lifetime, measurement accuracy, cost and regulatory compliance all pull in different directions, and the layout has as much influence on the outcome as the component selection.
What the Protection Board Has to Do
The board sits between the cell and the load, and it must interrupt the current when a condition exceeds a limit. Overcharge protection prevents the cell from being driven above its maximum voltage, where damage becomes permanent and the risk of thermal runaway begins. Overdischarge protection prevents the cell from being drained below its minimum voltage, where the chemistry is damaged and the capacity is permanently reduced. Overcurrent and short circuit protection prevent the cell from delivering more current than its construction can tolerate.
The protection chip performs the detection and the decision, but it cannot interrupt the current on its own. The switch does that, and the choice of switch and of its layout determines whether the protection actually works when it is needed.

Protection IC and Thresholds
The protection IC integrates the voltage references and the comparators that decide when to act, and its specification determines the accuracy of every threshold. A device with a tight voltage tolerance lets the cell be charged closer to its maximum, which increases the usable capacity, and it also reduces the risk of a false trigger at the low end. The threshold accuracy is therefore a design decision with a direct effect on the product, not merely a component characteristic.
The detection delays matter as much as the thresholds. A short-circuit condition must be interrupted in microseconds, while an overcurrent condition can be allowed a longer delay so that the inrush current of a motor or a capacitive load does not trip the protection. Those delays are set by the IC and by external components, and their interaction with the load characteristics should be understood before the values are fixed.
MOSFET Switch Selection and Layout
The switches are almost always N-channel MOSFETs placed in the negative path, in a common-source arrangement for charge and discharge control. Their two critical parameters are the on-resistance, which determines the conduction loss at the operating current, and the safe operating area, which determines whether the device can survive the transient it must interrupt.
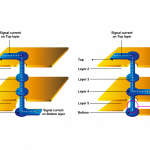
Layout dominates whether those parameters are achieved. The current path through the switches must be short and wide, and the loop formed by the switches, the cell and the load must be small, because the inductance of that loop sets the voltage spike that appears across the switches when the current is interrupted. A long, thin connection adds inductance that turns a routine overcurrent event into a device failure. The relationship between trace geometry and current capacity is described in this article on trace width and current calculation.
The gate drive connections deserve equal care. The gate is a capacitive node with a low impedance driver, and the path from the IC to the gate should be short so that the switching transition is fast and the device does not linger in its linear region, where the dissipation is highest. A long gate trace slows the transition and increases the loss, and it also makes the switch more susceptible to spurious turn-on from a transient in the current path.
Current Paths and Thermal Design
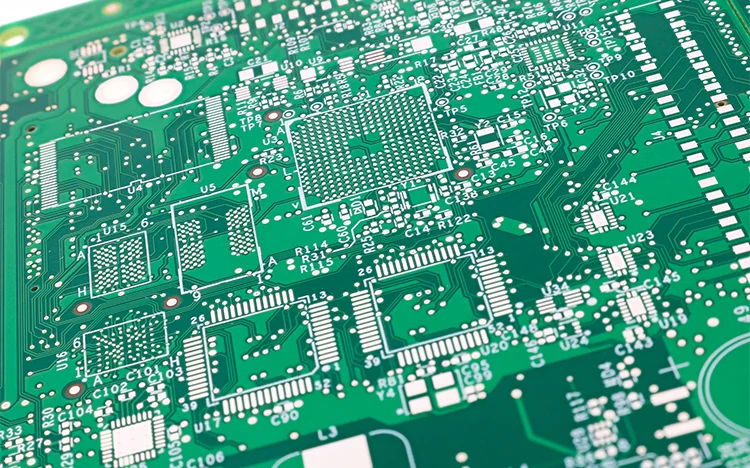
The board carries the full load current, and that current produces heat in the switches, in the copper and at the connections. The layout must therefore provide enough copper to carry the current with an acceptable temperature rise, and enough thermal path to remove the heat from the switches.
Where the switches are surface mount devices in a package with an exposed pad, the pad is the thermal path, and it needs a copper area and a via array sized for the dissipation. Where the board is a small module inside a battery pack, the available area is limited and the ambient temperature may be high, so the thermal calculation should use the worst-case conditions rather than nominal ones.
The connection to the cell and to the load is also part of the thermal problem. A tab or a spring contact that is undersized becomes a hot spot, and its resistance adds to the total loss of the system. Where the board uses a screw terminal or a welded tab connection, the mechanical joint must be checked for resistance as well as for strength, because a poor joint manifests as heating under load.
Cell Balancing and Multi-Cell Packs
In a pack with several cells in series, the cells will not be identical, and the weakest cell determines the usable capacity of the string. Balancing compensates for the difference, and the method chosen determines the layout requirement. Passive balancing dissipates energy from the higher cells through resistors, which requires the resistors to be sized for the dissipation and placed where their heat does not affect the adjacent cells or the temperature measurement.
Active balancing moves charge between cells and requires an inductor or capacitor network whose geometry matters for efficiency and for emissions. Whatever the method, the measurement of each cell voltage has to be accurate, which means the sense connections should be made at the cell terminals rather than at a shared node, and they should be routed away from the switching nodes of any converter on the board.
Testing and Verification
The protection functions should be verified deliberately rather than assumed. The overvoltage threshold, the undervoltage threshold, the overcurrent trip and the short circuit response should each be tested on the first prototype, together with the recovery behaviour after each event. The thermal behaviour under continuous maximum current should be measured, and the temperature of the switches and the connection points recorded rather than estimated.
It is also worth confirming the behaviour of the board at the extremes of the operating range. A protection threshold that is correct at room temperature may drift at the top of the range, and a layout that relies on the ambient for cooling will behave differently inside a sealed pack. The general principles that govern thermal layout are described in this discussion of copper flooding strategies.
Layout Details That Affect Protection Behaviour
Several smaller layout decisions influence whether the protection behaves as intended. The sense connections for cell voltage should be made directly at the cell terminals and routed as a pair with their return, so that the voltage drop of the load current does not appear in the measurement. The capacitor across the protection IC supply should sit at its pins, because a voltage dip during a current transient can reset the device exactly when it needs to act. And the resistors that set the detection delays should be placed close to the IC, since their values depend on parasitic capacitance that long traces would add. Taken together, these details determine whether the measured thresholds match the calculated ones, and the same reasoning about measurement accuracy is described in this article on ground routing and power trace planning.
FAQ
Should the protection switches be in the positive or the negative path? Placing them in the negative path allows the charge and discharge control to use N-channel devices in a common-source arrangement with a single gate drive reference, and it keeps the cell positive terminal directly available for sensing. The choice affects both the drive circuitry and the ground reference of the control IC.
Why does the current path layout matter so much? Because the inductance of that path determines the voltage spike when the current is interrupted. A compact, wide connection keeps the spike within the rating of the switches, while a long thin path can destroy them during a routine overcurrent event.
How is the balancing resistor dissipation handled? By sizing the resistors for the worst-case balancing current, spacing them so their heat does not reach the temperature sensor or neighbouring cells, and providing enough copper to spread the heat rather than concentrating it in one point.