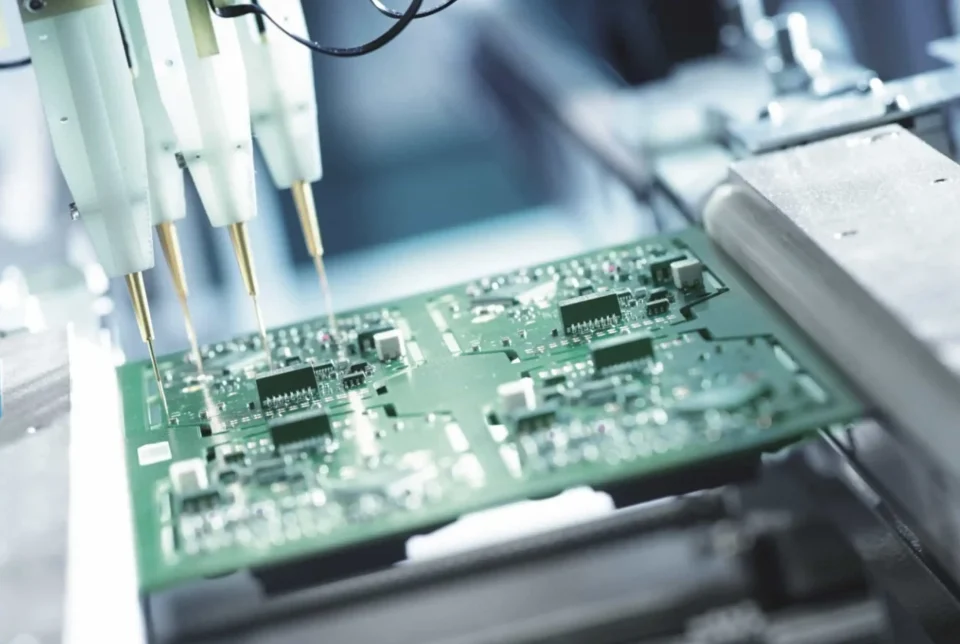
PCB Fabrication Processes: Subtractive, Additive, and Semi-Additive
Every printed circuit board is produced by one of three basic strategies: material is removed to leave conductors, material is added until conductors exist, or the two approaches are combined. Which one a fabricator uses determines the achievable line width, the panel cost, and the layer structures that are possible. Understanding the PCB fabrication process at this level explains why a request for 3 mil lines changes the supplier, the price, and the lead time.
The three methods are conventionally called subtractive, additive, and semi-additive. Most production volume today is subtractive, but the density demanded by modern packages has pushed a growing share of work into the semi-additive category.
The Subtractive Process
The subtractive process starts with a copper-clad laminate and removes the copper that is not wanted. The steps are drilling, hole metallization, image transfer, plating, and etching. A photoresist is imaged over the panel, plating builds up the conductors and the hole walls, and the etch removes the exposed copper foil, leaving the pattern.
Because the copper is being etched rather than formed, the process has an inherent limit. The etchant attacks sideways as well as downward, so the cross-section of a finished trace is trapezoidal and the intended width must be oversized to compensate. This side-etch effect is the reason subtractive processing struggles below roughly 4 mil lines and 4 mil spaces, and why tighter features require a different approach.
Within the subtractive family, the flow differs by board type. A single-sided board needs only drilling, imaging, etching, mask, and finish, with no plating step at all. A double-sided board adds hole metallization and plated hole walls. A multilayer board adds the inner-layer imaging and etching steps, the lamination cycle that bonds the stack, and the more demanding hole metallization that follows, since the plating must connect the inner layers reliably through the full thickness of the laminated stack.
<img src="https://www.gopcba.com/wp-content/uploads/2026/08/flexible-pcb-assembly-process.jpg.webp" alt="PCB fabrication process steps from copper clad laminate to finished board” />
Multilayer processing is where the process window becomes narrow. Inner-layer registration, lamination parameters, and the plating distribution across the panel all interact, and a defect in any one of them shows up as an open or a short after the board is complete.
Flexible and Rigid-Flex Flows
Flexible circuits use the same subtractive logic with two changes: solder mask printing is replaced by a laminated or printed cover layer that protects the conductors and improves bend performance, and the handling equipment is adapted for a substrate that bends under its own weight. Where a flexible board must be processed through an etching or cleaning line, it is often carried on a rigid leader to keep it moving correctly.
Rigid-flex constructions combine both: the flexible portion is fabricated first using the flexible process, then the rigid layers are laminated onto it. The critical constraints sit at the transition. The thermal expansion coefficients of the rigid and flexible materials must be matched closely enough that the interface survives thermal cycling, and plated holes must not be placed in the bend region, because a barrel that crosses a bend will crack when the assembly is flexed.
Additive Processes
The additive process builds conductors directly on an insulating substrate rather than removing copper. Two variants are established in production. The first prints a conductive paste onto the substrate: a metal paste printed on ceramic and fired at high temperature produces a thick-film ceramic board, while a conductive ink printed on a polymer substrate and cured produces a polymer thick-film circuit. Both are economical for simple, low-density patterns and for applications where the substrate is chosen for thermal or mechanical reasons.
The second variant uses a substrate that contains a catalyst. After activation, a plating resist is imaged in the negative of the desired pattern, and copper is deposited chemically in the exposed areas until the required thickness is reached, after which the resist is stripped. The advantage is that the copper is formed exactly where it is needed, so there is no side-etch penalty and the feature tolerance is set by the imaging step rather than by the etch chemistry.
The disadvantage is process speed. Electroless deposition is slow compared with electroplating, the deposit has lower ductility, and controlling thickness across a panel is difficult. That combination limited the original fully additive method to niches and led to the hybrid approach that dominates fine-line production today.

Panel handling and chemistry control are what separate a working additive line from one that produces inconsistent results, because the process depends on surface activation rather than on mechanical removal.
The Semi-Additive Process
The semi-additive process takes the best of both. A very thin copper foil or a thin electroless seed layer is used as the conductive base. A plating resist is imaged, copper is electroplated up to the required thickness in the openings, the resist is stripped, and then a short etch removes the thin seed layer between conductors.
The key difference from the subtractive method is the thickness of the copper that must be etched away. Only the seed layer remains, so the side-etch is small and the finished trace is close to rectangular rather than trapezoidal. That is what allows feature sizes far below the subtractive limit, with production line widths in the range of 25 microns and finer, and it is the foundation of the build-up multilayer structures used in high-density interconnect boards. The process is well established in the fine-line and HDI segment, where the added imaging and plating steps are justified by the density they make possible.
Comparing the Three Approaches
The practical differences come down to three factors. Feature size: subtractive is limited to roughly 4 mil and coarser, additive can form fine features but has process-speed limits, and semi-additive reaches the finest production geometries. Cost: subtractive is the cheapest per unit area and dominates most volume, additive is economical for simple circuits on specialist substrates, and semi-additive carries a premium that is justified only when the density is required. Material compatibility: additive methods are tied to specific substrate chemistries, while subtractive works with the full range of laminates.
The choice is therefore made by the product, not by preference. A four-layer control board is a subtractive job, a ceramic microwave circuit may be additive, and a phone main board is semi-additive. Related process steps for the high-density end of the range are described in electroplating and via filling for HDI and in PCB design and fabrication.
What This Means for a Design
Three practical conclusions follow. First, the achievable line width is a function of the process chosen, so a design that needs 3 mil features is specifying a semi-additive supplier whether or not that was the intention. Second, finish and mask choices have to be compatible with the process; a finish that requires a thick etch step works against fine-line capability. Third, the process determines the stackup options, since a build-up construction with sequential lamination is only possible where semi-additive or laser-drilled microvia capability exists.
Bringing the fabricator into the discussion before the stackup is fixed is the cheapest way to stay inside these limits. What to verify on the first prototype build is covered in multilayer PCB prototype requirements.
FAQ
Why can the subtractive process not produce very fine lines? Because the etchant removes copper laterally as well as vertically. The finished trace is narrower than the artwork and its cross-section is trapezoidal, and below a certain feature size the tolerance and the shape both become unacceptable. The semi-additive process avoids this by etching only a thin seed layer.
Is a fully additive board less reliable? Not inherently, but the electroless deposit used in the original additive method has lower ductility than electroplated copper, and thickness control across a panel is harder. This is why the hybrid semi-additive approach, which electroplates the functional copper, has become the standard for fine-line work.
Which process should a new design assume? Assume subtractive unless the density or the package escape requires otherwise, because it is the cheapest and the most widely available. Specify fine-line or HDI capability only where the routing genuinely cannot be completed without it, and confirm the capability with the fabricator before the stackup is released.