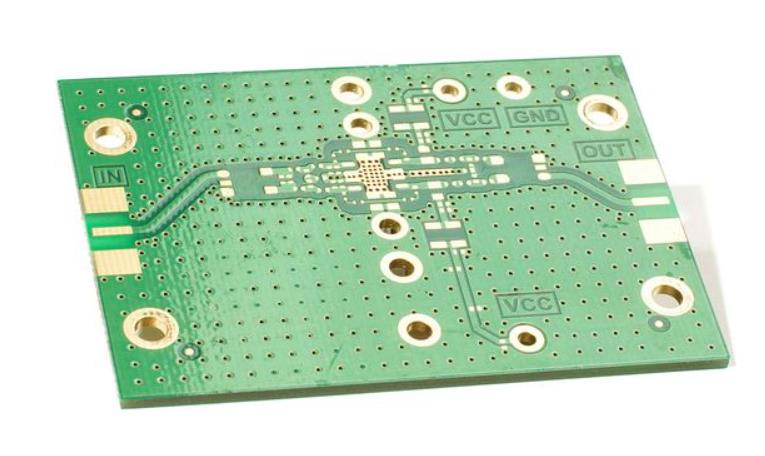
High Precision PCB Manufacturing: Fine Lines and Microvias
Density on a printed circuit board is increased by making conductors narrower and holes smaller, and both changes push the process into a region where tolerance, not capability, becomes the limiting factor. A board shop that can hold a 0.20 mm line is not automatically able to hold a 0.10 mm line, because the acceptable error shrinks at the same time as the feature. Understanding why that happens explains the sequence of technologies that a high precision PCB build depends on.
Precision Expressed as a Number
The tolerance attached to a conductor width is what separates ordinary production from precision production. A 0.20 mm line is typically accepted within about 0.04 mm, giving a range of 0.16 to 0.24 mm. A 0.10 mm line is accepted within about 0.02 mm. The absolute error is smaller, but the relative error is identical, which means the process has to be twice as precise to produce the same quality. Every subsequent reduction in width repeats the pattern, and it is the reason narrow features are difficult even when the imaging resolution appears adequate.
The Road Toward Fine Lines
Surface mount assembly and multichip packaging have driven conductor width and spacing from 0.20 mm through 0.13 mm and 0.08 mm, with requirements below that appearing in the most advanced work. Reaching those dimensions is not a matter of one improved step but of several steps that each contribute a smaller error. The most significant are the base material and its surface preparation, the resist and the way it is applied, the exposure method, and the inspection that verifies the result.
<img src="https://www.gopcba.com/wp-content/uploads/2026/08/Automated-machine-working-on-a-green-circuit-board-960×644-1.webp" alt="fine line traces and microvias on a high precision PCB” />
Base Material and Thin Copper Foil
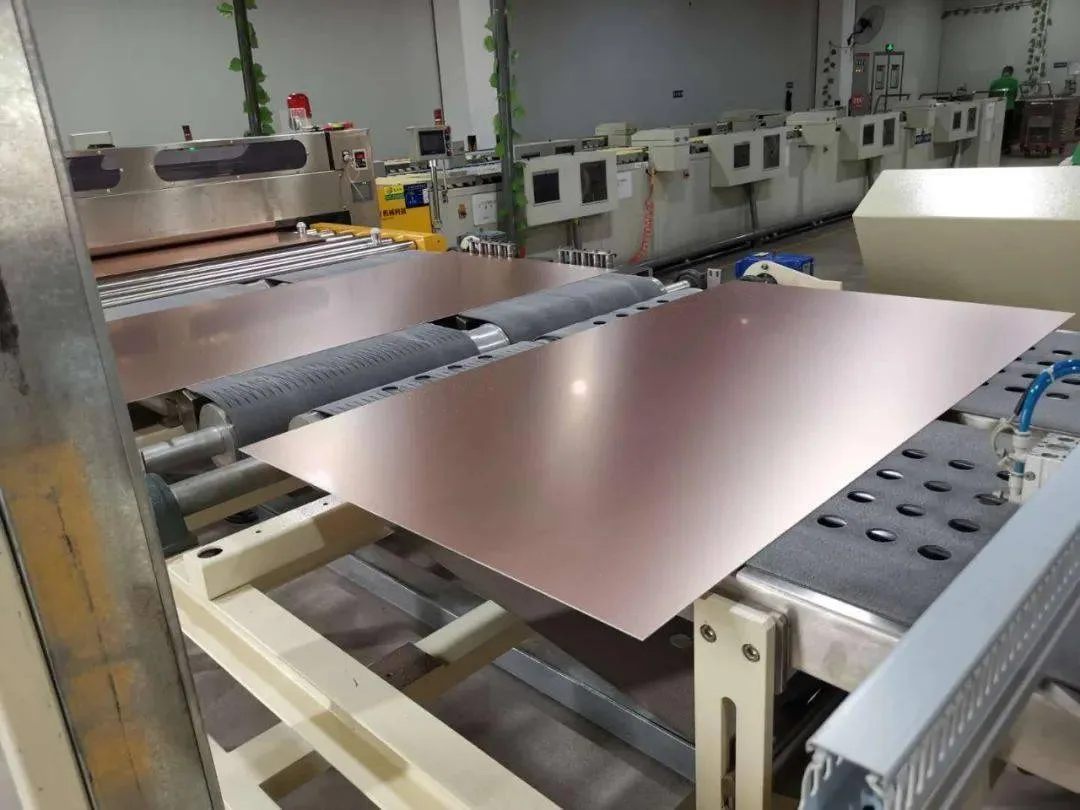
Fine lines are easier to form on thin copper. Where conventional foil is used, the etching step has to remove more material laterally before the trace is defined, which increases the undercut and distorts the width. A thin copper foil, generally below about 18 micrometres, reduces that effect and allows a finer pattern to survive etching. The surface preparation before imaging matters as much as the foil thickness, because a surface that is not uniform produces a resist layer that varies in thickness, and a resist of varying thickness produces a conductor of varying width. Base material selection for these builds is therefore driven by both electrical and dimensional considerations, and the dimensional behaviour is described in this article on PCB dimensional stability.
Resist Selection and Application
The photoresist defines the conductor, so its quality sets the limit on everything downstream. A thin, high quality dry film reduces the distortion of the line width and the number of defects, because the exposure and development behave more predictably when the layer is uniform. Wet lamination, in which the resist is applied as a liquid and then dried, fills the small gaps that a dry film can leave over a textured surface, which improves the adhesion at the interface and therefore the integrity of the finished conductor. Where the requirement is more demanding still, an electro-deposited resist can be used: its thickness can be controlled within a range of roughly five to thirty micrometres, and it produces a more uniform coating over a surface that has already been patterned. That property makes it suitable for boards with very narrow or absent annular rings and for panel plating, where the resist must behave consistently over topography that a laminated film cannot follow.
Exposure and Imaging
Exposure accuracy decides whether the pattern that was designed is the pattern that is developed. A point light source illuminates the artwork at an angle, and the oblique rays spread the image, which changes the line width and roughens the edge. A parallel light exposure system removes that effect by illuminating the artwork with collimated light, producing conductors whose width is closer to the design and whose edges are cleaner and straighter. The technique is what makes the tightest line widths practical. It also carries two costs: the exposure equipment is expensive, and it performs best in a high cleanliness environment, because a particle on the artwork or the panel is reproduced as a defect at exactly the scale of the feature being printed.
Automatic Optical Inspection
Once the features are small, visual inspection stops being reliable, and automatic optical inspection becomes a necessary part of the process rather than an optional check. The system compares the imaged panel against the design data and detects opens, shorts, nicks and width deviations that a human would miss at these dimensions. It is also the only way to inspect a panel economically at the volume a fine line process requires. The limitation is that optical inspection can only compare against what it expects, so the reference data and the inspection settings have to be correct; a well-configured system catches more than a poorly configured one, not less.
Microvia Technology
Reducing conductor width alone has a limit, because below about 0.08 mm the cost rises steeply for each further reduction. The alternative is to increase density in the vertical direction by using smaller holes. Conventionally drilled microvias are produced with small carbide tools on a high-speed spindle, and tool development has advanced considerably: a modern machine can drill holes in the 0.1 to 0.2 mm range, stack several panels for a single drilling operation, detect a broken tool and report its position, change tools automatically, and control the depth well enough to form blind vias without damaging the machine table. Those capabilities are what allow mechanical drilling to remain competitive for microvias.
Laser Drilling and Its Trade-Offs
Laser drilling was developed because small mechanical drills break, wear and limit throughput, and it removes the cutting tool from the process entirely. Its principal drawback is hole shape. The beam produces a hole that is wider at the top than at the bottom, and the discrepancy increases with the thickness of the material being removed. Add the contamination produced by the ablation, the maintenance and finite life of the source, the repeatability of the position from hole to hole and the cost per hole, and the technique is not the automatic choice its resolution suggests. It has found its place in thin, high-density microvia work and in build-up interconnect, particularly where holes are formed through a thin dielectric onto an inner pad, and where buried vias must be created inside a multilayer stack. The defects that this process produces, and the process controls that prevent them, are described in this article on HDI board CAM methods, while the structures it enables are described in this article on blind and buried via stack selection.
Combining Buried, Blind and Through Holes
The highest densities come from combining hole types rather than from pushing any single one to its limit. A through hole connects every layer and is the simplest to make; a blind via reaches an inner layer from one surface; a buried via connects inner layers without reaching either surface. Using all three where each is appropriate frees routing channels on the layers that do not need a connection, and it is the standard way to break a routing bottleneck without adding copper layers. The price is the process complexity of building the board in more than one lamination cycle, and the tighter alignment that the internal connections require. For a design that is approaching the limit of what a conventional multilayer board can route, this combination is usually the most economical next step, and it is worth planning into the stackup rather than adding after the routing fails.
FAQ
Why does halving the conductor width make the process harder? Because the permitted error halves with it, so the process must be twice as precise to deliver the same relative quality.
What does a thin copper foil contribute? It reduces the lateral etching required to define the pattern, so the finished conductor is closer to the designed width and has less undercut.
When is laser drilling preferred over mechanical drilling? In thin, high-density builds where the holes are small and numerous, and where conventional tooling would break or limit throughput. Mechanical drilling remains competitive for many microvia sizes.