PCB Assembly Cost Breakdown: Where the Money Actually Goes
Most quotations for assembled boards look similar in shape and differ by a factor of three in total. Understanding why requires separating the PCB assembly cost into its components, because the levers that move a quotation are not evenly distributed across them, and the largest single line item is usually not the one buyers focus on.
The Assembly Flow and Where Cost Enters
Assembly runs through four stages: bare board procurement, component sourcing and kitting, soldering and assembly, and test with quality control. Each stage has its own cost structure, and each can dominate the total depending on the product.
Any estimate built from a single blended rate will be wrong in a predictable way. It is more useful to build the estimate bottom-up, stage by stage, so that the effect of changing volume, package mix or test strategy can be seen before the order is placed.
Material Cost
Material cost starts with the bare board. Substrate choice, layer count, copper weight, surface finish and fabrication tolerance all set the base price, and the same circuit on an aluminium substrate or a flexible base can cost several times a laminate version.
Solder paste, solder wire, flux, cleaning chemistry and stencils add a second layer of material cost. These items have low unit prices, but their consumption scales with board area and joint count, so on a large production run they become a visible line rather than a rounding error.
Component Cost and Procurement
Components usually dominate the total, often 50 to 70 percent for a typical industrial board. The price of a part is set by manufacturer, package, tolerance, temperature grade and availability, and by the quantity priced at.
Procurement adds cost that is easy to overlook: minimum order quantities, cut tape and reel fees, handling for moisture-sensitive parts, and the engineering time spent resolving shortage or second-source questions. Buying from distribution at higher unit prices is often cheaper overall than a fragmented purchase from several sources.
Labor Cost
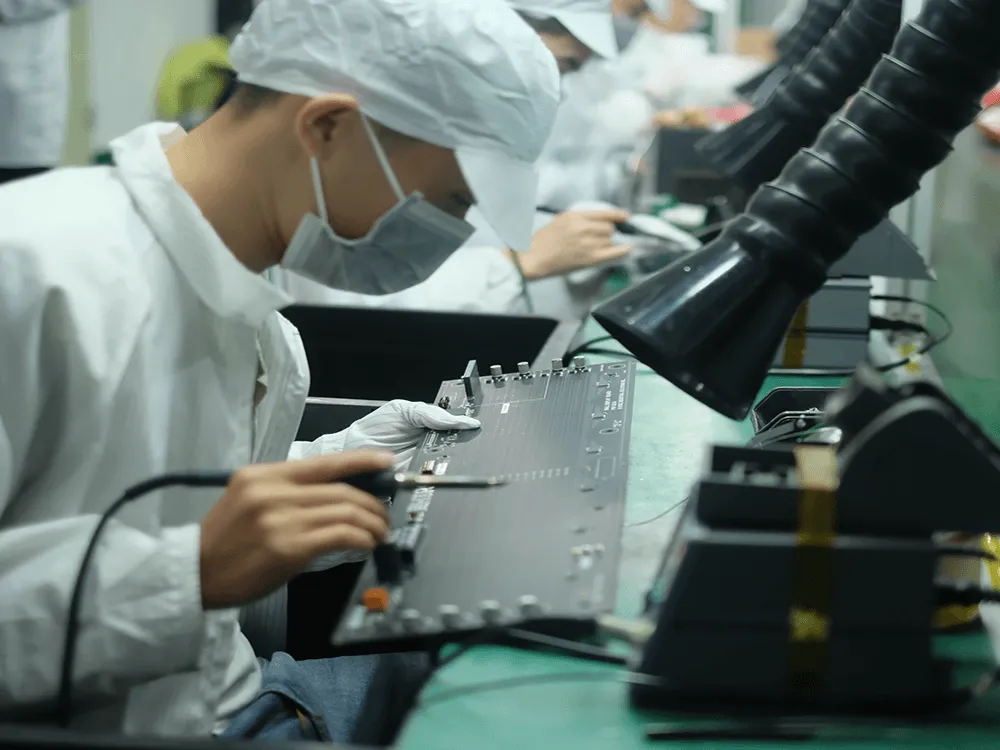
Labor cost covers line operators, technicians, programmers and quality staff. It is driven by the number of operations a board requires rather than by its area, so a small board with two-sided assembly and many fine-pitch parts can cost more to assemble than a larger, simpler one.
Automation converts labor cost into equipment cost. A line that can place fine-pitch parts at high speed and inspect them automatically needs fewer operators per board, but it needs capital and engineering support, and that trade only pays at sufficient volume.
Equipment and Tooling
Equipment cost reaches the quotation in two ways: as a one-time charge for stencils, programming, fixtures and first-article approval, and as an amortised rate built into the per-board price. The one-time part is what makes small orders expensive per unit.
Test equipment follows the same logic. A bed-of-nails fixture is a substantial one-time cost, while an automated optical inspection system is amortised across the whole line. Choosing a test method that matches the order size is one of the largest single savings available.
Manufacturing Overhead
Overhead includes floor space, equipment maintenance, calibration, utilities, waste treatment and management. It is largely fixed, which is why the per-unit overhead in a quotation falls steeply as volume rises and why small orders carry a share of it that looks disproportionate.
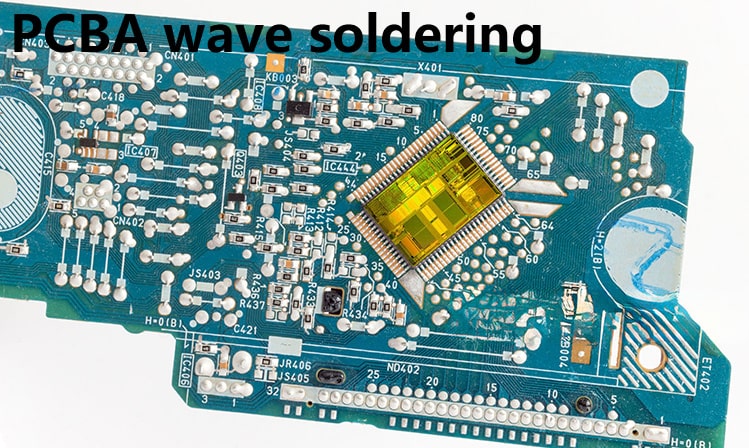
Energy consumption is a meaningful element for reflow and wave soldering lines, and it scales with the number and duration of thermal cycles. A design that removes one reflow cycle by consolidating parts onto one side reduces both labor and energy cost at the same time.
Test and Inspection
Test cost depends on coverage. Automated optical inspection is fast and cheap per board, an in-circuit test fixture is expensive to build and cheap to run, X-ray is slow and needs skilled interpretation, and functional test is expensive in every dimension.
The correct amount of test is an economic question, not a technical one. The right level is the one where the cost of testing equals the cost of the defects it prevents, including rework labor, scrap, shipping delay and field returns. For a cheap high-volume product that calculation points to minimal test, and for an expensive low-volume product it points to the opposite.
Indirect Cost: Logistics and Administration
Indirect cost covers everything that surrounds the build. Inbound freight for components, warehousing, inventory carrying cost and the risk of obsolescence sit on the material side. Project management, documentation, compliance work and administration sit on the service side.
These items rarely dominate a quotation, but they are the ones that surprise buyers. Moisture-sensitive components with limited floor life, parts with long lead times and designs that change after kitting all convert directly into indirect cost, and all three are design and planning decisions rather than factory decisions.
Cost Drivers by Order Size
Below roughly 100 boards, one-time charges dominate, so the marginal cost of a design change is small and the marginal cost of a second assembly side is large. Around a thousand boards, labor and equipment rates start to matter and the per-unit price becomes sensitive to placement count.
In high volume, material and component cost dominate, and the remaining savings come from yield. At that point the most valuable engineering work is not negotiating rates but removing process steps from the design.
Optimization Levers That Work
The reliable levers are structural. Reduce the number of distinct part numbers, keep the package mix away from hidden terminations unless they are needed, put all surface-mount parts on one side, and choose a test strategy that matches the volume.
Then look at the design itself, because the choices that drive assembly cost are the same ones that make a board easier to build. Guidance on placement order and pad positioning and on manufacturable design guidelines removes cost before the quotation arrives, and designing the panel so it fits standard tooling keeps the design and fabrication interface predictable.
Where the Estimate Usually Goes Wrong
Two mistakes account for most inaccurate assembly estimates. The first is pricing components at the wrong quantity, which understates the material line by a wide margin on small orders. The second is ignoring the one-time charges, which dominate anything below a few hundred boards.
A more reliable approach is to model the order in tiers: a fixed tier for stencils, programming, fixtures and first-article approval, a setup tier that depends on the number of unique parts and feeders, and a running tier driven by placements, joints and test time.
Building the estimate that way makes the trade-offs visible. Adding a second assembly side raises the setup and running tiers at once, whereas consolidating part numbers lowers the setup tier without touching the running one, and moving a hidden-termination package to a visible-lead equivalent can remove an entire inspection step from the back end.
FAQ
Which single factor changes an assembly quotation most? Order size, because it distributes the one-time engineering, stencil and programming charges. After that, component cost, and after that the number of placement operations per board.
Is it cheaper to supply my own components? Sometimes on unit price, rarely on total cost. Consigned parts leave the assembler with no ability to absorb attrition, and shortages discovered during the build are charged back as line downtime.
How much can design changes really save? Moving all surface-mount parts to one side and removing one thermal cycle commonly saves 15 to 30 percent of assembly labor, and reducing part variety by a third typically shortens setup and reduces feeder changes on the line.