Air Conditioner PCB: Design, Failure Modes and Repair
An air conditioner board is a study in hostile conditions. It lives beside a compressor, switches high current, is exposed to condensation, dust and temperature extremes, and is expected to run for a decade with occasional service. Its design reflects each of those pressures.
What an Air Conditioner PCB Has to Do
The board interprets inputs from thermistors, pressure switches and user controls, drives the compressor and the fan, and communicates with the indoor unit or a remote. In an inverter model it also generates a variable frequency drive for the compressor, which turns the board into a power electronics design as well as a control design.
Everything is referenced to mains voltage in some part of the circuit, so isolation, creepage and clearance dominate the layout, and everything operates in an environment where moisture is unavoidable.
Mains Isolation and Creepage Design
The isolation barrier separates the mains-referenced section from any low-voltage control circuitry and from anything a user can touch. Its position is decided by the working voltage, the pollution degree and the required insulation class, and every trace that crosses the barrier must do so through a component designed for it, such as a relay, an optocoupler or a transformer.
Slots cut into the board are a common technique for extending the creepage path where space is limited. They must be wide enough to remain clear after coating and free of burrs, and the layout should keep the barrier a straight line rather than a wandering path that is easy to violate.
Relay and Contactor Switching
A fixed-speed air conditioner switches the compressor with a relay or contactor, and the inrush current is substantial. The relay must be rated for the inductive load rather than the resistive current, and the contact life depends on the number of switching cycles expected over the product life.
The drive circuit needs a snubber or a varistor across the contacts to limit the voltage spike when the inductive load is interrupted, and the coil drive must be separated from the logic supply to avoid injecting a pulse into the control circuit at every switch event.
Inverter Compressor Drive
An inverter board rectifies the mains, stores energy in a DC link capacitor and generates a variable-frequency three-phase output. The layout of that power path determines both efficiency and emissions: the loop from the DC link capacitor through the switching devices and back must be as short as possible, and the gate drive returns must not share copper with the power current.
Shunt or current-transformer sensing provides the feedback for the control loop, and the sensing point must be placed where it measures the intended current rather than a mixture of motor and gate currents.
Humidity, Condensation and Corrosion
Condensation forms on cold surfaces, and an outdoor unit cycling between heating and cooling produces exactly that condition. Surface contamination combined with moisture reduces insulation resistance and can cause tracking between conductors carrying different potentials.
Humidity protection starts with layout: generous spacing, no exposed high-impedance nodes near the board edge, and a coating that covers the whole assembly including the edges. Conformal coating is effectively mandatory in this application, and the material should be chosen for the temperature range rather than for indoor conditions. Sealing connectors and using a gasket around the enclosure finish the job.
Sensor Inputs and Signal Conditioning
Thermistors for coil and ambient temperature, pressure switches and a current sensor provide the control inputs. Thermistor circuits are high impedance and therefore sensitive to contamination and to leakage, so they need filtering and a coating that keeps moisture away from the divider node.
Filtering must not distort the measurement. A large capacitor across a thermistor with a slow thermal response is harmless, while the same capacitor on a sensor used for fault detection can slow the response enough to miss a real event.
Common Failure Modes and Repair
The failures that reach the service technician are predictable. Electrolytic capacitors dry out, and the DC link capacitor is the most stressed component on an inverter board. Relays weld or wear out. Solder joints on heavy components crack under thermal cycling. Varistors sacrifice themselves during surges and require replacement rather than removal.
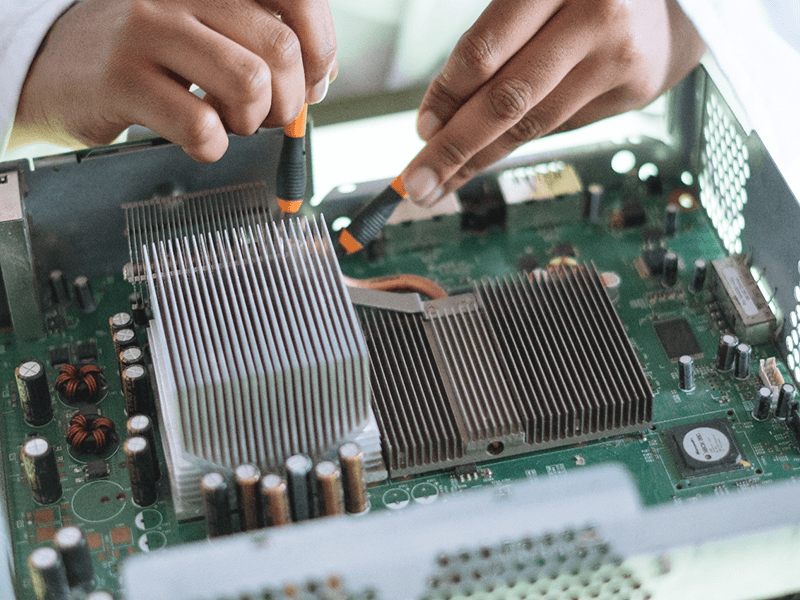
Repair practice follows from the design. Heavy components should be placed where they can be reworked without disturbing fine-pitch parts, and the board should be laid out so that a capacitor replacement does not require removing a heat sink assembly. When a board returns repeatedly with the same failure, the pattern usually points to a thermal or surge issue rather than a component defect, and reviewing trace width and current calculations for the affected nets is a practical first step.
Thermal Design for Outdoor Units
An outdoor unit in summer sees high ambient temperature, and the power devices are the primary contributors to their own heating. Heat sink selection, thermal interface material and the copper area beneath each device together determine the junction temperature.
Copper weight often increases to 2 oz or more on these boards, not for current capacity alone but for heat spreading. Placing the power devices away from electrolytic capacitors extends the life of both, because the capacitor lifetime halves with every ten degrees of temperature rise.
Compliance and Testing
Safety testing drives the layout more than any other requirement. Insulation resistance, dielectric withstand and leakage current tests all depend on the creepage and clearance actually achieved, and a board that passes the prototype may fail production if the spacing was marginal.
EMC testing follows the same pattern: the switching power stage is the dominant emitter, and filtering close to the source plus a short power loop is what makes compliance achievable without a redesign. A first article review against manufacturable design guidelines helps catch the spacing and tooling issues before tooling is committed.
Layout Around the Display and User Controls
Indoor units often carry a display and capacitive or mechanical buttons on the same board family, and those features bring their own layout rules. Capacitive sensing needs a stable ground reference and freedom from nearby switching nodes, because a finger is a small capacitance change that any coupling can mask.
Mechanical buttons require debouncing and, more importantly, a route to ground that does not share the return of the display backlight. Backlight current pulses are large compared with the signal on a button line, and sharing a return turns an ordinary key press into an intermittent fault.
None of this is difficult, but it has to be decided at layout time. Adding a separate ground return for the interface section later means cutting copper, and cutting copper on a production board is rarely an option.
FAQ
Why do air conditioner boards fail so often at the capacitors? Electrolytic capacitor life depends strongly on temperature, and an inverter board places them near the hottest components. Increasing the distance to the power stage or choosing higher-temperature parts extends life more effectively than any other change.
Is coating really necessary on an outdoor board? In practice, yes. Condensation and contamination are normal operating conditions rather than exceptional events, and uncoated boards suffer tracking and leakage failures that are difficult to reproduce on the bench.
Can a failed inverter board be repaired economically? Often it can, provided the power devices and the control section are laid out so that each can be serviced separately. Design choices made for rework access, such as keeping heavy parts away from fine-pitch components, determine whether a repair is a ten-minute job or a scrapped assembly.