Electret Microphone Preamp Design and PCB Layout
Audio capture looks like a solved problem until a product has to fit a microphone into a small cavity next to a switching LED driver, a radio and a power converter. The signal from an electret capsule is a few millivolts riding on a DC bias, and the interference sources on the same board are orders of magnitude larger. The microphone preamp circuit is therefore less about gain and more about keeping the audio band clean while everything around it switches.
Recent controller designs make this easier by integrating the bias supply and an analogue input, so the external circuit reduces to a handful of passive components. That simplicity is deceptive, because the placement and routing of those few parts decide the noise floor. The component values are standard; the layout is where the design is won or lost.
Bias and Coupling: The Two Components That Matter
An electret capsule contains a field effect transistor that needs a small standing current, supplied through a bias resistor from a regulated bias pin. A value in the region of 4.7 kilohms is a common compromise: it allows enough current for the internal transistor to operate with good transconductance while keeping the resulting output amplitude within the range of the following input. Too large a value reduces the low frequency response and the output level; too small a value increases current and noise.
The capsule output then has to be coupled into the analogue input through a DC blocking capacitor, and the capacitance of that coupling capacitor together with the input impedance of the controller forms a high pass filter. With a one microfarad capacitor, the corner sits below 20 Hz, which removes the very low frequency content that would otherwise be amplified as noise while leaving the audio band unaffected. The capacitor also protects the input from the bias voltage, which would otherwise saturate the sampling stage.
High Frequency Filtering at the Input Pin
Filtering does not stop at the audio band. A small capacitor from the analogue input to ground forms a low pass network with the source impedance of the capsule and its bias resistor, and its purpose is to remove interference that is far above the audio range: the 2.4 GHz band from a radio, switching harmonics from a PWM dimmer, and the fast edges of the digital circuitry nearby. A value around 100 picofarads is typical, and it should be placed at the input pin rather than at the capsule.
The bias network needs its own decoupling. The bias supply comes from an internal regulator, which isolates it from the main rail to some degree, but a capacitor at the bias pin and a ceramic capacitor at the main supply input still reduce the coupling of supply ripple into the microphone path. The aim is that the bias voltage presented to the capsule does not move at audio or switching frequencies, because any movement appears directly in the captured signal.
Partitioning the Board
On a small circular board the physical arrangement is the primary noise control measure. A ring shaped layout lends itself to zoning: the outer band carries the mains rectifier and its dropper components, the centre holds the controller, the microphone pad sits immediately beside the controller input, and the switching devices that drive the LEDs occupy the remaining area. Building a ground partition between these zones, rather than relying on distance alone, keeps the return currents of the power section out of the audio reference.
The spacing between the high voltage area and the audio section should be generous in absolute terms, on the order of three millimetres, both for noise and for safety. Button pull-ups, infrared receiver components and any other switching node belong on the far side of the partition, because a single trace crossing the boundary carries the noise it was supposed to contain. The reference for the audio circuit should connect to the system ground at one point, chosen so that power current does not flow through the audio reference plane.
Routing the Audio Trace
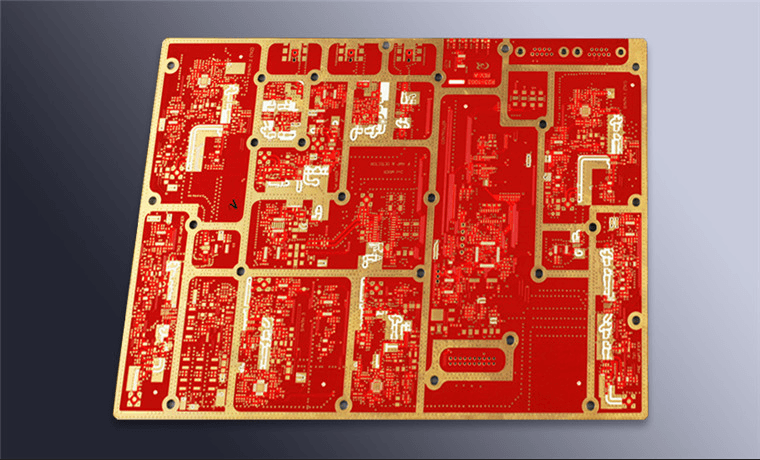
The audio path is short by design. Keep the bias trace and the input trace as short and as wide as the layout allows, in the region of five millimetres where the package permits, and route them directly between the microphone pad and the controller pin without detours. A longer trace picks up more interference and adds capacitance that interacts with the input filter, so the shortest route is also the most predictable one.
Just as important is what the trace passes near. It should not run under the crystal, under the antenna keep-out area, or beneath the PWM power stage, and it should not share a path with the LED drive current. Where the audio trace must cross other signals, cross them at right angles and keep a solid reference beneath. The general principles of separating a small analogue signal from switching circuitry are the same as those in mixed signal design guidelines.
Keeping Switching Noise Out
The dominant interference source in a lighting product is the PWM dimmer, and its path into the audio chain is usually the supply. Giving the LED drive its own branch from the supply node, rather than sharing the branch that feeds the controller, reduces the disturbance that reaches the bias regulator. A series gate resistor on each switching device slows the edge slightly and reduces the high frequency content that radiates from the drain node, at the cost of some switching loss.
Two process details finish the job. Cleaning after assembly removes flux residue that would otherwise create leakage paths around the high impedance bias network, as described in PCB cleaning, and a coating over the assembled board protects the sensitive nodes from the humidity and contamination that would otherwise make performance drift over time; the options are covered in conformal coating protection. Supply noise that survives all of these measures is usually a grounding problem, and the mechanisms are the same as those in ground current distortion.
Where the Microphone Sits
The acoustic path is part of the electrical design. The capsule should sit close to the opening in the enclosure, with the port aligned to the hole rather than offset behind a wall, and with a small foam gasket around it to isolate the capsule from structure borne vibration. A microphone that is mechanically coupled to the housing picks up every knock and every fan, and no amount of filtering removes that, because the disturbance arrives through the package rather than through the copper.
Internally, the capsule body is a high impedance node and should be treated as such. Keep the pad small, avoid long exposed traces, and do not route other signals beneath the capsule body. If the enclosure has a separate acoustic chamber, check that the port is not blocked by the coating or the potting compound applied in production, since a sealed port converts a working design into a silent one without any measurable electrical fault.
FAQ
Can the microphone be connected without a preamp? When the controller integrates a bias supply and an analogue input, the external preamp is unnecessary. The bias resistor and the coupling capacitor remain, and their values set the response.
Why not use a larger coupling capacitor for better bass response? Because the high pass corner is not the only consideration. A larger capacitor takes longer to charge at power-up and interacts with the input impedance over a wider range. Sizing the corner just below the audio band is sufficient.
How can interference be recognised after assembly? Capture the output with the LEDs off and again at several dimming levels. Noise that appears only with the dimmer active is conducted or radiated coupling from the switching stage rather than a fault in the microphone circuit.