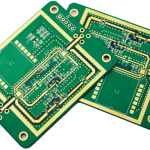
Load Cell Signal Conditioning and ADC Layout
A load cell turns force into a very small differential voltage, typically a few millivolts at full scale, and the circuit that follows has to extract that signal from an environment full of motors, relays and switching supplies. Load cell signal conditioning is therefore less about the amplifier and more about the reference, the grounding and the layout that keep the reading stable while the machine is running under load.
How a Load Cell Produces a Signal
A strain gauge is a foil resistor bonded to a beam, and its resistance changes by a small fraction when the beam bends. Four gauges wired as a Wheatstone bridge convert that change into a differential voltage proportional to the applied force, and the bridge also cancels the effect of temperature on the gauge resistance when all four elements sit at the same temperature on the same beam.
The output is small. A bridge with a sensitivity of 2 millivolts per volt produces 10 millivolts at full scale from a 5 volt bridge excitation, and a load at ten percent of capacity produces 1 millivolt. That signal sits on a common mode voltage of about half the excitation, so the amplifier has to reject a common mode level hundreds of times larger than the differential signal it is measuring.
Bridge Excitation and Ratiometric Measurement
The bridge output is proportional to the excitation voltage, so any drift in the excitation appears directly in the result. The simplest way to cancel that drift is ratiometric measurement, in which the converter reference is driven from the same source as the bridge. A change in excitation then changes both the signal and the reference, and the error cancels in the ratio rather than appearing in the reading.
The excitation source still has to be clean enough for the resolution required. A switching supply with 50 millivolts of ripple on a 5 volt rail produces a one percent error unless the measurement is ratiometric, and even then the ripple has to be inside the bandwidth of the converter to cancel properly. A low noise linear regulator, or a filtered reference followed by a buffer, is the usual choice for a precision weighing design.
The Instrumentation Amplifier Stage
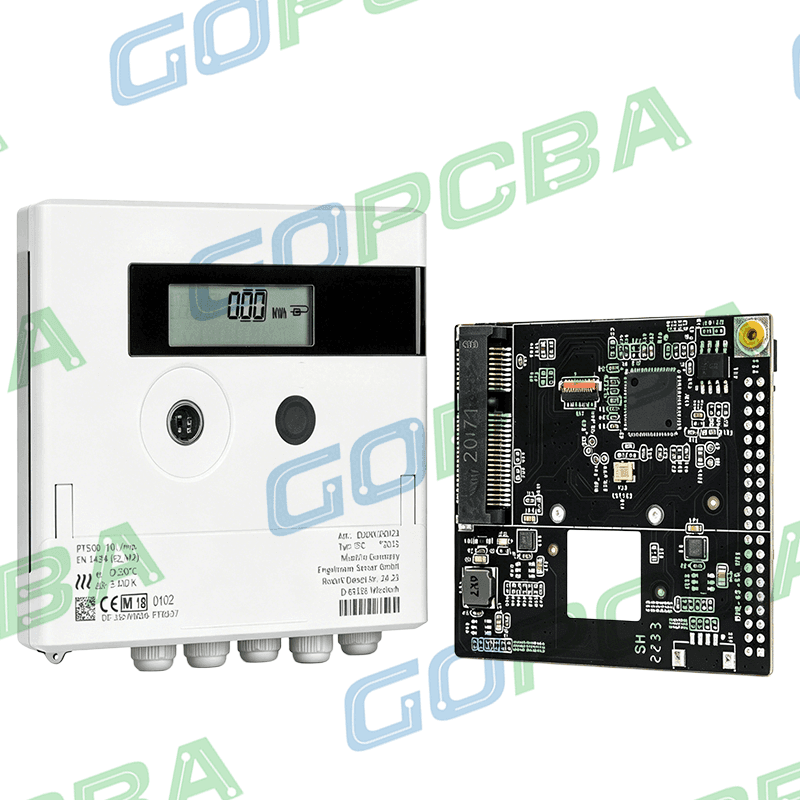
An instrumentation amplifier is the standard front end because it offers high input impedance, a gain set by a single resistor, and common mode rejection that a single op amp cannot match. The gain resistor should be a precision part with a low temperature coefficient, because its tolerance enters the gain directly and its drift appears as a scale error that no single temperature calibration can remove.
Keep the gain moderate and let the converter resolution do the rest. An amplifier with a gain of 100 turns a 10 millivolt signal into 1 volt, a comfortable level for a 16 bit converter, while a gain of 1000 amplifies the offset and noise of the amplifier along with the signal. Our guide to mixed signal board design covers how the analogue section should be partitioned from the digital side.
Offset drift matters as much as offset itself. A chopper stabilised amplifier has almost no offset drift and is a good choice for slow weighing channels, while a general purpose amplifier with a few microvolts per degree of drift will move the zero point as the enclosure warms up. The cost difference is usually small compared with the mechanical assembly around the cell.
Filtering and Anti-Alias Design
Mechanical vibration from the machine couples into the beam and appears as an AC signal on top of the load. A first order RC filter at the amplifier input, with a corner frequency of a few tens of hertz, removes most of it without adding significant noise, and it also limits the bandwidth that reaches the converter, which is the anti alias function.
Place the filter resistors close to the amplifier inputs so that the traces beyond the resistor carry a filtered signal and behave as the summing node for interference picked up along the way. Capacitors across the inputs must be matched, because a mismatch converts common mode noise into a differential signal that the amplifier will then amplify as if it were load.
Where the sample rate is high, a second order filter is worth the extra component. A single pole at 20 hertz rolls off slowly, and a 50 hertz or 60 hertz mains component ten times above the corner is still only attenuated by 20 decibels. A two pole filter, or a converter with a sinc filter that notches the mains frequency, does much better.
Grounding and Shielding for Millivolt Signals
The bridge and the amplifier should share a single reference point, and the excitation return should be the same conductor that the amplifier uses as its reference. If the excitation current returns through the analogue ground on a path the amplifier does not follow, the resulting voltage drop appears as an offset that changes with load current, and that error shows up as a non linear scale. The same discipline that keeps a switching converter quiet applies to a millivolt channel, and our article on EMI suppression design explains where the return currents actually flow.
Run the cell on a shielded cable with the shield connected at the enclosure end. Where the load cell body is bonded to a machine frame that carries noise, an additional shield connection at the cell end creates a ground loop, so the shield is normally left open at the cell while the frame is bonded separately through the machine structure. That keeps the shield a screen rather than a conductor.
If the cell and the electronics are powered from different supplies, check that the common mode voltage at the amplifier input stays inside its specified range. A long cable between a cell at earth potential and a board referenced elsewhere can push the common mode beyond the input range of the amplifier, and the resulting error appears as a gain problem rather than an obvious overload.
Layout of the Analogue Front End
The analogue front end should occupy a small area over a solid ground plane with no digital traces crossing it. Keep the excitation traces and the signal traces apart, because the excitation carries a current that can couple into the very millivolt signal the circuit is trying to measure. Route the differential pair from the bridge as a tight pair, symmetrical and short, into the amplifier.
Decouple the amplifier at each supply pin and add a small series resistance or a ferrite where the supply comes from a noisy rail. Guard traces around the summing node can help on very high impedance designs, but with a modern instrumentation amplifier the better answer is usually to keep the source impedance low and the traces short rather than to add guarding.
Connectors deserve attention on any channel that will be installed in the field. A screw terminal with a poor contact adds resistance in the excitation path and drifts with temperature, and the resulting error is indistinguishable from a change in load. Terminals with a defined contact force, or a keyed connector, remove one of the most common sources of field complaints.
Calibration and Temperature Effects
Every load cell has an offset and a span that vary with temperature, and the datasheet usually quotes both as a percentage of full scale per degree. A two point calibration at the operating temperature removes the constant errors, but the temperature coefficients remain, so the mechanical design should keep the cell and its wiring at a uniform temperature rather than exposing one side to a heat source.
Software can carry part of the burden. Reading the excitation voltage, an onboard temperature sensor and the converter output together allows the offset to be tracked and corrected over time, which is the standard approach in instruments that must hold accuracy across a wide temperature range. The layout only has to give those three measurements a common and stable reference. Where a board will be washed or exposed to humidity, conformal coating also protects the high impedance nodes from leakage that would otherwise appear as slow drift.
A final check on any new design is to load the cell with a known mass, leave it in place for an hour, and watch the reading. A slow drift usually means a thermal problem in the amplifier or the wiring, while a reading that moves with machine activity points to a grounding or filtering issue. Separating those two cases early saves a great deal of rework.
FAQ
Can I use a standard op amp instead of an instrumentation amplifier? Only if the source impedance is low and matched and the common mode range suits the bridge. A single op amp has poor common mode rejection at the gains required here, so the errors quickly exceed what a weighing channel can tolerate.
How much resolution do I need for a weighing channel? Work back from the smallest load you must resolve. If the cell is rated at 50 kilograms and you need 10 gram resolution, that is 1 part in 5000, so a 16 bit converter with a modest amplifier gain and a stable reference is adequate.
Should the shield be connected at both ends of the cable? Usually not. A shield connected at both ends forms a loop with the building ground and couples magnetic noise into the signal. Connect it at the electronics end and bond the machine frame separately.