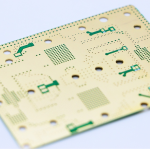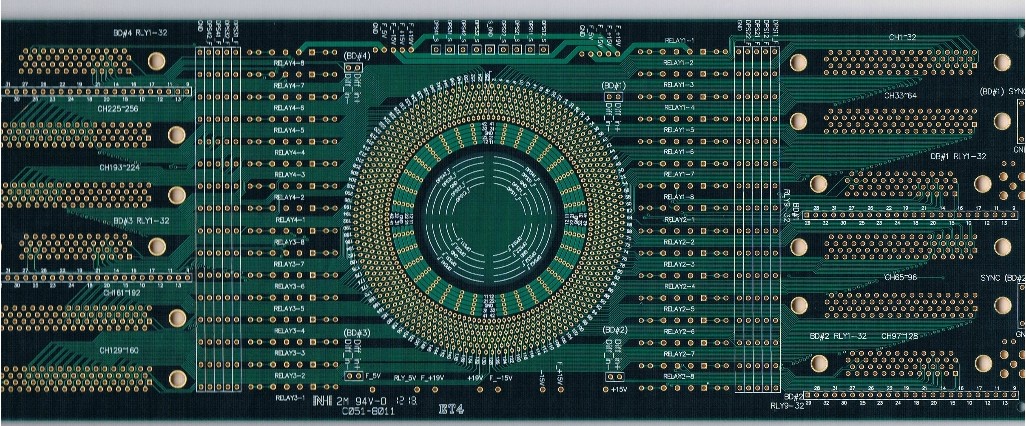
Breadboard PCB: Soldered Prototyping Boards Compared
A breadboard PCB sits between the solderless breadboard that engineers use for a first experiment and the fabricated board that goes into a product. It is a copper board laid out to mimic the connection pattern of a breadboard, so a circuit that was proven on a plug-in board can be transferred to a soldered assembly without redrawing the schematic.
What a Breadboard PCB Is
The board reproduces the familiar layout of a solderless breadboard: rows of interconnected holes in groups of five, separated by a central channel, with power and ground rails running along the edges. Instead of spring clips, each group of holes is connected by a copper trace, and the connection is made by soldering the component leads into place.
The result is mechanically robust, electrically quiet and directly comparable with the circuit that was breadboarded. A solderless breadboard has contact resistance that varies with age and with the thickness of the component lead, and its internal capacitance couples adjacent rows at high frequency. A soldered prototype board removes both problems while keeping the same physical arrangement.
Types of Prototype Board
The simplest is a plain grid of plated holes with no interconnection at all, which is used with point to point wiring on the underside. It is flexible and cheap, but every connection has to be made deliberately and the result is correspondingly difficult to debug when it does not work.
The next is a stripboard pattern, where the copper is arranged in continuous strips that are cut where isolation is needed. It is efficient for circuits with many connections to a common rail, and it requires a cutting tool and a steady hand.

The breadboard style board is the third and the most directly transferable, because its connection pattern matches the plug-in board the circuit was developed on. The board is usually single sided with plated through holes, so components can be placed on the top and soldered on the bottom in the conventional way.
Why Plated Through Holes Matter
A prototype board with plated through hole barrels allows a component lead to be soldered on either side and provides a reliable connection through the board. On an unplated board, the solder only wets the pad and the lead, and a joint can look correct while making a poor connection to the copper underneath.
Plated holes also make it possible to solder a component on the top side and to make a wire connection on the bottom, which is useful when a circuit is being modified. The barrels are not usually required to carry significant current, but they do need to survive the heat of repeated soldering, which is the main reason cheap prototype boards with thin plating fail.
Where the Advantages Show
Debugging is the main one. A soldered prototype is stable, so a fault that appears and disappears on a plug-in board stays put and can be found. That alone justifies the few minutes it takes to transfer a circuit.
Mechanical stability is the second. A breadboard circuit cannot be carried, mounted or vibrated, and it cannot be connected to anything with a cable that pulls on it without the connections moving. A soldered board can be mounted in an enclosure, which is what a design has to survive before it can be tested in its intended environment.
Limits of the Approach
The connection pattern imposes a fixed pitch, usually 2.54 millimetres, which is far too coarse for modern surface mount components. A breadboard PCB is therefore limited to through hole parts and to circuits that can be built with them, which excludes most fine pitch devices and area array packages.
Ground and power distribution also remain a compromise on any prototype board, however carefully it is built. The rails run along the edges and are connected by relatively thin traces, so a circuit drawing significant current will see a voltage drop along the rail, and the ground return will have a shared impedance between rows. For anything with a switching supply or a fast digital bus, the prototype board is a stepping stone rather than a substitute for a designed layout.
Designing a Custom Prototype Board
Where a standard pattern does not fit, a custom prototype board can be drawn with the same connection philosophy but a different arrangement. This is often the sensible step between a breadboard circuit and a full design, because it fixes the mechanical arrangement and the connector positions while leaving the electrical design to be refined.
A custom board can also add the features that a standard board lacks: a ground plane, a proper decoupling arrangement and a defined power distribution network. At that point it stops being a prototype board and becomes a first revision of the real design, which is usually the right decision once the circuit is known to work, as discussed in multilayer prototype requirements.
Cost and Where the Money Goes
A prototype board costs a fraction of a designed board, because it has no stackup to engineer, no impedance to control and usually one copper layer. Its cost is dominated by panel utilisation and by the drilling, since a board covered in hundreds of small holes takes far longer to drill than a board with a few dozen.
The relevant comparison is not the price of the prototype board against the price of a production board, but the cost of the whole exercise. Prototype boards let a design mistake be found for a few dollars, while a designed board that carries the same mistake costs a new set of artwork and a week of schedule. That is the argument for using them early and discarding them once the circuit is proven.
Practical Construction Tips
Keep the wiring on the underside and the components on top, so that a modification does not disturb the parts. Use a consistent colour code for supply and ground wires, and route signal wires as directly as possible rather than in long loops around the board.
Where a signal has to cross the board, run it on the underside and keep it away from the supply rails, since a long parallel run beside a supply trace couples noise into a high impedance node. The same instinct that governs a designed layout applies here in simpler form, and the escape principles in escape routing and fanout rules are a useful reference even for hand wiring.
FAQ
Is a breadboard PCB the same as stripboard? No. Stripboard uses continuous copper strips that must be cut to isolate connections, while a breadboard pattern uses groups of five holes already isolated from each other, matching the layout of a plug-in breadboard.
Can surface mount parts be used? With difficulty. The 2.54 millimetre pitch is far coarser than any surface mount package, so adapters or flying leads are needed. Once surface mount parts are involved, a designed board is usually cheaper than an adapter.
When should a prototype move to a real board? As soon as the circuit works and the mechanical arrangement matters. The prototype board proves the concept, and the first designed revision proves the layout, as the fundamentals reviewed in PCB circuit board explained make clear.