Solder Paste Transfer Efficiency in Stencil Printing
Transfer efficiency is the number that tells you whether a stencil printing process is behaving: the paste volume deposited in an aperture divided by the theoretical volume of that aperture, expressed as a percentage. A line printing at 70 percent will produce intermittent opens on 0.4 mm pitch devices while the printer itself reports no fault at all.
Transfer efficiency is also the link between the stencil design and the deposit volume that the reflow process actually sees. When it drops, the fix is almost never a single knob on the printer; it is the interaction of aperture geometry, stencil thickness and paste rheology.
What Transfer Efficiency Measures
The theoretical volume is the aperture area multiplied by the stencil thickness. The measured volume comes from an SPI system that reconstructs the deposit height over the pad. The ratio of the two is expressed as a percentage and reported per aperture, per pad and per board.
Values above 80 percent are achievable on apertures with favourable geometry, and values between 60 and 80 percent are typical for fine pitch work, with the smallest apertures on the board usually setting the low end of the range for the whole print. Anything below 50 percent on a routine pad indicates that something in the print set-up has moved out of its window.
Area Ratio and Aspect Ratio Limits
Area ratio is the aperture opening area divided by the aperture wall area, and it is the strongest single predictor of release. Below an area ratio of 0.66, paste release becomes marginal, and the deposited volume falls with every additional print.
Aspect ratio, the width of the aperture divided by the stencil thickness, should stay above 1.5 for the same reason. When a design pushes both numbers below their limits, the correct answer is a thinner foil or a step, not more squeegee pressure, because no amount of blade force pushes paste through an aperture whose walls offer more area than the opening does. Where a step is impossible, a slower soak gives the paste more time to coalesce, but that is a compensation rather than a cure.
Stencil Thickness and Deposit Volume
Stencil thickness sets the ceiling on deposit volume. A 0.12 mm foil supports about 0.9 to 1.1 mg per square millimetre of printed area for a typical lead-free paste, while a 0.10 mm foil gives roughly 20 percent less and a 0.15 mm foil about 25 percent more. Foil tolerance matters just as much: a thickness variation of plus or minus 10 percent across the panel moves the deposit volume by the same proportion, which is why incoming thickness checks belong with the stencil rather than with the printer.
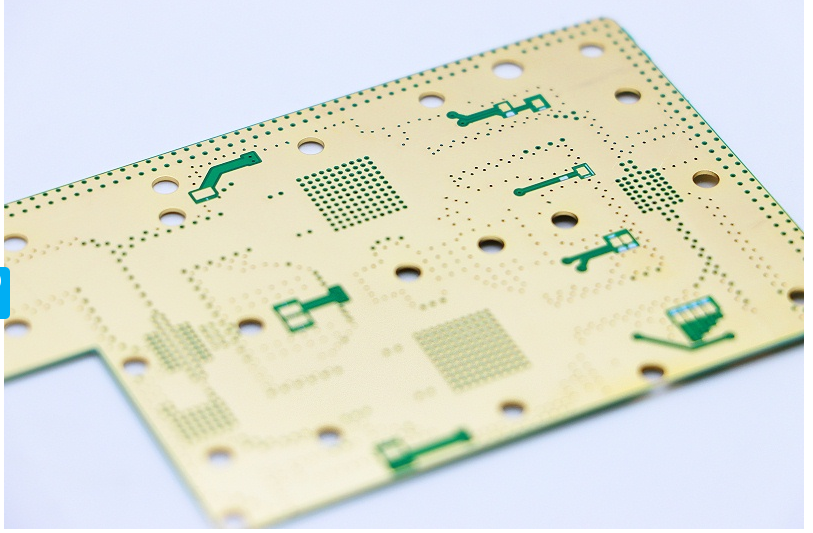
Thickness and area ratio pull in opposite directions, which is why stencil thickness selection is a compromise. Making the foil thinner improves release but reduces the volume available for a coarse pitch power pad, so mixed-technology boards often use a stepped or cavity stencil rather than a single uniform foil.
Aperture Wall Geometry and Paste Release
Paste releases from the aperture wall, not from the pad. A laser-cut wall with a rough surface and a positive taper holds the deposit back, and the result is a deposit that is lower at the centre than at the edges.
Electropolished or coated walls reduce the friction between paste and wall, and a nano-coated foil keeps its release behaviour for a longer number of prints. The laser cut matters as much as the finish: a wall angle 3 to 8 degrees wider at the bottom than at the top releases better than a straight wall, and narrow slots gain more from that geometry than square apertures do. The coating is a consumable, so it belongs in the maintenance plan with a defined print count for re-application.
Squeegee Settings That Shift the Result
Squeegee pressure should be the minimum that produces a clean wipe of the stencil surface. Excess pressure presses the foil onto the board, deforms the aperture opening and squeezes paste under the stencil, which shows up as bridging and as a lower print volume. The right value also depends on the foil, because a setting that works on 0.12 mm material is too high for 0.10 mm material, so pressure belongs to the stencil program rather than to the machine, as covered in the squeegee pressure notes.
Angle and speed matter as well. A metal blade at 60 degrees with a print speed of 20 to 50 mm per second suits most lead-free pastes, while a soft polyurethane blade at a lower angle improves gasketing on uneven surfaces at the cost of a shorter blade life.
Separation Speed and Deposit Formation
The separation phase decides whether the deposit stays intact. A separation speed of 0.5 to 2 mm per second with a small snap-off distance allows the paste to shear away from the wall instead of being drawn out of the aperture.
Separating too quickly leaves a torn deposit with a peak in the middle and paste smeared across the stencil underside. Separating too slowly lets the paste slump inside the aperture before release, which reduces the deposit height measured later by SPI.
Paste Rheology and the Print Window
The paste brings its own window to the process. Viscosity measured at the print shear rate, the flux chemistry and the powder size distribution all change how the material behaves as the squeegee rolls it across the aperture.
Fresh paste from a sealed jar behaves differently from paste that has stood on the stencil for an hour, and the difference appears first on the smallest apertures, where the ratio of surface area to paste volume is least favourable. Tracking the time since the jar was opened, together with the print count on that batch, keeps the rheology inside the range the process was qualified with, which is the practical core of paste viscosity control.
Measuring Print Volume With SPI
SPI is the only practical way to see transfer efficiency in production. A system that measures height over the pad reports volume, area and height for each aperture, and these three numbers separate a stencil problem from a printer problem.

Correlating the SPI result with the stencil design closes the loop: the same aperture can be tracked across print count, paste batches and squeegee changes, so drift away from the qualified mean becomes visible long before a defect appears on the board.
Acceptance Limits and Corrective Action
Acceptance is best expressed as a band around the qualified mean rather than as a single number: for example, volume between 70 and 130 percent of nominal, with height limits on the smallest apertures and a limit on the number of deposits outside the band.
When the band is violated, work through the system in order: stencil condition, then paste condition, then printer set-up. Changing three parameters at once hides the cause and makes the next excursion impossible to diagnose.
FAQ
What transfer efficiency should a stencil printing process hold? For fine pitch work, 60 to 80 percent on the smallest apertures is a realistic target, with higher values on coarse pitch pads that have a favourable area ratio.
Does more squeegee pressure improve transfer efficiency? No. Above the minimum pressure needed for a clean wipe, extra pressure deforms the aperture and squeezes paste under the foil, which lowers the deposit volume and increases bridging.
Can a coated stencil restore a process that has drifted? A coating helps the releasing walls for a longer print run, but it will not compensate for an area ratio below 0.66 or for paste that has dried on the stencil.