Countersink And Counterbore In PCB Design
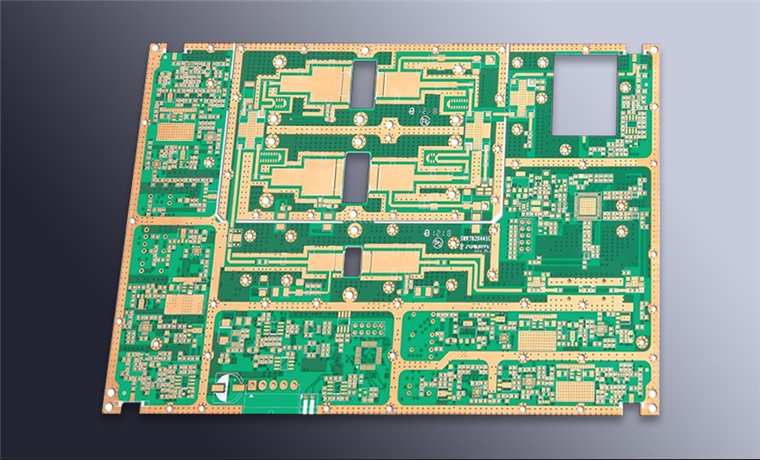
A countersink is a conical recess machined into a hole so that a flat head screw sits flush with the surface. A counterbore is a cylindrical recess that lets a socket head screw or a nut sit below the surface. Both are mechanical features cut into a finished board, and both need space around the hole that the electrical layout has to leave free.
This article covers how each is dimensioned, which clearances they require, and how the requirement is communicated to the fabricator.
Countersink And Its Dimensions
A countersink is defined by the head angle and the diameter at the surface. The common head angle is eighty two degrees for an imperial flat head screw and ninety degrees for a metric one, and the surface diameter has to be at least the head diameter of the screw so that the head does not sit proud of the board. The depth of the cone is then set by the angle and the diameter, and it is the depth that determines how much board thickness is left under the head.
That remaining thickness matters. A countersunk hole through a thin board leaves very little material between the bottom of the cone and the far surface, and the screw tightening load can then distort the board or crack the laminate around the hole. This is why a countersunk fixing is normally used only on a board thick enough to take it, or on a board with a local stiffener or a bonded boss. The mechanical arrangement around such fixings is described under board outline and mounting design.
Counterbore And Its Dimensions
A counterbore has a flat bottom and a diameter large enough for the screw head or the nut to turn freely. It is used where the head can be below the surface rather than flush, and where the installation tool has to reach the head. The two dimensions that matter are the bore diameter, which is set by the head or nut across corners plus a running clearance, and the depth, which is set by the head height plus a small allowance.
The flat bottom of a counterbore is a machining operation rather than a drilling one on a laminated board, and it is normally milled with a flat bottomed cutter or routed. That changes the tolerance that can be held and the finish that results, and it also means that the feature is cut by a tool with a defined diameter that has to be able to reach the location. Where the counterbore is close to a component or to a connector, the clearance for the tool is as important as the clearance for the screw head. The general rules around board features and their tolerances are set out under design guidelines for manufacturability.
Keep-Out Around The Feature
Both features require a keep-out that is larger than the feature itself. Around a countersink, the keep-out has to cover the head, because the head presses on the surface and a conductor under it is crushed, and it has to allow for the cone, which is wider at the surface than the hole. Around a counterbore, the keep-out covers the bore plus the tool clearance.
The keep-out also has to account for what the fixing does mechanically. A screw tightened into a board pulls the two faces together, and any copper or mask directly under the head is compressed. Where the fixing is a ground connection, the copper under the head is deliberately provided as a contact pad, and then the pad is sized to the head and the surface finish is chosen to survive the contact. Everywhere else the copper is kept clear, and the keep-out is drawn as a no-place region on every layer rather than on the outer layer alone.
Plated Or Non Plated
A hole for a screw is normally non plated, because there is no electrical function and plating would only add cost. A hole that serves as a ground connection is plated, and then the plating extends through the barrel and onto the annular ring around the hole, which is the surface that the screw contacts. A plated hole for a fixing also needs its own annular ring, and where the fixing is at the board edge the ring has to fit inside the edge clearance set by the rules for slots and board edges.
Where the fixing passes through a ground plane, the plane is relieved around the hole unless the connection is intended, and the relief has to be large enough for the tool that cuts the countersink or the counterbore. Cutting a cone into a plane is possible when the plane is on an inner layer, and the result is a cone that opens into the copper: it removes material and can bridge to the plane if the tool breaks through, so the relief is normally cut on the inner layers as well.
Specifying The Feature
The drawing should give the hole diameter, whether it is plated, the head angle for a countersink or the bore diameter for a counterbore, the depth, and the tolerance on the depth. It should also give the surface finish requirement, because a countersink is often also a contact surface and may need plating that the rest of the board does not have.
Where the same fixing appears several times, the feature is defined once as a symbol and referenced, rather than drawn individually. That avoids the situation in which one hole on the board has a different depth from the others, which is the kind of error that is found only when the assembly does not fit. Stating the depth as a dimension from the surface, rather than as a remaining thickness, is the convention that fabricators measure against, and it removes a source of arithmetic error on a thin board.
Common Problems
The most common problem is a countersink that is too shallow for the screw head, so the head stands proud and the assembly does not sit flush. It results from specifying the depth without checking it against the actual head dimensions of the screw that will be used, which differ between manufacturers and between standards. The second is a counterbore whose diameter is set by the head across flats rather than across corners, so the socket cannot engage.
The third is a feature that has been placed on a board that is too thin for it, leaving a fragile web under the head. Where that is unavoidable, the answer is a local stiffener, a bonded boss or a change to the fixing rather than a thinner cone. Checking the remaining thickness against the minimum the laminate allows, before the artwork is released, is a small calculation that prevents a recurring assembly problem.
FAQ
Which is better, a countersink or a counterbore? A countersink suits a flat head screw where the surface must be flush. A counterbore suits a screw head or nut that must sit below the surface but does not need to be flush, and it needs more space and a milling operation.
Can these features be cut after assembly? No. They are machined into the bare board, and the swarf from the cut would contaminate an assembled product. If the feature has to be added, it is done before assembly and before the final surface finish where possible.
Do the features need a tighter hole tolerance? The position of the hole matters more than its size for a fixing, because the screw has to line up with the mating part. A position tolerance is normally specified along with the hole size, particularly where several fixings hold the same assembly.