Imaging Room Humidity Control: 5 Limits for Sharp Dry Film
Imaging room humidity is the quiet variable behind a whole family of defects that operators usually blame on the artwork or the film. Dry film is a plastic layer with a photoactive coating that absorbs water from the air, and its dimensions change with every percent of relative humidity. When the room is too dry the film becomes brittle and dust clings to it; when the room is too wet the film swells, its adhesion drops and fine lines lose definition. Five limits keep the process inside a usable band.
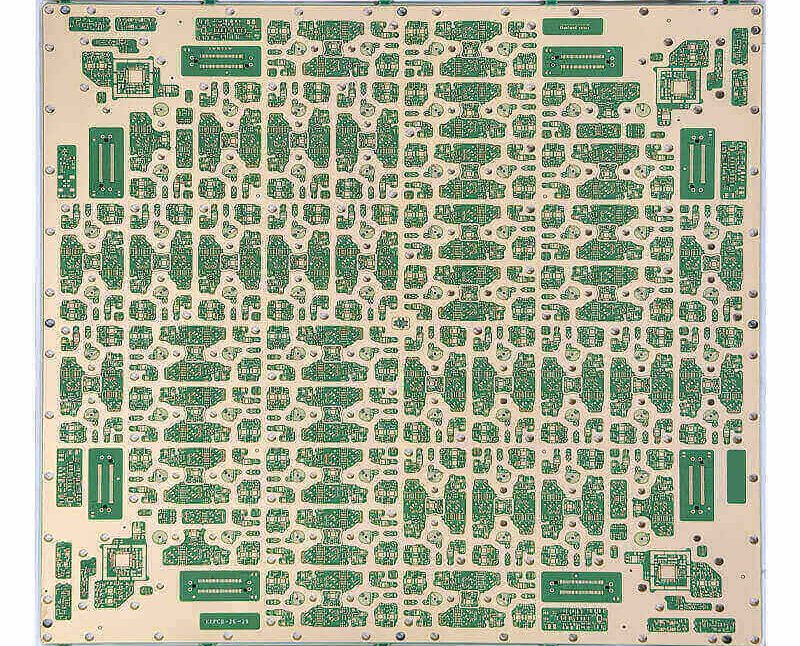
<img src="https://www.gopcba.com/wp-content/uploads/2026/08/23.jpg" alt="Imaging room humidity sensor mounted inside a PCB dry film exposure room” />
Why Imaging Room Humidity Dominates Image Quality
Photoresist responds to moisture in two ways. First, absorbed water changes the film’s dimensions, so a panel imaged in a humid room produces lines that are wider than the artwork. Second, moisture on the surface interferes with the vacuum that holds the film flat against the copper, which softens every edge in the pattern.
Neither effect is obvious at the moment of exposure. Line width errors show up later at etch or plating, and adhesion failures appear as lifted film after development. By then the panels are past the point where the room can be blamed, which is why the imaging area needs continuous monitoring rather than occasional spot checks. A drift of a few percent is enough to move a line by a micron on a fine pitch pattern, so the room is treated as part of the process recipe.
Target Bands for Temperature and Humidity
Most dry film suppliers specify a narrow humidity band, commonly between 45 and 55 percent relative humidity, with the temperature held between 21 and 24 degrees Celsius. The important number is not the set point but the variation, because a room that swings five percent every hour causes more line width error than a room held steady at a value slightly outside the optimum.
Holding a tight band costs energy, so agree on realistic tolerances with the process owner. Panels with very fine lines justify tighter control than a board with 8 mil traces. Define two bands, one for standard work and one for fine line work, and make the difference visible on the room display. Add a margin below each band for the panel temperature itself, because a panel carried in from a warmer area will hold a layer of humid air against the film for several minutes.
Inside the Dry Film Exposure Room: Airflow and Pressure
A dry film exposure room should run at a slight positive pressure so unfiltered air from the corridor cannot enter. Air changes per hour need to be high enough to remove heat from exposure lamps and humans, but not so high that airflow dries the film locally or lifts dust that has settled on frames and lamps.
Direct airflow onto the panel is a common mistake. A laminar flow hood aimed at the exposure stage creates a drying gradient across the panel, so one side of the board behaves differently from the other. Aim the supply air at the ceiling and let it distribute, and keep hands, tools and laminators out of the direct path.
Cleanroom Humidity Control Equipment and Sensor Placement
Cleanroom humidity control usually combines a chilled water coil for dehumidification with a reheat or steam humidifier for the dry season. The equipment only performs as well as its sensors, so place temperature and humidity probes where they measure the air the panels actually see, at working height, away from doors and lamps.
Calibrate probes on a fixed schedule and keep a spare in rotation. A drifting probe is worse than no probe, because the control system will happily hold the wrong condition while every record looks normal. Log both the room reading and a handheld check weekly to catch the drift early.
Photoresist Room Conditions Before and After Lamination
Photoresist room conditions also affect the laminator itself. Roller temperature, speed and pressure are set for a specific film, and those settings assume the film has reached room equilibrium. Moving film from a cold storage area straight into a warm humid room produces condensation that no roller temperature can compensate for.
Give dry film time to equilibrate before lamination, and keep partial rolls sealed between uses. After lamination, hold panels in the same room for a short stabilization period before exposure. Skipping that step means the film is still relaxing when it is exposed, and the pattern will shift on the panel.
Static Charge on Panels and Dust Attraction
Static charge on panels builds up as film is peeled, as coversheets are removed and as panels slide across surfaces in dry air. A charged panel attracts dust from meters away, and that dust prints as a permanent defect. Static also pulls the film away from the copper, which raises line width variation.
Control static with ionization bars at the laminator exit and at the exposure stage, grounded work surfaces, and humidity that stays above the lower limit. Anti-static mats and gloves help, but nothing replaces adequate moisture in the air, because dry air is the condition that lets charge accumulate in the first place.
Mylar, Vacuum Frames and Contact Time
Vacuum frames need enough contact time to pull the film flat. If the vacuum is weak or the cycle is short, small air pockets remain and the exposed image blurs at those spots. Check frame seals, hoses and filters regularly, because a slow leak reduces vacuum gradually and the effect creeps in without any alarm.
Mylar coversheet condition matters as well. Wrinkled or dirty mylar leaves marks and reduces contact. Change coversheets when they show scratches, and store them flat rather than rolled, so they lie smooth on the panel during exposure. Counting the exposure cycles on a coversheet is a practical way to decide when it is worn, rather than waiting for a visible defect.
Monitoring, Alarms and Shift Records
A chart recorder or building management system should log temperature and humidity continuously, with alarm limits set closer than the specification so operators get warning before panels are at risk. Alarm events should be written into the shift log with the action taken, not just acknowledged and cleared.
Add a simple process check to each shift: measure line width on a test panel and compare it with the previous shift. A slow drift in line width usually tracks a slow drift in room conditions, and pairing the two records makes the relationship visible. Include the room condition in the traveler for each lot, and compare it with the acceptance criteria published by IPC when a customer asks how image quality is controlled. This is the same discipline used in photoresist developing control, where small drifts compound quietly.
When the Room Drifts: Recovery Steps
If humidity leaves the band, stop imaging fine line work rather than pushing through and sorting later. Bring the room back into range, then allow the panels and film in the area to stabilize before restarting. Panels already imaged during the excursion should be moved forward with extra inspection at develop and etch.
Record what caused the excursion, whether it was a door left open, a failed humidifier valve or a filter change, and fix the cause before restarting. Film lamination parameters belong in the same review, as covered in our guide to dry film lamination parameters, since room conditions and roller settings interact. Panels that fail after an excursion are best reviewed against solder mask developing control data as well, because resist behavior at development often reveals what the room did hours earlier.
FAQ
What humidity should an imaging room be held at? Most dry film manufacturers recommend 45 to 55 percent relative humidity at 21 to 24 degrees Celsius. Hold the band as steady as possible, because stability matters more than a perfect average value.
Can static charge on panels be cured by humidity alone? Humidity helps because moist air dissipates charge, but ionization bars and grounded surfaces are still needed at the laminator and exposure stage. Relying on humidity alone fails in winter, when the air is dry regardless of what the display shows.
Why do fine lines blur even when the room is in range? Check vacuum contact time, frame seals and mylar condition before changing the recipe. Blurred edges are usually a contact problem, and the room band only sets the baseline for it.