SMT Assembly Process Overview: From Paste to Test
A surface mount line is a sequence of machines that each do one thing well, and the quality of the finished assembly is decided by how well the steps agree with each other. Paste, placement and profile are one system rather than three settings.
What the Line Does
The board enters as a bare panel, receives paste through a stencil, receives components from a placement machine, and is heated until the alloy melts. Inspection follows, then rework where it is needed, then the panel is separated into boards.
Each stage prepares the next. Paste in the wrong place cannot be corrected by placement, and a placement that is correct cannot survive a profile that heats the board unevenly. The process is a chain, and the weakest stage sets the yield.
Stencil and Solder Paste
The stencil is a thin metal sheet with apertures cut where paste is required. Its thickness and the aperture geometry together determine the volume of paste deposited on each pad, which is the single most important variable in the process.
The paste is an alloy powder suspended in flux. Its particle size, metal content and viscosity all matter, and the alloy has to match the temperature the rest of the assembly can tolerate, which is why a lead free paste needs a higher reflow peak.
Printing and Its Controls
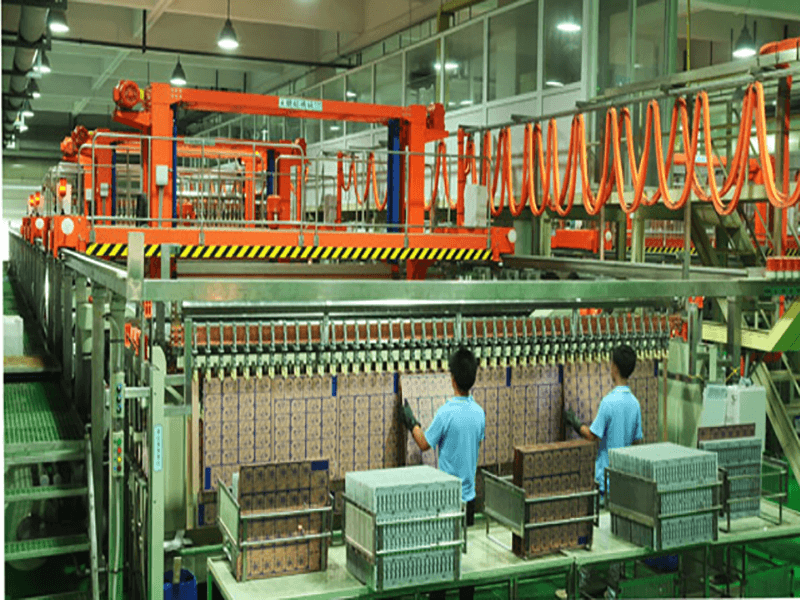
The printer holds the stencil against the board, applies paste with a squeegee and separates the two at a controlled speed. Too fast a separation pulls paste out of the aperture and leaves a thin deposit; too slow a speed slows the line without improving the result.
Cleaning is part of the cycle. Paste left on the underside of the stencil prints a smeared deposit on the next board, and the frequency of the wipe is set by the aperture density rather than by a fixed schedule.
Placement
The placement machine picks a component from a feeder, measures it with a vision system and places it on the paste. Its accuracy is measured in tens of micrometres, and the vision system corrects the small errors that the feeder and the nozzle introduce.
Placement force matters as much as position. A part pushed too hard into the paste displaces it and produces a bridge or a tombstone, while a part released too early moves during the table movement that follows.
Reflow
The reflow profile has four parts: preheat, soak, reflow and cooling. Preheat brings the assembly up without thermal shock, the soak activates the flux and equalises the temperature, and the reflow stage takes the alloy above its liquidus.
The time above liquidus is the critical variable. Too short and the joint is incomplete, too long and the flux is consumed and the intermetallic layer grows. The profile is measured on the product rather than on a bare test board.

Adhesive and Curing
Where components are attached before a wave solder operation, a dot of adhesive holds them in place. The adhesive is dispensed, the parts are placed, and the assembly passes through a curing oven before the through hole parts are added.
The dot size and position decide whether the part is held through the wave. A dot that is too small lets the part float off, and one that is too large spreads onto a pad and prevents the joint from forming.
Optical Inspection
An automatic optical inspection machine photographs the board and compares it with a reference, looking for missing parts, wrong parts, offset joints and bridges. It is fast and repeatable, but it cannot see under a ball grid array.
X-ray inspection covers that case, and it is the only practical way to check an area array. Both methods produce false calls, and the settings have to be tuned on the first article rather than left at the default.
Rework
Rework is part of the process rather than a failure of it. The station has to heat the joint, remove the part and clean the site without damaging the pad or the neighbouring components, and the profile it uses is as important as the one in the oven.
The number of times a site may be reworked should be defined. Repeated heating grows the intermetallic layer and weakens the joint, so a board that has been repaired several times carries a risk that is not visible in the finished product.
Depanelling
Boards are separated by routing, by a V-score or by breaking along perforated tabs. Each method leaves a different edge, and the choice depends on the outline of the product and on whether the edge is visible.
Separation stresses the assembly, so the panel is designed with the break line away from components and with enough material to take the force. A tab that is too stiff transmits the load into a nearby joint instead of breaking cleanly.
Cleaning
Whether the assembly is cleaned depends on the flux. A no clean chemistry leaves a residue that is designed to remain, while an active flux has to be removed to prevent corrosion and leakage in service.
Where cleaning is required, it is verified rather than assumed. An ionic contamination measurement on a sample shows whether the residue has been reduced below the limit the product specification sets.
Where the Process Fails
Most defects trace back to a small number of causes: insufficient or excessive paste, a warped board that changes the placement height, the wrong profile for the thermal mass, and moisture that has been absorbed by the components or the board.
Each of those has a signature. Paste problems appear across the panel, warp problems follow the board, profile problems follow the copper, and moisture appears as blowholes or cracks after the oven.
What the Line Needs From the Design
Fiducials, panel rails, tooling holes and a suitable stencil design are the designer’s contribution to the assembly yield. So is the placement of the parts, because a tall component beside a small one changes the stencil and the printing result.
The production checklist and the reflow quality measurements cover the line side of the same problem, while the assembly development sequence covers the decisions the design has to make before the first panel is ordered.
Additional Considerations for This Build
Practical attention to aoi pays for itself here, because it decides whether the finished board behaves as the drawing intended. Where the requirement is not stated on the fabrication drawing or in the assembly notes, the shop has to assume a default, and that default is rarely the value the design was simulated with. Stating aoi explicitly, together with the tolerance that applies, removes the assumption and keeps the result predictable from batch to batch.
Process Control and Verification
On a design of this kind, reflow is the item that decides how the rest of the board is arranged. Where a value sits close to a process limit, the drawing should say so, since the shop can then open the process window rather than working to a nominal figure that carries no tolerance. A stack-up that is drawn rather than described removes most of the ambiguity from a quotation, and it lets the fabricator price the board against the dielectric and copper weights that will actually be used.
FAQ
Why does the stencil matter so much? Because it sets the paste volume, and paste volume decides whether a joint forms properly. Most placement problems are really printing problems.
Is optical inspection enough? No. It cannot see under an area array package, so X-ray inspection is needed wherever a ball grid array is used.
How often should the profile be checked? Whenever the board, the paste or the oven changes, and on a schedule in between. The profile measured on the product is the one that counts.