Solder Joint Strength Testing: Shear and Pull
A solder joint has to do two jobs: carry the current and hold the component in place. The second job is verified by a mechanical test, and the tests that are used in production and in qualification answer slightly different questions.
The value of the test depends on how the sample is prepared, how the load is applied and how the failure is classified. A number without those details cannot be compared with anything, which is why the test method is part of the specification.
What a Mechanical Test Measures
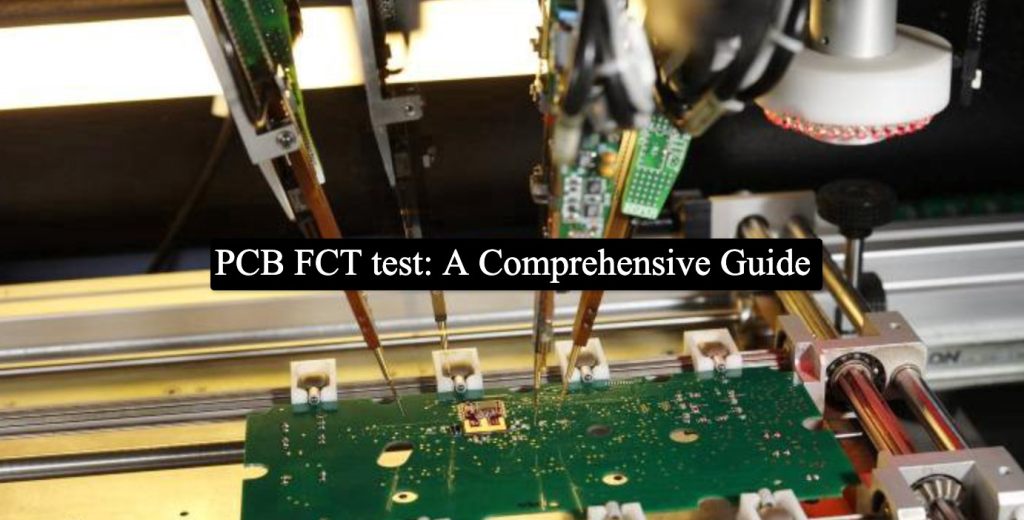
A shear test applies a load parallel to the board and drives the component sideways until the joint fails. A pull test lifts the component away from the board. Both record the maximum force and the way the joint failed.
Solder joint strength depends on the area of the joint, so a comparison between components of different sizes is meaningless. What the test really measures is the strength per unit area and the location of the failure, both of which describe the quality of the interface rather than the bulk of the alloy.
Shear Test in Practice
The shear tool has to contact the component at a defined height above the board and move at a defined speed. A tool that is too high applies a bending moment as well as a shear load, and the joint fails at a lower force than it should.
The speed matters because the alloy is strain rate sensitive. A slow test allows the material to creep and produces a lower force than a fast one, so the standard specifies a rate and the comparison has to be made at that rate.
Pull Test and Its Variants
A pull test is simpler for a leaded component, where a hook can be placed under a lead, and more difficult for an area array, where the load has to be applied to the package. For a ball grid array, the test is often performed on a single ball after the package has been removed, which is a destructive and time consuming procedure.
The recorded force is compared with a limit, and the more useful information is the failure mode. A joint that fails in the bulk of the alloy at a moderate force is usually acceptable; one that fails at the interface at the same force indicates a wetting problem that will be a reliability risk.
Failure Mode Classification
The modes that matter are cohesive failure within the solder, adhesive failure at the pad or the component interface, and failure of the component or the board rather than the joint. A result dominated by component failure cannot be used to judge the joint.
The classification is done by inspecting the fracture surface, often under magnification. Recording the mode alongside the force turns a set of numbers into a diagnosis, and it is the part of the test that most often identifies the real problem.
Sample Preparation and Its Influence
Sample preparation is where a test is won or lost. The components have to be placed and reflowed under the same conditions as production, and the boards have to come from the production process rather than from a laboratory build.
The sample also has to be handled carefully afterwards. A joint that has been stressed during handling, or that has been stored in a way that allowed corrosion, will fail at a lower force for reasons that have nothing to do with the process being investigated. The conditions are usually recorded alongside the other process data in the manufacturing tolerances.
Statistical Treatment of the Results
A single measurement tells you about one joint. A meaningful result needs a number of samples large enough to give a distribution, because the variation between joints on the same board is often larger than the difference between two processes.
Reporting a mean alone hides that. The minimum value and the spread are what determine the margin against the limit, and a process that produces a good average with a few weak joints is not a good process.
Destructive Testing in Production
Destructive tests cannot be applied to product that has to ship, so they are carried out on samples or on a sacrificial board built with the batch. That board should be processed with the production panels and identified so that its results can be attributed to the batch.
The frequency of the test follows from the risk and from the stability of the process. A new product or a new material justifies more testing; a process that has been stable for years can be monitored at a low rate, with the samples still taken from real production runs.
Comparison with Electrical and X-ray Checks
Mechanical testing answers a question that electrical test cannot: whether the joint is strong, not just connected. X-ray shows the geometry of the joint and can suggest a weak one, but it does not measure strength.
The three checks are complementary, and the choice of which to use depends on what is being investigated. Where a process change is being qualified, the mechanical test and the X-ray image together describe the joint, and the electrical result confirms that it still works, in the same way that a quality control programme combines several methods rather than relying on one.
Bend and Drop Testing
A bend test flexes the board while the joints are monitored electrically, which shows how much deformation the assembly can take before a joint opens. A drop test does the same thing dynamically, and it is closer to what a handheld product experiences.
Both are system level tests, so a failure points at the assembly rather than at a single joint. They are useful for comparing designs and for qualifying a change, and they complement the single joint measurements rather than replacing them. The results belong with the other evidence used for the design release decision.
Process Control and Verification
On a design of this kind, failure mode is the item that decides how the rest of the board is arranged. Documenting the assumption is part of the design work, and a short note on the drawing prevents a question that would otherwise arrive a day later and cost a day of schedule. The process window is set by the narrowest step in the flow, so an improvement anywhere else shows up as margin rather than as yield until that step is addressed.
A short note on the drawing about handling, storage or packaging is often worth more than an extra decimal place on a tolerance.
Process Control and Verification
On a design of this kind, failure mode is the item that decides how the rest of the board is arranged. Documenting the assumption is part of the design work, and a short note on the drawing prevents a question that would otherwise arrive a day later and cost a day of schedule. The process window is set by the narrowest step in the flow, so an improvement anywhere else shows up as margin rather than as yield until that step is addressed.
FAQ
What force should a joint withstand? It depends on the joint area and the alloy, and the limit is usually derived from the process capability rather than from an absolute figure.
Is a shear test better than a pull test? They stress the joint differently. Shear is easier to perform on small components; pull is more representative of a lead being lifted away.
Can the test be done on a finished product? Only destructively. Sampling from production or a sacrificial panel is the usual approach.