Solder Mask Ink Composition and the Properties That Matter
Solder mask is the layer most engineers think about only when something goes wrong, yet its formulation decides how a board behaves during printing, curing and years of service afterward. Knowing what goes into the ink makes it easier to specify the right material and to debug the defects that occasionally escape an otherwise controlled process.
What Solder Mask Ink Is Made Of
Every screen printable solder mask ink contains three functional parts: the colorant that gives the familiar green or matte black appearance, the vehicle that carries and binds it, and the additives that tune behavior on the press. Reading a data sheet means knowing which number belongs to the colorant and vehicle system and which one describes the cured film, because the two answer different questions.
The balance between those three parts separates a formulation that holds a 4 mil dam reliably from one that slumps overnight. Two inks with identical cure profiles can print very differently simply because their pigment loading and rheology differ.
Colorants: Dyes and Pigments
Dyes dissolve in water, oil or organic solvents, while pigments remain suspended as fine solid particles. Printing inks rely on pigments almost exclusively because they resist migration and hold color through repeated reflow. The properties that matter are dispersion, particle size, tinting strength, opacity, oil absorption and chemical resistance, and each of them shows up somewhere in production.
Particle size drives resolution. Coarse pigment agglomerates clog a fine mesh screen and leave pinholes in thin dams, so manufacturers grind and filter the ink to a defined fineness of grind. When a mask suddenly prints with speckled coverage, pigment dispersion is one of the first things to check.
The Vehicle That Carries the Colorant
The vehicle is the carrier holding the colorant and forming the film after cure. It combines oils, resins, solvents and auxiliary materials. Resins are the core ingredient, whether natural or synthetic, because they set the mechanical strength, adhesion and thermal endurance of the cured mask. Everything else in the vehicle exists to get the resin onto the board in the right shape.
Solvent selection controls drying speed. Alcohols, ketones, esters and aromatic hydrocarbons each bring a different evaporation profile, and the choice decides whether the printed film levels out before it skins over. Choose wrong and the surface dries while the interior stays soft, which shows up later as blistering in the reflow oven.
Additives: Small Percentages, Large Effects
Additives adjust color, tack, flow and drying behavior. Driers accelerate cure, thinners reduce viscosity for a specific screen, thickeners raise it, and gloss additives control the final surface appearance. Because they act at low percentages, changing an additive is the usual way a formulator adapts an ink to a new press, a new squeegee hardness or a new curing oven.
Additive choice also affects shelf life. An ink that gels in the container after a few weeks usually has a stabilizer problem rather than a pigment problem, and no amount of stirring on the press will restore the original rheology.
Ink Viscosity and the Printing Window
Viscosity, sometimes described as the resistance one layer of fluid offers to another sliding past it, decides whether the ink transfers at all. Too thick and the ink will not pass through the screen, leaving voids and thin coverage. Too thin and the image spreads, edges blur, and adjacent traces bridge across the mask aperture.
Because ink viscosity is strongly temperature dependent, a shop printing in a cold room and one printing in a warm room with the same batch will see different results. Holding ink temperature steady costs less than reformulating, and it makes the process reproducible from shift to shift.
Flow and Thixotropy on the Screen
Flow describes how far a measured volume of ink spreads under its own weight in a set time. Thixotropy describes the same ink’s change in viscosity when it is stirred or sheared. A thixotropic ink flows while the squeegee pushes it and holds its shape once the screen lifts, which is exactly what a printed mask must do to keep a sharp dam.
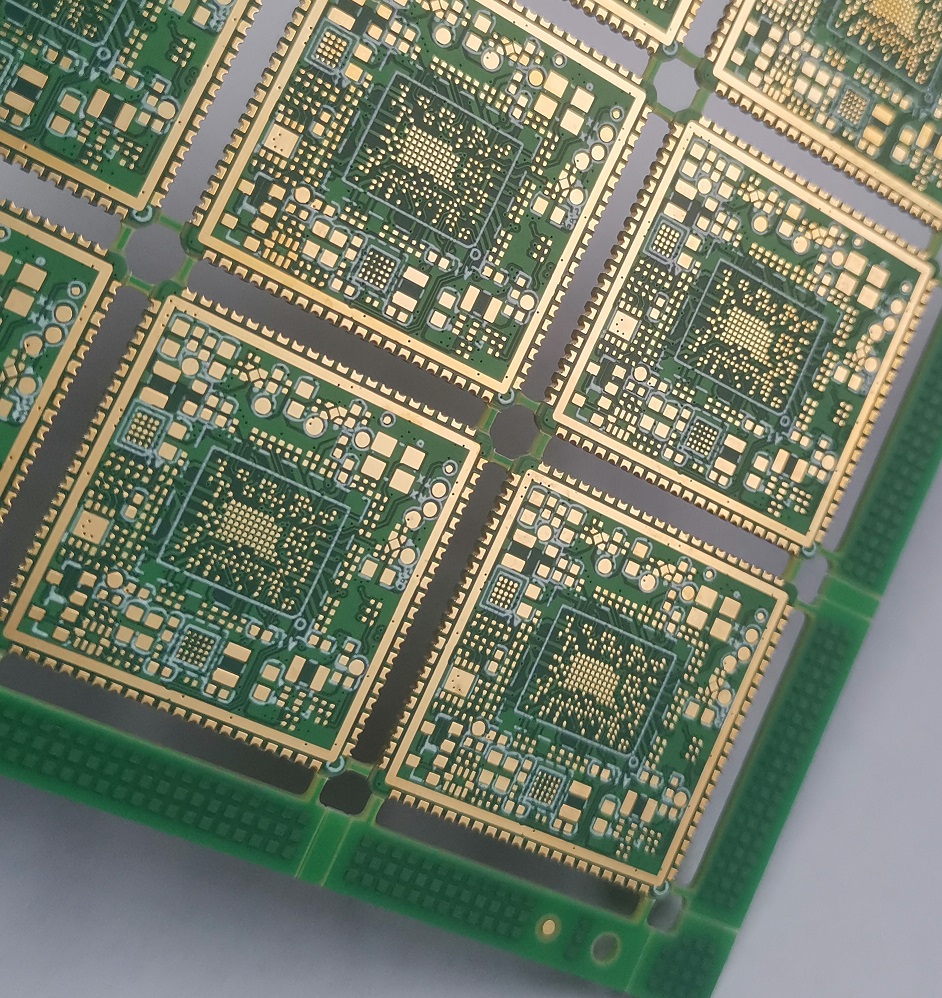
Under-catalyzed or over-thinned ink loses that structure and spreads into the apertures. The symptom is a mask that looks clean under the microscope but has a rounded, sloped dam profile instead of a vertical wall, which reduces the clearance available for solder paste.
Mesh Marking and Surface Defects
A screen printing ink with the wrong thixotropy shows mesh marking after cure: a visible woven texture where the screen threads sat. Raising solids content or adjusting the thixotropic additive removes it. Pinholes have a different cause and usually trace back to contamination, screen tension or a bubble introduced when the ink was mixed.
Diagnosing mask defects is faster when the ink and the process are recorded together. Screen mesh count, emulsion thickness, squeegee durometer, print speed and cure profile belong in the traveler alongside the ink part number.
Cured Film Properties
Once cured, the mask is judged on adhesion, hardness, dielectric strength and chemical resistance. Thermal cycling, flux exposure and cleaning solvents all attack the film, and a mask that passes a tape test on day one can still blister after three reflow passes. Specify the cure profile and verify it, rather than trusting a part number alone.
Adhesion is also a surface preparation question. Oxide, moisture and residue on the copper or laminate reduce bond strength regardless of how good the ink is, which is why the cleaning step before print deserves the same attention as the ink specification.
Specifying Ink for a New Build
Start from the requirement rather than the catalog. A high-reliability product needs a mask with proven thermal cycling data and a documented cure window. A cost-sensitive consumer board can accept a wider tolerance. Either way, request the technical data sheet and the process recommendation together, and confirm the shop has experience with the exact ink on the exact surface finish.
For boards that combine tight mask dams with fine pitch components, review the solder mask ink thixotropy discussion before fixing the print parameters, and check pad design standards so the dam width you drew is actually manufacturable.
Liquid Photoimageable Mask Versus Screen Printed Ink
Screen printing is not the only way to apply mask. Liquid photoimageable mask is coated, dried, then exposed and developed like a photoresist, which allows finer openings and thinner, more uniform films. The trade-off is more process steps and tighter control of coating thickness, so it is normally chosen for fine-pitch and high-density boards.
Screen printing stays faster and cheaper for standard geometry, and it handles thicker films that give better dielectric strength over a rough copper surface. Both processes rely on the same underlying chemistry, so the ink properties discussed above still decide the outcome.
Whichever route a design takes, the mask opening must be sized for the process and for registration tolerance. Review the notes on conformal coating and board protection when the assembly also has to survive moisture or chemical exposure.
FAQ
Why does mask color shift after cure? Cure temperature and dwell time affect the pigment system and the resin crosslink density, so a longer or hotter cycle darkens or yellows the film. If the color is cosmetically critical, fix the cure profile in the process document rather than accepting whatever the oven produces.
Can the same ink be used on both sides of a board? Usually yes, but thick copper, tall components and second-side printing each stretch the process window. Confirm that the ink’s thixotropy holds a dam on the rougher side, and keep the cure schedule identical for both passes.
How small a mask dam can be printed reliably? With a fine mesh screen and laser-exposed imaging, dams in the 4 to 5 mil range are routine, and tighter features are possible with liquid photoimageable mask instead. Ask the fabricator which process the specific opening will run on.