Practical Notes on Thermostat PCB
A thermostat PCB has an unusually wide set of responsibilities. It measures temperature accurately, decides what the heating or cooling equipment should do, switches loads that may be mains powered, runs for years on a battery or on a few hundred microwatts of harvested power, and presents a user interface that has to work first time. Each of those requirements pulls the layout in a different direction.
What a Thermostat Board Contains
The core is a microcontroller with a temperature sensor, a real time clock, some non volatile memory and the drivers for whatever the equipment needs. Those drivers may be relays, triacs or solid state switches, depending on whether the load is mains or low voltage. A display and a set of buttons or a capacitive touch interface complete the user side, and a radio if the product is connected.
The electrical environment is set by the equipment being controlled. A boiler, a compressor or a fan presents an inductive load that produces a transient at every switch-off, and the wiring to it may run for many metres through a building. The board has to survive that without a glitch in the measurement or a reset of the controller.
Temperature Sensing
Accuracy and stability matter more than resolution. A thermistor or a silicon sensor both work, and the choice depends on the tolerance the product promises, the temperature range, and whether the sensing element is on the board or remote. Where the sensor is remote, the cable carries a small signal through an electrically noisy environment, and the measurement circuit has to reject the noise without adding a time constant that slows the response.
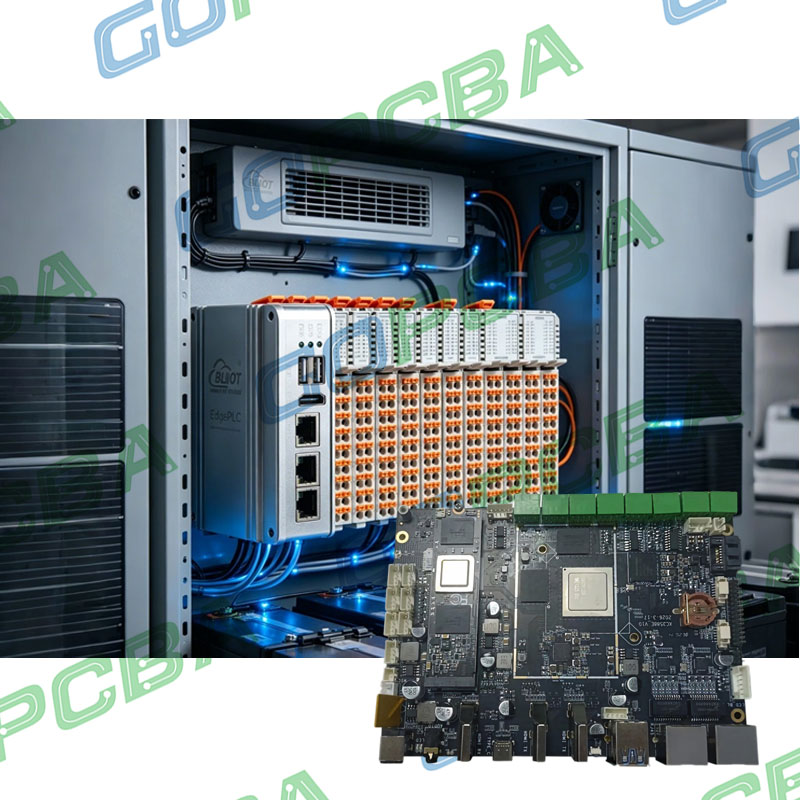
The board layout around the sensor determines what the product actually measures. Heat from the microcontroller, from the display backlight and from the switching devices reaches the sensing element through the copper, and the resulting offset is often larger than the sensor tolerance. Keeping the sensor away from heat sources, isolating it thermally with a slot in the copper and avoiding a large ground plane directly beneath it are the practical measures.
Switching the Loads
The load side is where the electrical design is most exposed. A mains relay requires isolation between the coil and the contacts, creepage and clearance that satisfy the safety standard, and a snubber to limit the arcing at the contacts. A triac requires a gate drive that works with the load current, and its thermal dissipation has to be managed because it drops a volt or so across itself while conducting.
Trace sizing on the load side is set by the current and by the temperature rise that the enclosure allows. The relationship between width, copper weight, current and temperature rise is described in trace width and current calculation, and the enclosure is usually the limiting factor, because a thermostat has no airflow and a limited surface area for convection.
Standby Power
A battery powered thermostat has to run for a year or more on a small cell, and that requirement reaches into every part of the design. The average current is dominated by the duty cycle of the measurement, the display and the radio, and the peak current is dominated by the radio and by the switching of the load drivers.
The board contributes to both. A regulator with a low quiescent current, a leakage path through a contaminated surface and a pull-up resistor left enabled when it is not needed all consume current continuously. Surface cleanliness and coating matter more than usual here, because a leakage path of a few microamps is a significant fraction of the budget. The reasons why contamination behaves this way are the same ones that govern analogue accuracy, and they are discussed in mixed signal PCB design guidelines.
Display, Interfaces and Radio
A display is the largest single consumer in most thermostats, and its drive circuitry is also a noise source. Segment drivers switch quickly and their return currents must not be shared with the measurement circuit. Where the display is connected with a flex, the connector and the flex form part of the emission path, and the board should provide a ground reference alongside the signals.
A radio adds a transmitter that produces bursts of current and a receiver that must detect a small signal. The module integrates most of the difficulty, but the board still has to provide a clean supply for the transmit burst, a continuous ground beneath the radio section and a defined keep-out area for the antenna. The techniques that keep the digital section from reaching the receiver are described in EMI suppression design principles.
The Mains Environment
Where the board contains mains circuitry it is subject to two sets of requirements at once: the safety distances that separate the user from the mains, and the EMC requirements that limit what the board emits and how it responds to interference, which is a wider set of constraints than the safety distances alone. Both are layout properties rather than component properties.
The safety distances depend on the working voltage, on the pollution degree and on the tracking resistance of the laminate, and they apply along the surface as well as through the air. Slots in the board are often used to increase the surface distance in a confined space. Where the mains and the low voltage circuits meet, the boundary should be a straight line across the board so that the separation can be seen and measured, and the pads and their mask openings must maintain the same distances as the traces, as described in PCB pad design standards.
Testing the Product
Verification has three parts. The measurement is checked against a reference at several temperatures, including the extremes of the range and with the load switching, because the self heating of the board changes the reading. The load side is tested with the real load, including the switching transient and the temperature rise in the enclosure. The radio is tested in the final mechanical assembly, since the enclosure and the installed position both affect the antenna.
Emission and immunity testing follows the product standard, and the failures that appear here are usually caused by a return path. Making the return path continuous under the noisy circuits is more effective than adding components, and it is also cheaper, provided it is done before the board is cut. Where the product is connected, the radio should be measured with the thermostat installed in its final position, because the wall it is mounted on changes the antenna environment.
Process Control and Verification
Reviewing the design before the data is released is far cheaper than correcting it after the panel is in the tank, because every step downstream inherits the decision made at the front end. Where a value sits close to a process limit, the drawing should say so, since the shop can then open the process window rather than working to a nominal figure that carries no tolerance.
The measurements that matter are the repeatable ones: conductor width and spacing, annular ring, finished hole size, plating thickness and surface finish are all verifiable on a coupon that travels with the panel. Documenting the assumption is part of the design work, and a short note on the drawing prevents a question that would otherwise arrive a day later and cost a day of schedule.
Where a value sits close to a process limit, the drawing should say so, since the shop can then open the process window rather than working to a nominal figure that carries no tolerance. Running a first article through the same checks as the production panel confirms that the two agree, and that comparison is the cheapest form of process control available at prototype stage.
FAQ
Why does my thermostat read a degree high? The most common cause is heat from the board itself reaching the sensor. Separating the sensor from the heat sources, thermally and physically, is usually the fix.
Can a thermostat board be built without mains isolation? Only if the product is entirely low voltage. Where mains is switched, the isolation and the creepage distances are set by the safety standard and cannot be designed away.
Does the display affect battery life? It usually dominates it. The duty cycle, the type of display and the way it is driven matter more than the microcontroller in most designs.