Manufacturing Considerations for Large PCB Formats
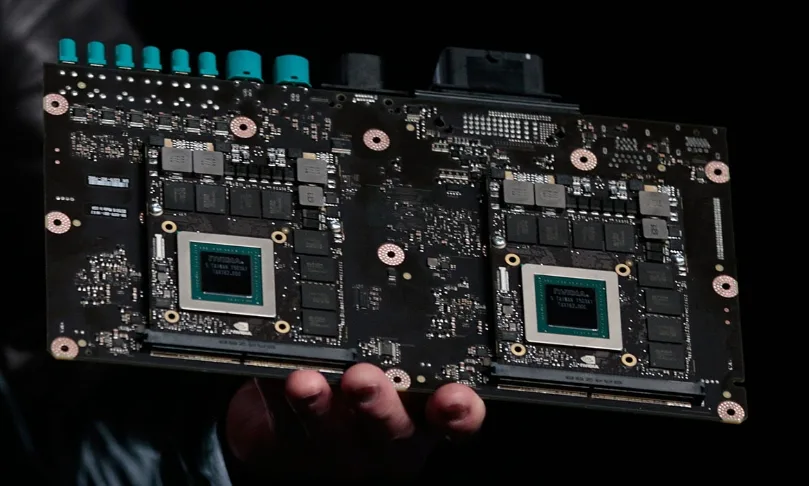
Boards grow for good reasons: a system that used to be split across several assemblies becomes one board, or a product needs a larger panel for a higher throughput of units. Both trends lead to formats that fall outside the range a shop handles routinely, and that is where the schedule risk begins. A large PCB is not simply a bigger version of a small one, and the differences show up in cost, lead time and assembly effort rather than in the layout.
Not Every Shop Can Build It
The first question is whether the intended supplier can produce the board at all, and how the production efficiency changes if it can. A board larger than the industry standard panel size does not fit the equipment a shop has set up for its normal work, and where there is no dedicated handling equipment the manufacturing speed can fall sharply. Since time to market is a competitive factor, that slowdown is a project risk rather than an inconvenience, because it can delay the whole product. Confirming capability and expected lead time before the design is released costs nothing and prevents a late discovery that the board cannot be built on the schedule the project needs.
Layer Count
Ordinary boards are commonly built with an even number of layers, typically between two and ten. Large boards use considerably more, because the same complex system must be routed within a larger outline while retaining a continuous reference plane. That requirement places the board in a different process class, and it needs a supplier with the equipment and the experience to laminate, drill and register a thick, high layer count stack. Without that capability the process runs slowly and the yield suffers, which produces the same schedule effect as an oversized panel. The interaction between layer count and mechanical stability is described in this article on layer stackup from one to eight layers.

Unit Cost
Cost rises for a structural reason rather than because of the size alone. Standard panel formats exist because they use material efficiently and match the handling equipment in the shop. A large board does not fit those formats, so the panel it is built on wastes material around the outline, and the unit cost rises accordingly. Where the outline can be adjusted slightly to nest better on the available panel, or where the board can be divided into two units joined by a breakaway, the saving can be significant. Panel utilization is one of the few cost drivers the designer can influence without changing the circuit, and it is worth discussing with the fabricator before the outline is frozen.
Connector and Component Count
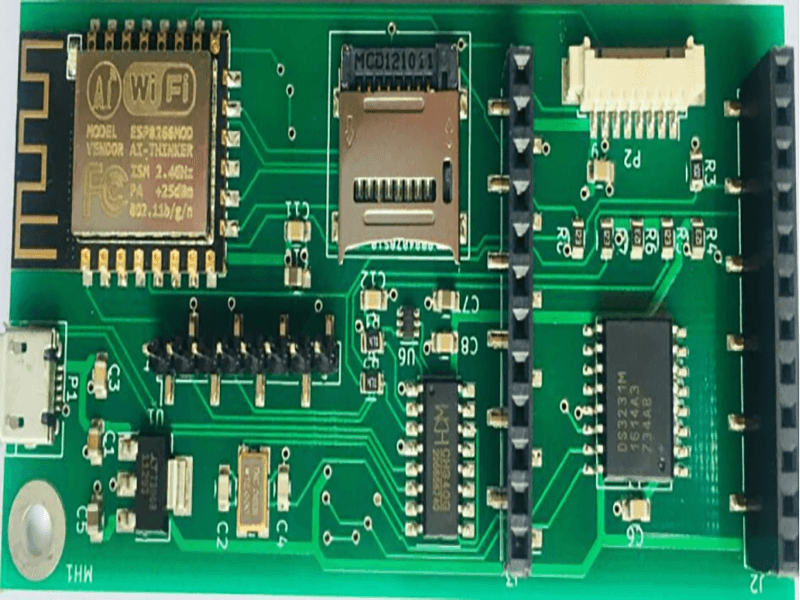
A large board usually carries a complex system, which means many components and a high connector count. Each connector has to be placed, soldered, inspected and often tested, and every additional one adds work to the assembly process and to the final test. Where a connector requires a specific orientation, a keying feature or a clearance for a mating part, the placement constraints multiply as the count grows. The practical consequence is that the assembly and test stages need more engineering support, more experienced operators and more time than a simple board would. This is a reason to consider the assembly process while the placement is being developed, as described in this article on how PCB layout decisions affect production.
Test Effort and Fixturing
Test effort scales with the number of nets, the number of connectors and the mechanical size of the assembly. A large board needs a larger fixture, which costs more and takes longer to build, and the number of test points may exceed what a single fixture can probe, which forces the test to be split across several passes. Where in-circuit test is used, the fixture and program have to be developed for the specific board, and their cost should be included in the project plan rather than discovered when the first units are ready. Providing adequate test access during layout is what keeps this effort proportional: a board with accessible test points can be tested with a simpler fixture than one that requires probing pads between components.
Panelization Options
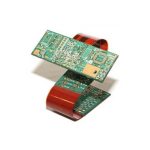
How the board is presented to the line affects both cost and yield, and there is more than one way to build a large format. The simplest is to fabricate the outline as a single unit and process it as one panel, which avoids the tooling for a breakaway but uses the available panel area inefficiently. A second option is to lay out two or more units on one panel, joined by routed tabs with perforations, so that the shop processes several boards at once and the units are separated after assembly. A third is to divide the system into sub-boards that are assembled and tested individually and then joined, either by a rigid-flex section or by a connector. Each approach changes the fixture size, the handling risk and the assembly sequence, and the choice should be made with the assembly and test engineers rather than by the layout designer alone. Where a single unit is required for mechanical reasons, confirming the available panel size with the fabricator before the outline is frozen is the cheapest way to avoid paying for wasted material on every unit.
Choosing a Supplier
When a project is complex or unusual, the sensible approach is to choose a supplier with relevant experience and the equipment to match. The questions worth asking are whether the panel size is within the standard range, what the expected lead time is at that size, whether the layer count and stackup are within demonstrated capability, and what specific experience the shop has with similar work. The answers determine whether the board is a routine order or a development project, and a shop that has built similar boards will usually be able to point to the process decisions that made them work. The requirements for a first prototype build are described in this article on multilayer PCB prototype requirements.
Design Choices That Reduce the Risk
Several layout decisions reduce the difficulty of a large format without changing the function. Dividing the outline into sub-boards joined by breakaway tabs allows each to be tested separately and reduces the size of the fixture. Keeping heavy components near the supported edges limits the mechanical deflection of a large, thin board. Providing a defined mounting scheme with adequate support points prevents the board from bowing during assembly and in service, and those constraints are described in this article on board outline and mounting design. Reserving test access on every net that needs it avoids a fixture redesign later. None of these choices is expensive at the design stage, and each of them removes a cost that would otherwise appear during production.
FAQ
Why does a large board cost disproportionately more? Because it does not fit the standard panel formats, so more material is consumed per unit and the handling equipment may not be able to process it efficiently.
How many layers do large boards need? Often far more than the two to ten layers typical of ordinary products, which places the board in a process class that requires a capable supplier.
What can reduce the risk most cheaply? Reserving adequate test access, keeping heavy parts near supported edges, and confirming with the fabricator that the outline nests efficiently on the available panel.