Laser-Cut Stencil vs Electroformed Stencil for SMT Printing
The stencil decides how much solder paste lands on every pad, and that single variable drives bridging, insufficient solder, tombstoning and the yield of the whole assembly line. Two processes dominate the market: cutting the apertures with a laser, and growing the stencil by electroforming. They are not competing on price alone, because the mechanism that forms the aperture changes how the paste behaves as it leaves it.
What the Stencil Does
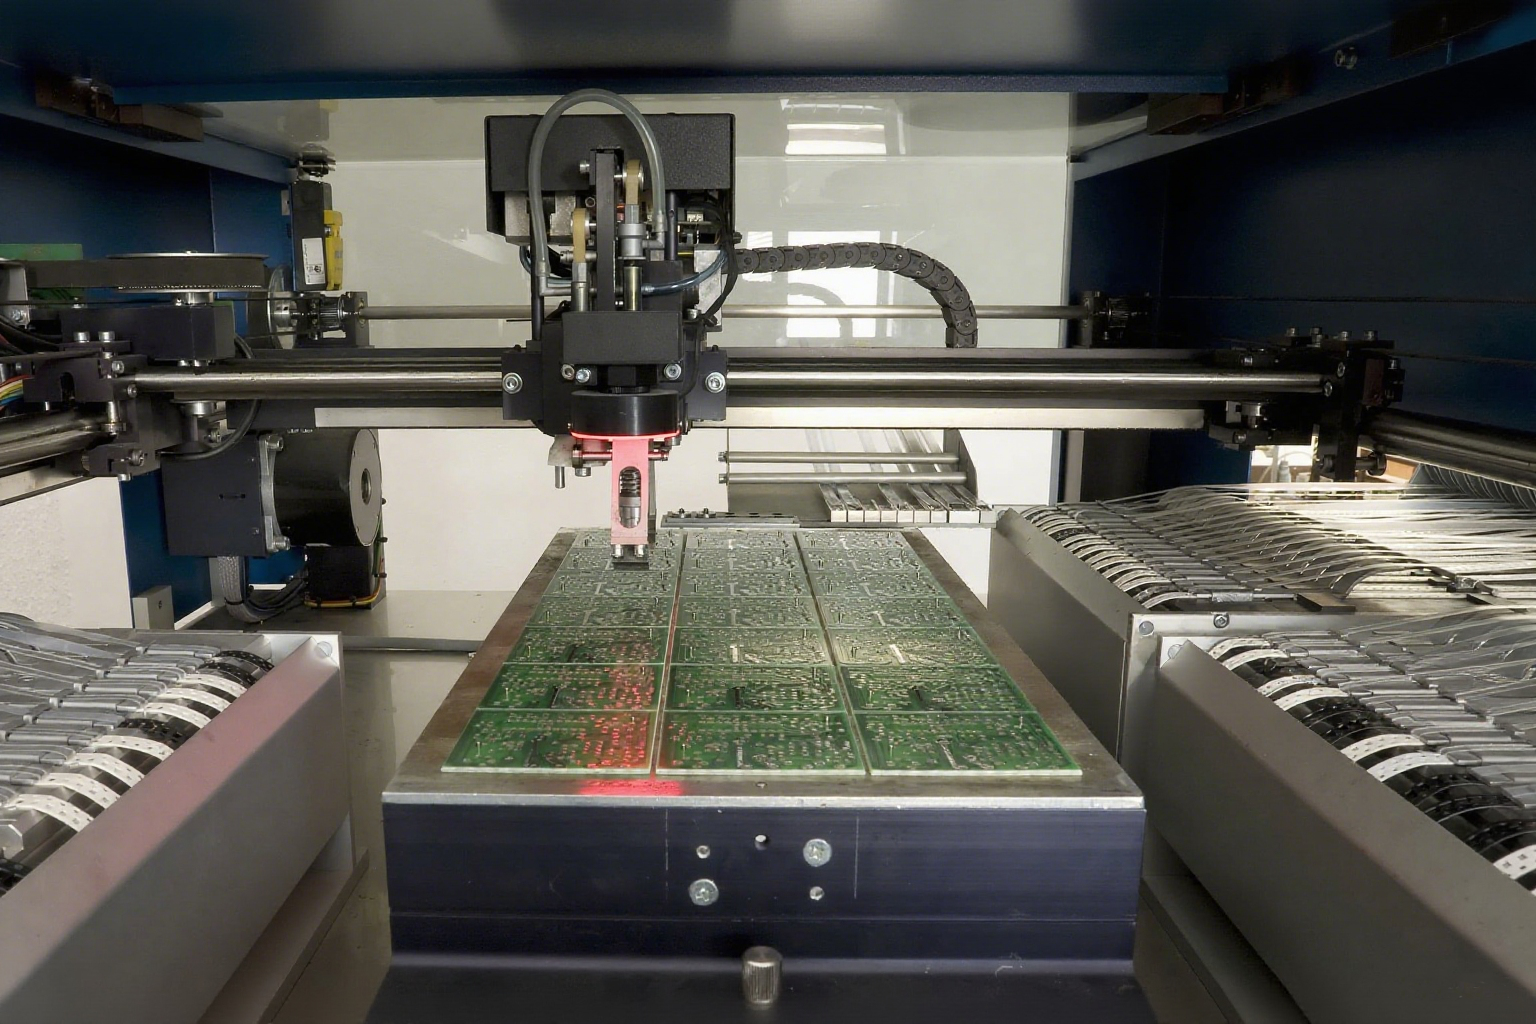
A stencil is a thin metal sheet with an aperture for every pad on the board. Paste is spread across it with a squeegee, fills the apertures, and is transferred to the board when the stencil is released and lifted away. Aperture size, stencil thickness and the smoothness of the aperture wall together determine the volume of paste that is deposited and how much of it stays in the hole rather than transferring.
Because the deposited volume controls the joint, the design rules are geometric. The area ratio, the area of the aperture opening divided by the area of its walls, is the number that predicts whether paste will release cleanly, and the aspect ratio does the same job for narrow rectangular apertures. Below roughly 0.66 for area ratio, transfer becomes unreliable whatever the stencil is made of.
Laser-Cut Stencils
Laser cutting uses a focused beam to cut each aperture from stainless steel sheet, typically 0.08 to 0.2 mm thick, followed by electropolishing, deburring and cleaning to smooth the wall. The process is fast, fully automated and inexpensive, which is why it is the standard choice for the great majority of surface mount assemblies.
Accuracy is typically plus or minus 10 to 15 microns, which is sufficient for 0201 and 01005 passives, fine pitch packages and most ball array devices. The technology also supports a wide range of formats: framed and frameless stencils, step stencils where two different paste volumes are needed on the same board, and nano-coated versions that reduce paste adhesion and extend the interval between cleaning cycles.
The limitation is the wall. A laser-cut wall is slightly tapered and, even after electropolishing, marginally rougher than an electroformed one, so a small proportion of paste clings to it and the transfer efficiency is a little lower. In practice that matters only at the smallest apertures, which is where the electroformed stencil earns its cost. The pad geometry that drives the aperture design is described in pad design standards.
Electroformed Stencils
An electroformed stencil is grown rather than cut. Nickel is deposited electrochemically onto a mandrel that carries the aperture pattern, and the resulting sheet is separated and framed. Because no material is removed mechanically, the aperture wall is smooth and the mouth is rounded, which reduces the resistance the paste meets as the stencil lifts away.
The result is a higher paste release rate and greater consistency, especially at very small apertures. Pitches below 0.25 mm, micro ball array packages, flip chip and 01005 components are the cases where the difference becomes measurable in yield rather than theoretical. Electroformed stencils are also typically thinner for a given aperture, since there is no taper to account for.
The cost is the barrier. Lead time is longer, the unit price is several times that of a laser-cut stencil, and the foil is less tolerant of rough handling. For a product with tens of thousands of interconnects and a tight pitch, that premium is easily repaid. For a conventional board with 0603 passives, it is money spent on a capability the design never uses, and the assembly defects that do occur will usually trace back to placement or profile rather than to paste release, as described in component placement defects.
Practical Selection
Use the smallest pitch and the smallest aperture on the board as the filter. If the smallest aperture has an area ratio comfortably above about 0.7 and the pitch is above 0.3 mm, a laser-cut stencil with a nano coating will deliver consistent results, and the money is better spent elsewhere. If the apertures fall below that, an electroformed stencil is the reliable choice.
Then consider the rest of the process. A step stencil, which has a thicker region for connectors or power pads and a thinner region for fine pitch, is available in both technologies and is often the answer when one board carries both extremes. Nano coatings, which are applied to laser-cut foils, reduce paste adhesion and lengthen the interval between cleaning cycles, and for many high volume lines that alone closes much of the release gap.
Stencil thickness is the remaining variable, and it is chosen by feature size rather than by preference: thinner foils for the smallest passives, mid-range thickness for fine pitch integrated circuits, and thicker foils for power devices and for boards with heavy copper. The transfer of paste onto a ball array pad is a related problem, and the treatment of the pad itself is covered in via in pad treatment.
Cost and Lead Time
Laser-cut stencils are inexpensive because the process is automated and needs no tooling. A prototype stencil can be produced within a day, which matters during development when a board revision may change the aperture pattern twice in a week. Electroformed stencils cost several times more and take longer, because the deposition step is slow and the mandrel has to be prepared.
Durability is comparable for practical purposes. Both a stainless steel foil and a nickel foil survive many thousands of print cycles with proper handling and cleaning, and neither is the limiting factor in a normal production line. Where the choice is made on cost alone, laser cutting wins almost every time; where it is made on the smallest aperture on the board, the answer is usually obvious.
Maintenance and Handling
Whichever process produced the foil, the stencil only performs as well as it is maintained. Paste left in the apertures hardens, and a partially blocked hole deposits less than its nominal volume without any visible sign on the board. Cleaning at the interval the paste manufacturer recommends, inspecting the apertures at the start of each run and handling the foil by its frame rather than its surface are basic practices that prevent most print defects.
Storage matters too. Foils are thin and distort easily, so they should be stored flat in their frames, and a laser-cut stencil should be inspected for burrs before first use, since a burr left by the cutting process will hold paste and cause a stubborn defect that cleaning does not remove.
FAQ
Can a laser-cut stencil handle ball array packages? Yes, for the vast majority of ball grid array, quad flat no-lead and chip scale packages. A laser-cut foil with a nano coating produces acceptable paste release down to the apertures those packages require.
When is an electroformed stencil worth the extra cost? When the smallest aperture on the board falls below the area ratio at which laser-cut walls release paste reliably, typically at pitches under 0.25 mm, or when the assembly is a high value product where a small yield improvement pays for the tooling many times over.
What thickness should the stencil be? Choose by the smallest feature: about 0.08 mm for the smallest passives, 0.10 mm for fine pitch integrated circuits, 0.12 to 0.15 mm for general surface mount work and 0.20 mm for power devices and heavy copper boards.
Does a nano coating make a laser-cut stencil as good as an electroformed one? It narrows the gap by reducing paste adhesion and extending print runs between cleaning, but the wall geometry of an electroformed aperture is still smoother. For the smallest apertures the electroformed foil remains the more reliable option.