



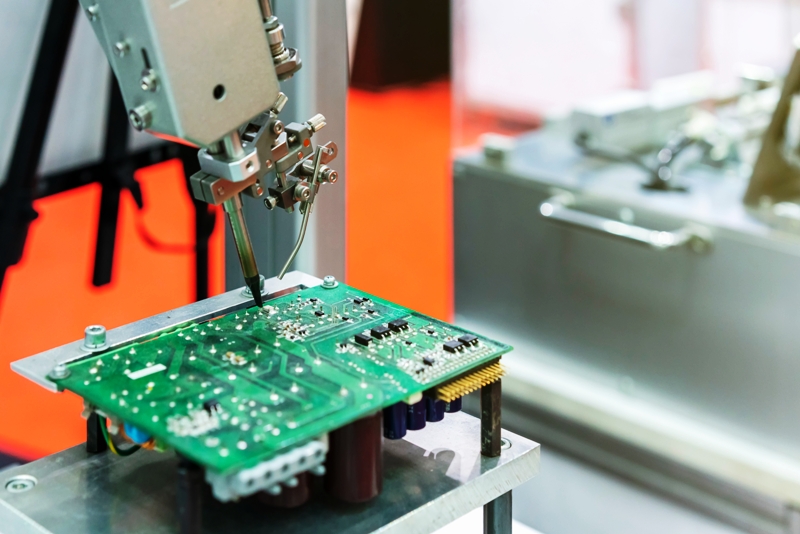
Hand Soldering on Aluminum Substrate PCBs: Practical Guidance
Soldering by hand on an aluminum substrate is not difficult, but it is different from working on FR-4. The metal base pulls heat away from the joint far faster than a glass epoxy board, the dielectric layer underneath the pad has a limited temperature tolerance, and the assembly is usually attached to a heat sink that acts as a further thermal load. The technique has to account for all three.
Why the Metal Base Changes Everything
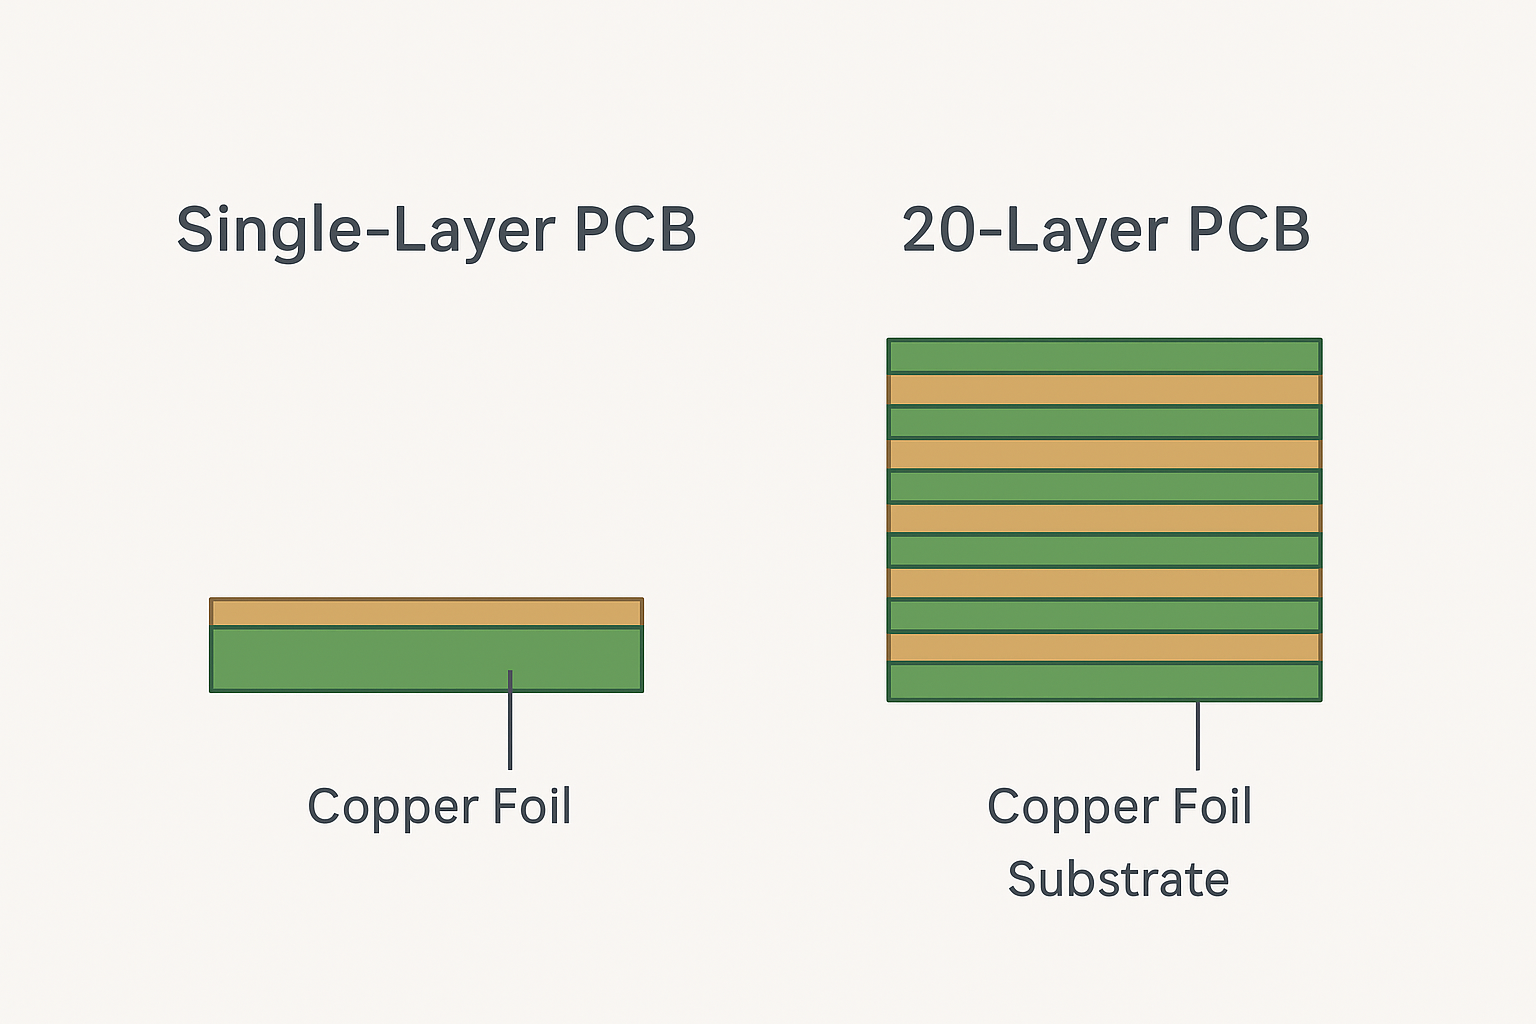
A metal core PCB behaves differently from a glass epoxy board for one basic reason: aluminium conducts heat at roughly 200 W/m·K, several hundred times better than the dielectric layer on top of it. As soon as the iron touches a pad, heat flows into the copper, through the thin dielectric and into the base plate, which is often bolted to a heat sink.
The result is that an iron which solders an FR-4 pad in a second may take several seconds on a metal core board, and holding it there long enough to melt the joint risks cooking the dielectric underneath. The solution is not more power at the tip, but preheating the assembly so that less heat has to be added locally.
Preheating the Assembly
A hot plate or a heated fixture under the board raises the whole assembly to between 80 °C and 100 °C before soldering begins. At that temperature the joint forms quickly with a short contact time, and the dielectric sees a gentler thermal gradient because the surrounding material is already warm.
The preheat temperature should stay below the point at which the dielectric begins to degrade, which for most metal core laminates means keeping the board surface well under 150 °C. Measuring the base plate temperature with a contact probe is more reliable than trusting a dial on the hot plate.
Tip Temperature and Contact Time
Use a tip temperature around 350 °C with a chisel or bevel shape that transfers heat efficiently over the pad area. A fine conical tip has poor thermal contact and forces a longer dwell time, which is exactly what should be avoided.
Keep each contact short. With a preheated board, two to three seconds should be enough for a normal pad. If the joint does not wet in that time, the problem is usually the surface condition or the solder alloy rather than insufficient heat, and adding more heat will not fix it.
Flux and Solder Selection
Use a flux that is active enough for a slightly oxidised surface but compatible with the cleanliness requirement of the product. A no-clean flux leaves residue that is acceptable for many lighting products, while a water soluble flux gives a cleaner joint but requires thorough washing, and the wash must not damage the laminate edge or any exposed aluminium.
Solder alloy follows the product requirement. A tin-lead alloy melts at a lower temperature and is easier on the dielectric, while a lead-free alloy needs a higher tip temperature and a slightly longer contact. Whichever is used, the iron should be set for that alloy rather than adjusted by feel. The comparison of alloys is covered in the notes on lead-free versus leaded solder.

Pad Geometry and Heat Spreading
Metal core boards usually have large pads on thick copper, and the copper spreads heat away from the iron. Where a pad is connected to a wide copper area, the joint takes longer to form, and the layout should consider whether a thermal relief is acceptable. On an LED board the thermal path is the point of the design, so reliefs are often omitted and the soldering technique must compensate.
Component leads that sit on a large pad benefit from solder applied to both the pad and the lead before the two are brought together. This tinning step halves the time the iron has to remain in contact with the assembly.
Avoiding Damage to the Dielectric
The insulating layer between the copper and the aluminium is the weakest link thermally. It is thin, typically 75 to 150 µm, and prolonged heating can blister it, raise its thermal resistance or reduce its dielectric strength. Damage of this kind usually appears as a discoloured or lifted area around the pad rather than a failed joint, which makes it easy to miss.
Two habits prevent it. Never hold the iron on a pad while waiting for something else to happen, and never reheat the same joint repeatedly to adjust its appearance. If a joint needs rework, let the board cool, re-preheat and work once more with a short contact.
Mechanical Care
Metal core boards are stiffer than FR-4 but the dielectric bond is not designed to take bending load. Supporting the board flat during soldering, avoiding pressure on the component while the joint is molten and never levering a part out of its pads all protect the laminate.
Where the board is already attached to a heat sink, the assembly should be handled as a unit. Thermal compound between the board and the heat sink can migrate if the part is heated unevenly, and the mounting screws should be checked after soldering is complete. Mounting geometry matters more here than on a conventional board, and the same rules described for board outline and mounting design apply to the metal base.
Cleaning and Inspection
Flux residue on a metal core board attracts dust and, in a humid location, can create leakage paths, particularly where pads are close together. Cleaning with an appropriate solvent followed by a controlled dry is standard practice for lighting products that will operate outdoors.
Inspection should look at the joint and at the laminate. A dull, grainy fillet suggests insufficient heat or a contaminated pad; discolouration of the white solder mask around the pad suggests the dielectric has been over-heated. Recording tip temperature, preheat temperature and dwell time for the first article gives a process that can be repeated by any operator.
When to Choose Reflow Instead
Hand soldering is appropriate for prototypes, repairs and a small number of through hole parts. For volume production, a reflow process with a controlled profile and a proper preheat ramp produces a more consistent result and puts less thermal stress on the dielectric.
Even in a reflow process, the metal base has to be accounted for: the profile needs a longer soak so that the whole assembly reaches temperature evenly, and the peak must stay within the laminate specification. Design and process decisions of that kind are made together, as described in the notes on potting and dispensing adhesives where heat transfer into the assembly is part of the same problem.
FAQ
Why does the joint take so long to form? Because heat flows into the aluminium base and away from the pad almost as fast as the iron adds it. Preheating the assembly is the effective remedy, not a hotter tip.
Can I solder directly to aluminium? Not with ordinary tin based solder. The pads on a metal core board are copper, and the solder goes to the copper, not to the aluminium underneath.
How hot is too hot for the dielectric? Keep the board surface below about 150 °C during hand soldering and follow the laminate datasheet limit. Discolouration of the solder mask around a pad is a sign that the limit was approached.

1 Comment
COB LED vs SMD LED: Packaging and Thermal Design
[…] COB configuration gives the designer more freedom here, because dies can be spread over an area chosen for thermal rather than mechanical reasons, and the phosphor layer can be shaped to match. SMD parts concentrate the same heat into a smaller footprint under each package. In both cases, adequate copper area, thin dielectric where voltage permits, and a flat, well coupled mechanical interface matter more than the nominal LED rating. Soldering behaviour on these boards is discussed in aluminium substrate hand soldering. […]