Low-Cost PCB Production: Design Choices That Reduce Unit Price
Low-cost PCB production is not achieved by finding the cheapest supplier. It comes from the design fitting the process so well that the fabricator can build it on the standard flow, at the standard tolerance, with the standard material, and with the panel fully utilized.
Every deviation from that flow adds a step, a control or a yield risk, and the cost of the deviation is paid on every order for the life of the product. The design decisions that produce a low unit price are made long before the quotation is requested.
Fit the Standard Process
Every fabricator has a default process: a set of stocked laminates, standard thicknesses, standard copper weights and a standard finish. Designs that fit inside it are built with routine work instructions and are priced accordingly.
A non-standard thickness, an unusual copper weight or a special laminate requires purchasing, additional process development and often a dedicated run. The price reflects all of that, not just the material.
Starting the design from the standard capability list rather than from the circuit’s ideal stack is the single most effective cost decision available. It costs nothing electrically in most designs.

Panel Utilization
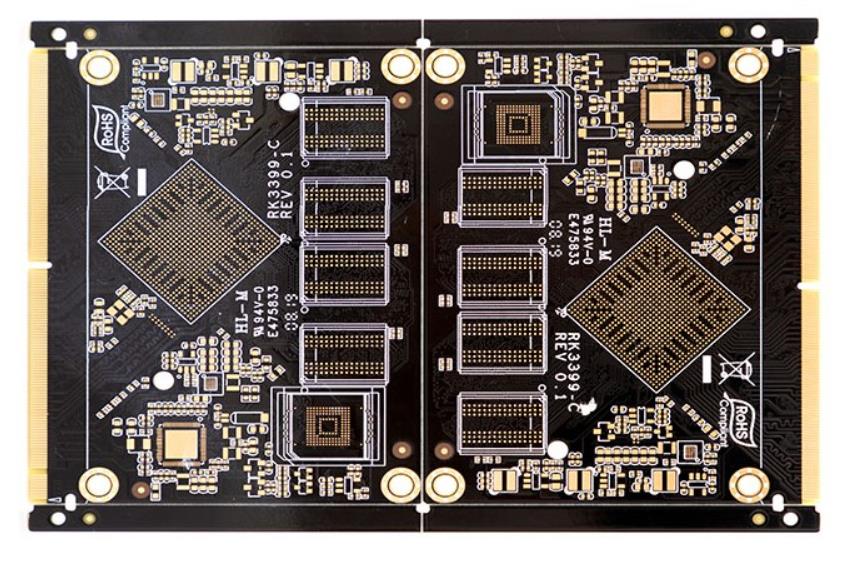
Fabrication is priced per panel. A board that tiles efficiently on a standard panel spreads the fixed cost over more units, and one that leaves half the panel empty carries that waste in the unit price.
Small changes in board dimensions can change the number of boards per panel. Where the mechanical design permits, adjusting the outline to the panel grid reduces cost without touching the circuit.
Very small boards use panel area inefficiently once the rails, tooling holes and fiducials are counted, which is why a tiny board sometimes costs more per unit than a medium one.

Layer Count and Stackup
Layer count is the largest single cost driver. Two layers avoid lamination entirely, four layers add one lamination cycle, and beyond that the cost rises with each pair and with the increasing risk of registration error.
Reviewing the stack against the actual routing requirement often finds a layer that exists for convenience. Moving to a thinner dielectric, using via-in-pad where it saves a layer, or improving the placement to reduce crossings can remove a layer pair entirely.
Impedance control is not free either. Where a design specifies controlled impedance, it adds coupon measurement and tighter process control. That requirement should be applied only to the nets that genuinely need it.
Starting From a Standard Stackup
Most fabricators publish a small number of standard stackups, each with defined layer thicknesses, prepreg types and copper weights. These combinations are held in stock and have known process parameters, so a design that uses one is built without engineering review.
Building the stack from that list, and then checking that the routing fits, is faster and cheaper than designing an ideal stack and asking the supplier to produce it. The electrical difference between the standard option and the custom one is usually negligible outside high-frequency work.
Trace, Gap and Tolerance
Minimum trace and gap should sit comfortably inside the process capability rather than at its edge. The cost of using a slightly wider trace is a small amount of board area; the cost of using the minimum is yield loss and inspection.
The same logic applies to hole size, annular ring and mask dam. Sizing them for the worst case rather than the nominal removes a whole class of yield loss at negligible cost.
Tolerance callouts matter as well. A dimension that is specified tighter than necessary forces the fabricator to inspect and possibly scrap boards that would have worked.
Material Selection
Standard FR-4 with a mid-range glass transition temperature covers most designs. Higher transition laminates, polyimide and low-loss materials each add cost, and each should be justified by a measurement rather than by caution.
Copper weight is a material decision with a process consequence. Moving from one ounce to two increases the minimum feature size and changes the etch compensation, so the cost is in the process rather than in the copper.
Thickness is the third variable. A common thickness such as 1.6 millimetres is stocked; an unusual one requires a specific prepreg combination and may add lead time.
Surface Finish
Finish choice is a small line item with a large effect on assembly yield. Hot air solder levelling is the cheapest and is adequate for coarse pitch; OSP is cheap and flat but has a short shelf life.
Choosing a finish that is too cheap for the pitch creates wetting problems on the assembly line, which costs far more than the finish difference. Choosing one that is more capable than necessary adds cost for a benefit the design will never use.
Order Quantity and Tooling
Tooling is paid once and then divided by the quantity. At small quantities it dominates the price, and at large quantities it disappears, which is why the same board can be quoted at very different unit prices.
Planning the order around a realistic forecast reduces the number of small orders and the repeated setup that each one incurs. Where the design is stable, a larger batch is almost always cheaper per unit.
Design Rules That Avoid Rework
Complete data prevents rework: a closed outline, a matching drill file, an unambiguous assembly drawing and a bill of materials with manufacturer part numbers. Each omission costs a query, and a query costs time.
Design rule checks against the fabricator capability catch most of the remaining problems before the order is placed. Running them is free; discovering the same issue during fabrication is not.
Where Cheap Becomes Expensive
A design that sits at the edge of every process limit will be built, but at a yield that the supplier must price for. The unit price reflects the risk even when no defect occurs.
The hidden cost is reliability. A trace at the minimum width, an annular ring at the minimum, a mask dam at the minimum: each of these is a latent defect that may pass test and fail in the field.
Design Checklist
Confirm the stackup against the supplier’s standard list, adjust the outline to the panel grid, keep trace, gap and hole sizes one step above the minimum, choose the finish from the pitch and the storage period, and plan the order quantity around the tooling cost.
Then review the data package and the tolerance callouts. The cheapest board is not the one built to the loosest specification, but the one that needs no special handling at any step.
Related reading: custom PCB cost factors, design guidelines for manufacturable boards, and PCB manufacturing processes.
FAQ
What saves the most money on a PCB order? Reducing layer count, adjusting the outline to improve panel utilization, and ordering in larger quantities. Together they usually outweigh every other decision.
Is a cheaper finish a false economy? Often. A finish that is unsuitable for the pitch or the storage period causes assembly problems whose cost exceeds the finish difference many times over.
Should tolerances be loosened to reduce cost? Where a tolerance is not needed by the circuit, yes. Telling the fabricator which dimensions are not critical allows the process to run faster and cheaper.